I’ve been shooting in low light at ISO 6400, partly on the grounds that my Nikon D300 is remarkably low noise, and partly on the grounds that noise can be used as part of the aeshetic of an image. My photos of the jellyfish in the aquarium tanks at Monterey are examples of this kind of high ISO work. However, I do find I need to selectively post-process for noise with these images.
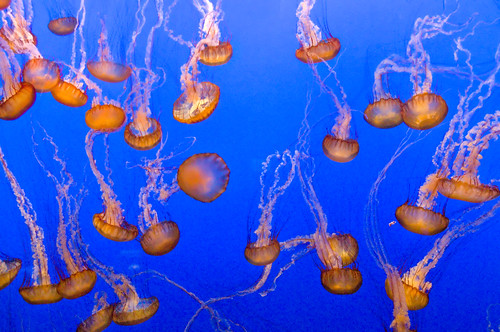
View this image larger.
I processed these jellyfish photos, all shot at extremely high ISOs, for noise using Noise Ninja as a plug-in to Photoshop CS3. (Noise Ninja can run as a standalone or inside the Photoshop environment.)
With one twist (I’ll get to my variation in a moment), I used Noise Ninja in its default mode. This means opening Noise Ninja, profiling the image by clicking a button, tweaking the filter settings for strength, and then applying the noise reduction.
My own deviation from the tried-and-true starts by working on a duplicate layer, rather than the original. This is a best practice for Photoshop in any case. Then I use a layer mask to hide the Noise Ninja noise-reduced layer, and selectively paint in portions of this layer. Typically, I’ll work with two noise-reduction layers at different strengths, because even a very noisy image isn’t necessarily noisy all over. I also want the freedom to apply Noise Ninja selectively, and at different strengths, to different parts of my photos. I’ll leave some areas untouched.
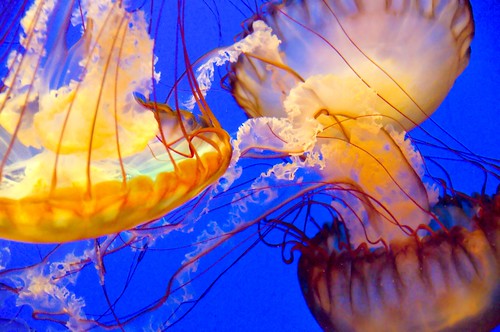
View this image larger.
It’s worth noting that I use a similar selectivity-via-layers-and-masking approach when it comes to sharpening. Furthermore, I only sharpen luminance (black and white) and not the chroma (color) channels of a photo. My main sharpening tool is the paradoxically named Unsharp Mask Photoshop filter. Leaving chroma channels unsharpened happens to have a beneficial effect on the aesthetics of noise, so this kind of selective sharpening is really a help when you start with a noisy image.
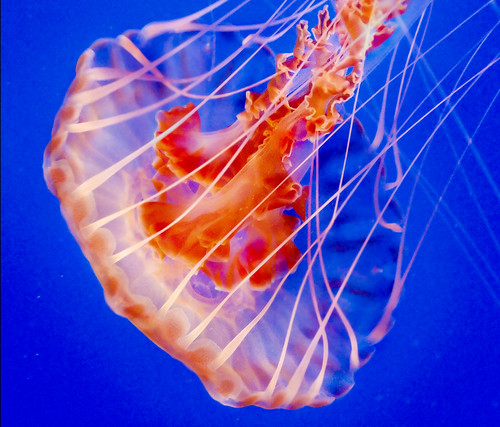
View this image larger.
Curtis
15 Feb 2008A great explanation and tutorial about how you work in post. Very appreciated!
Pingback: Underexposed blog: Links of the day « IT Spot
Pingback: Underexposed blog: Links of the day
Pingback: Photoblog 2.0: » Photoblog 2.0 Archive: » Whining about Hearst Castle