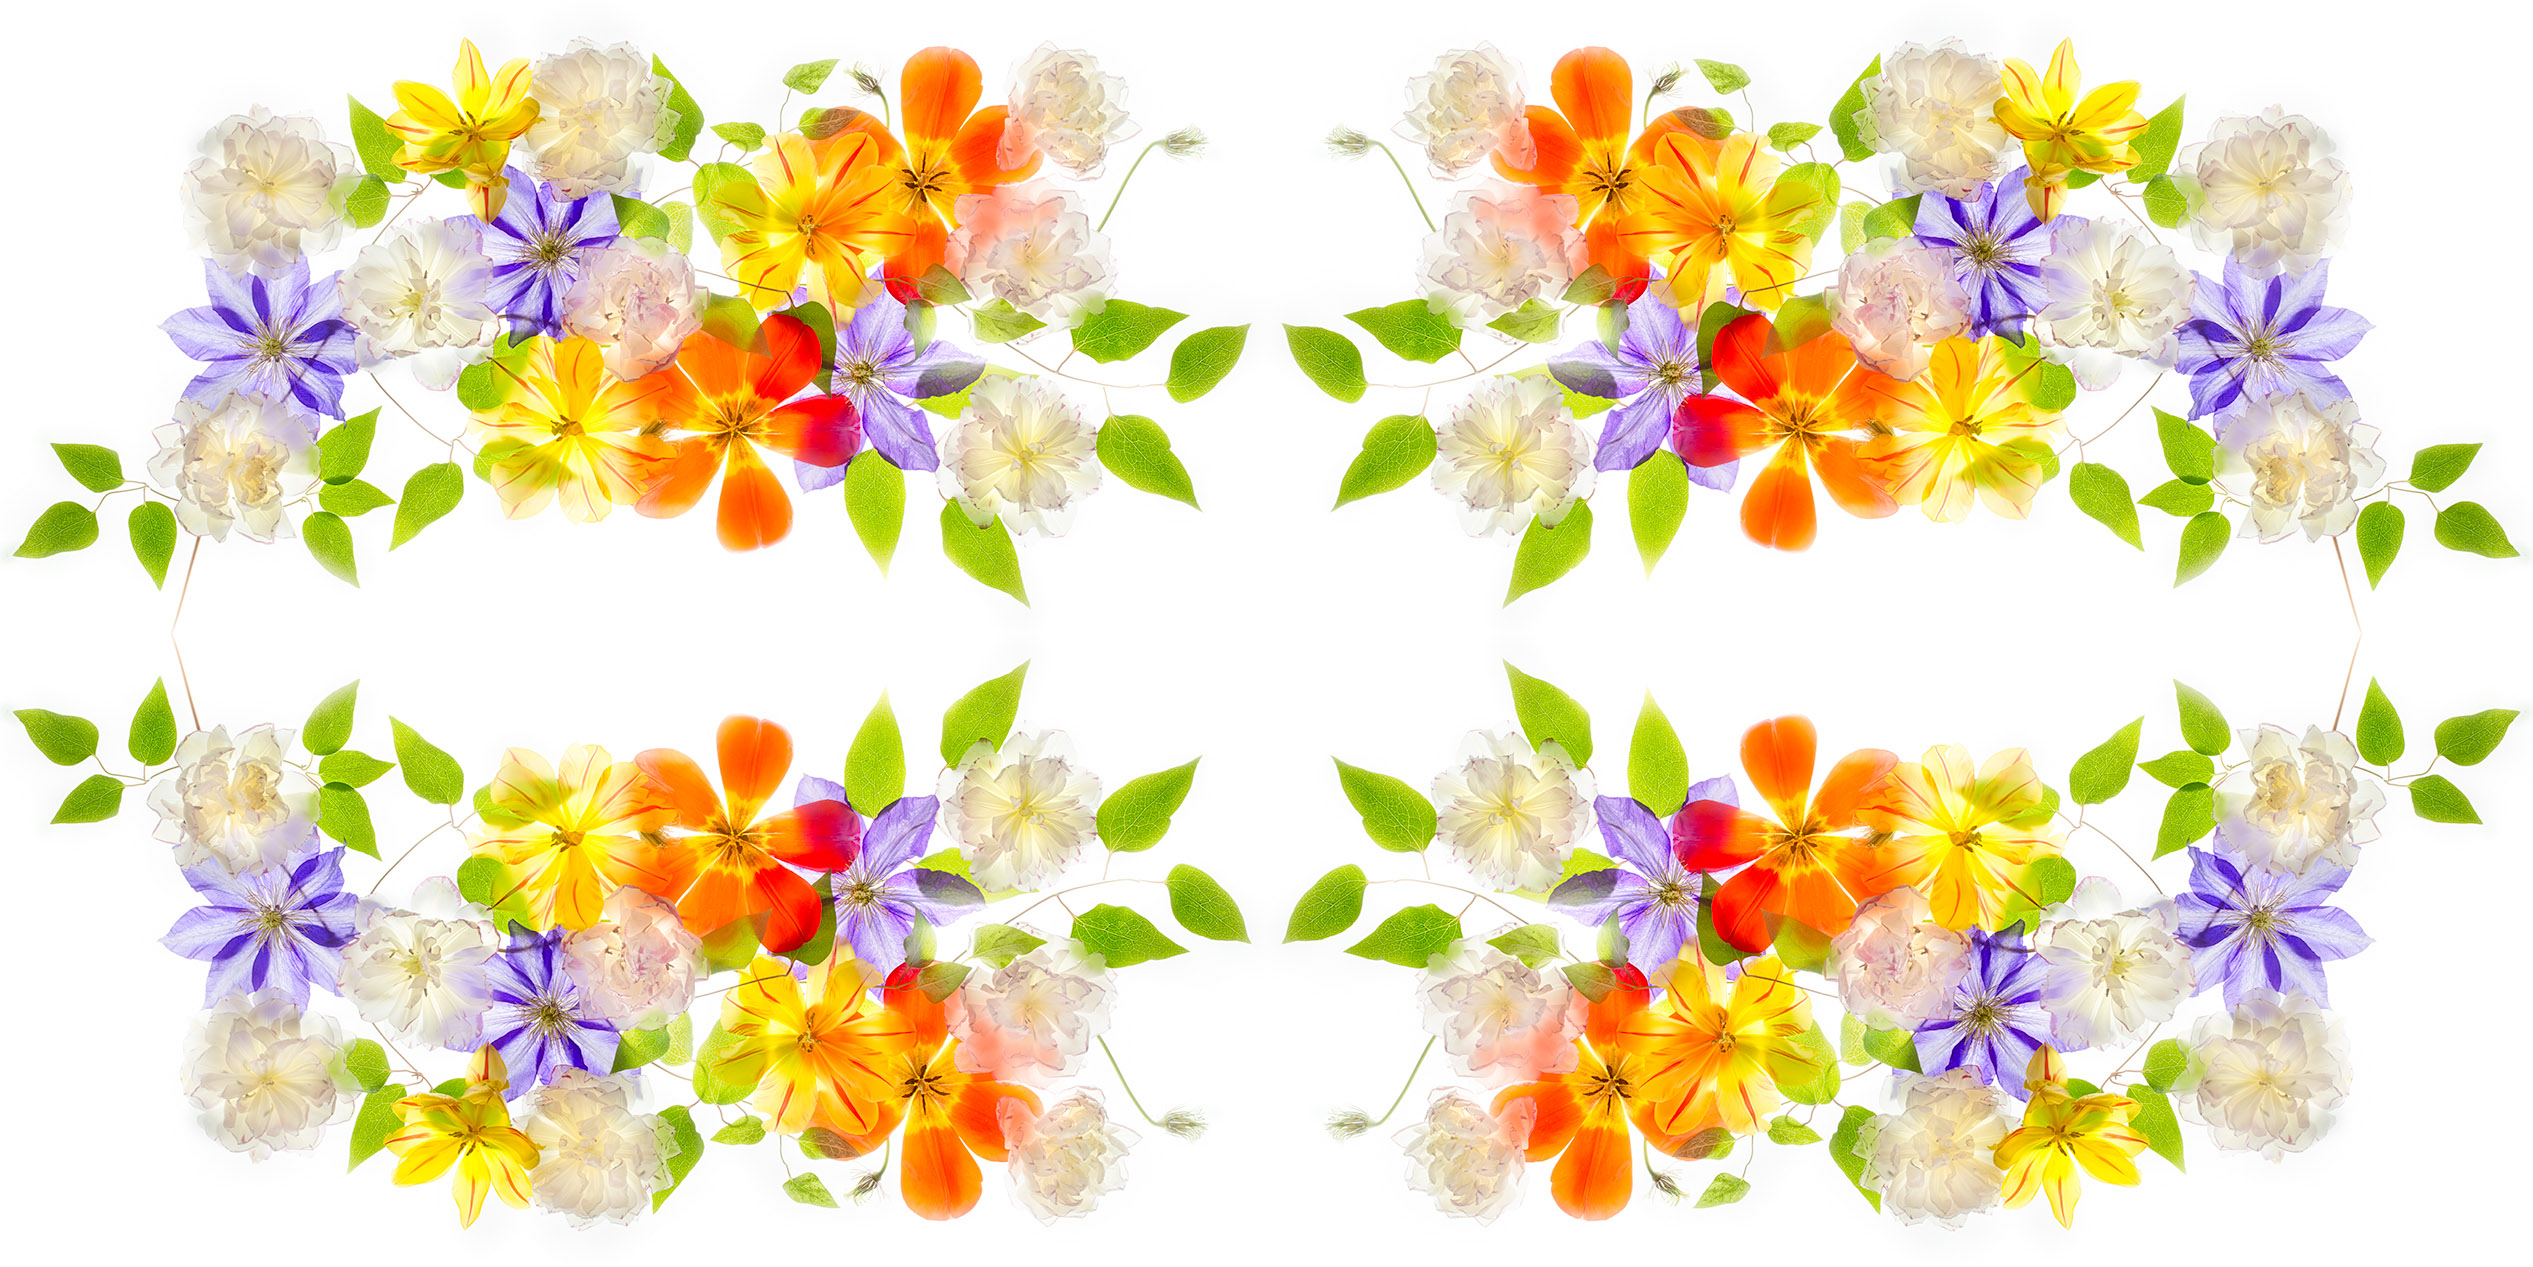
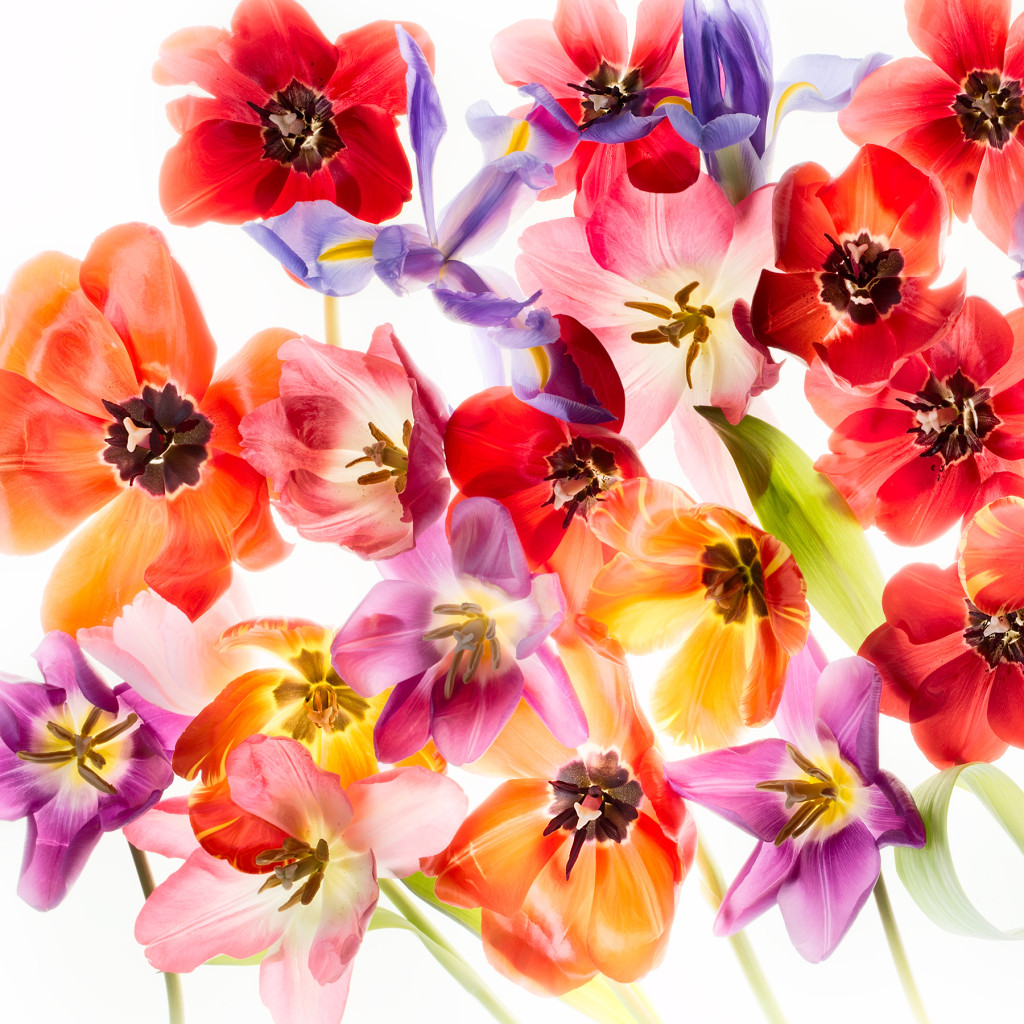
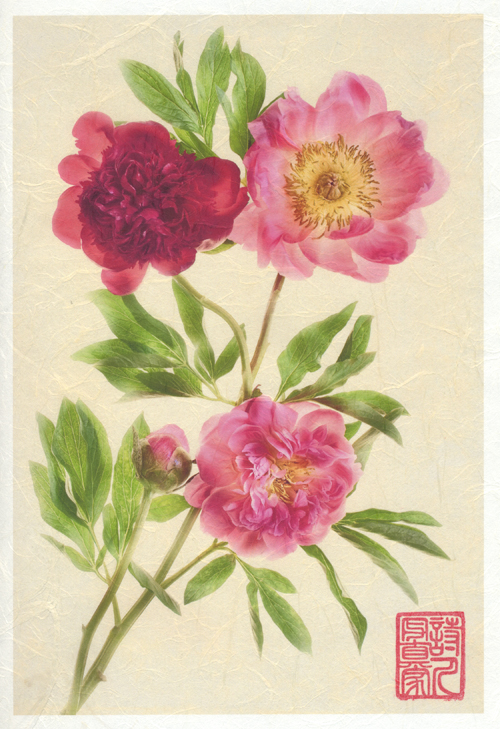
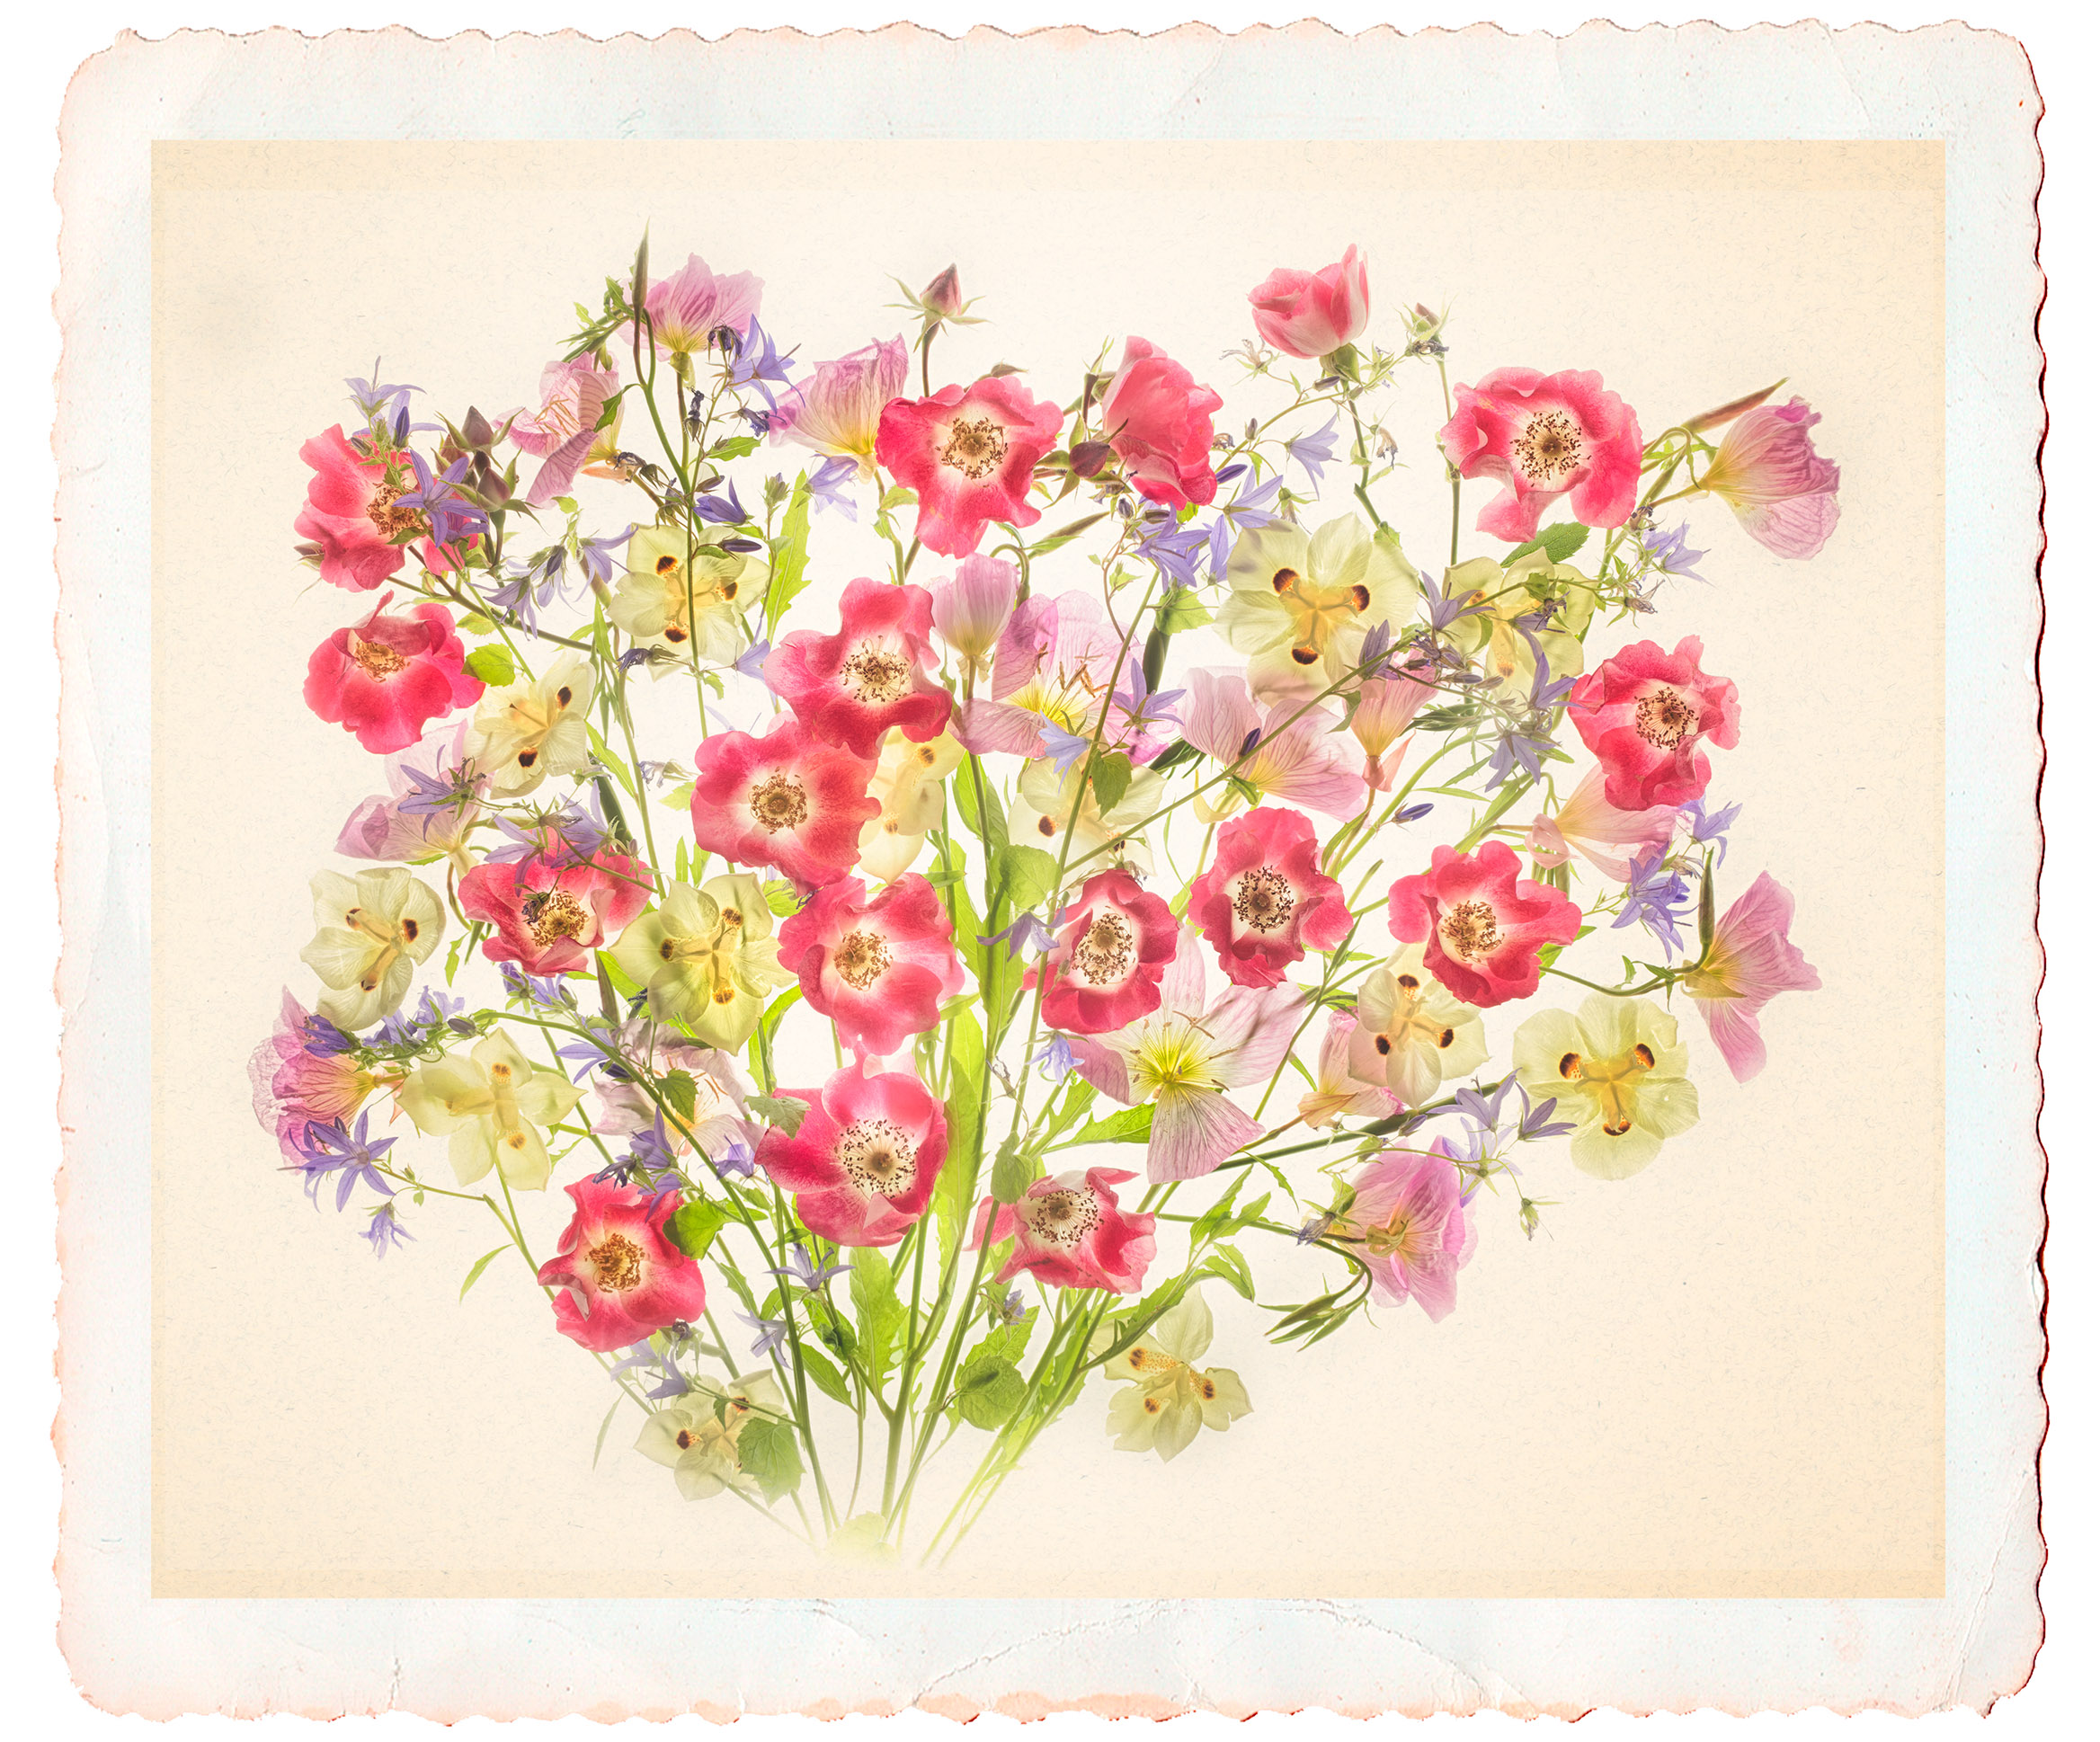
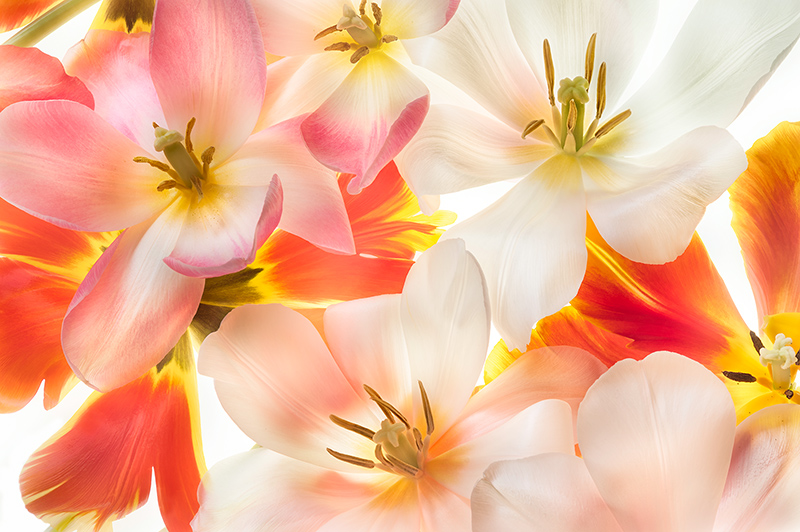
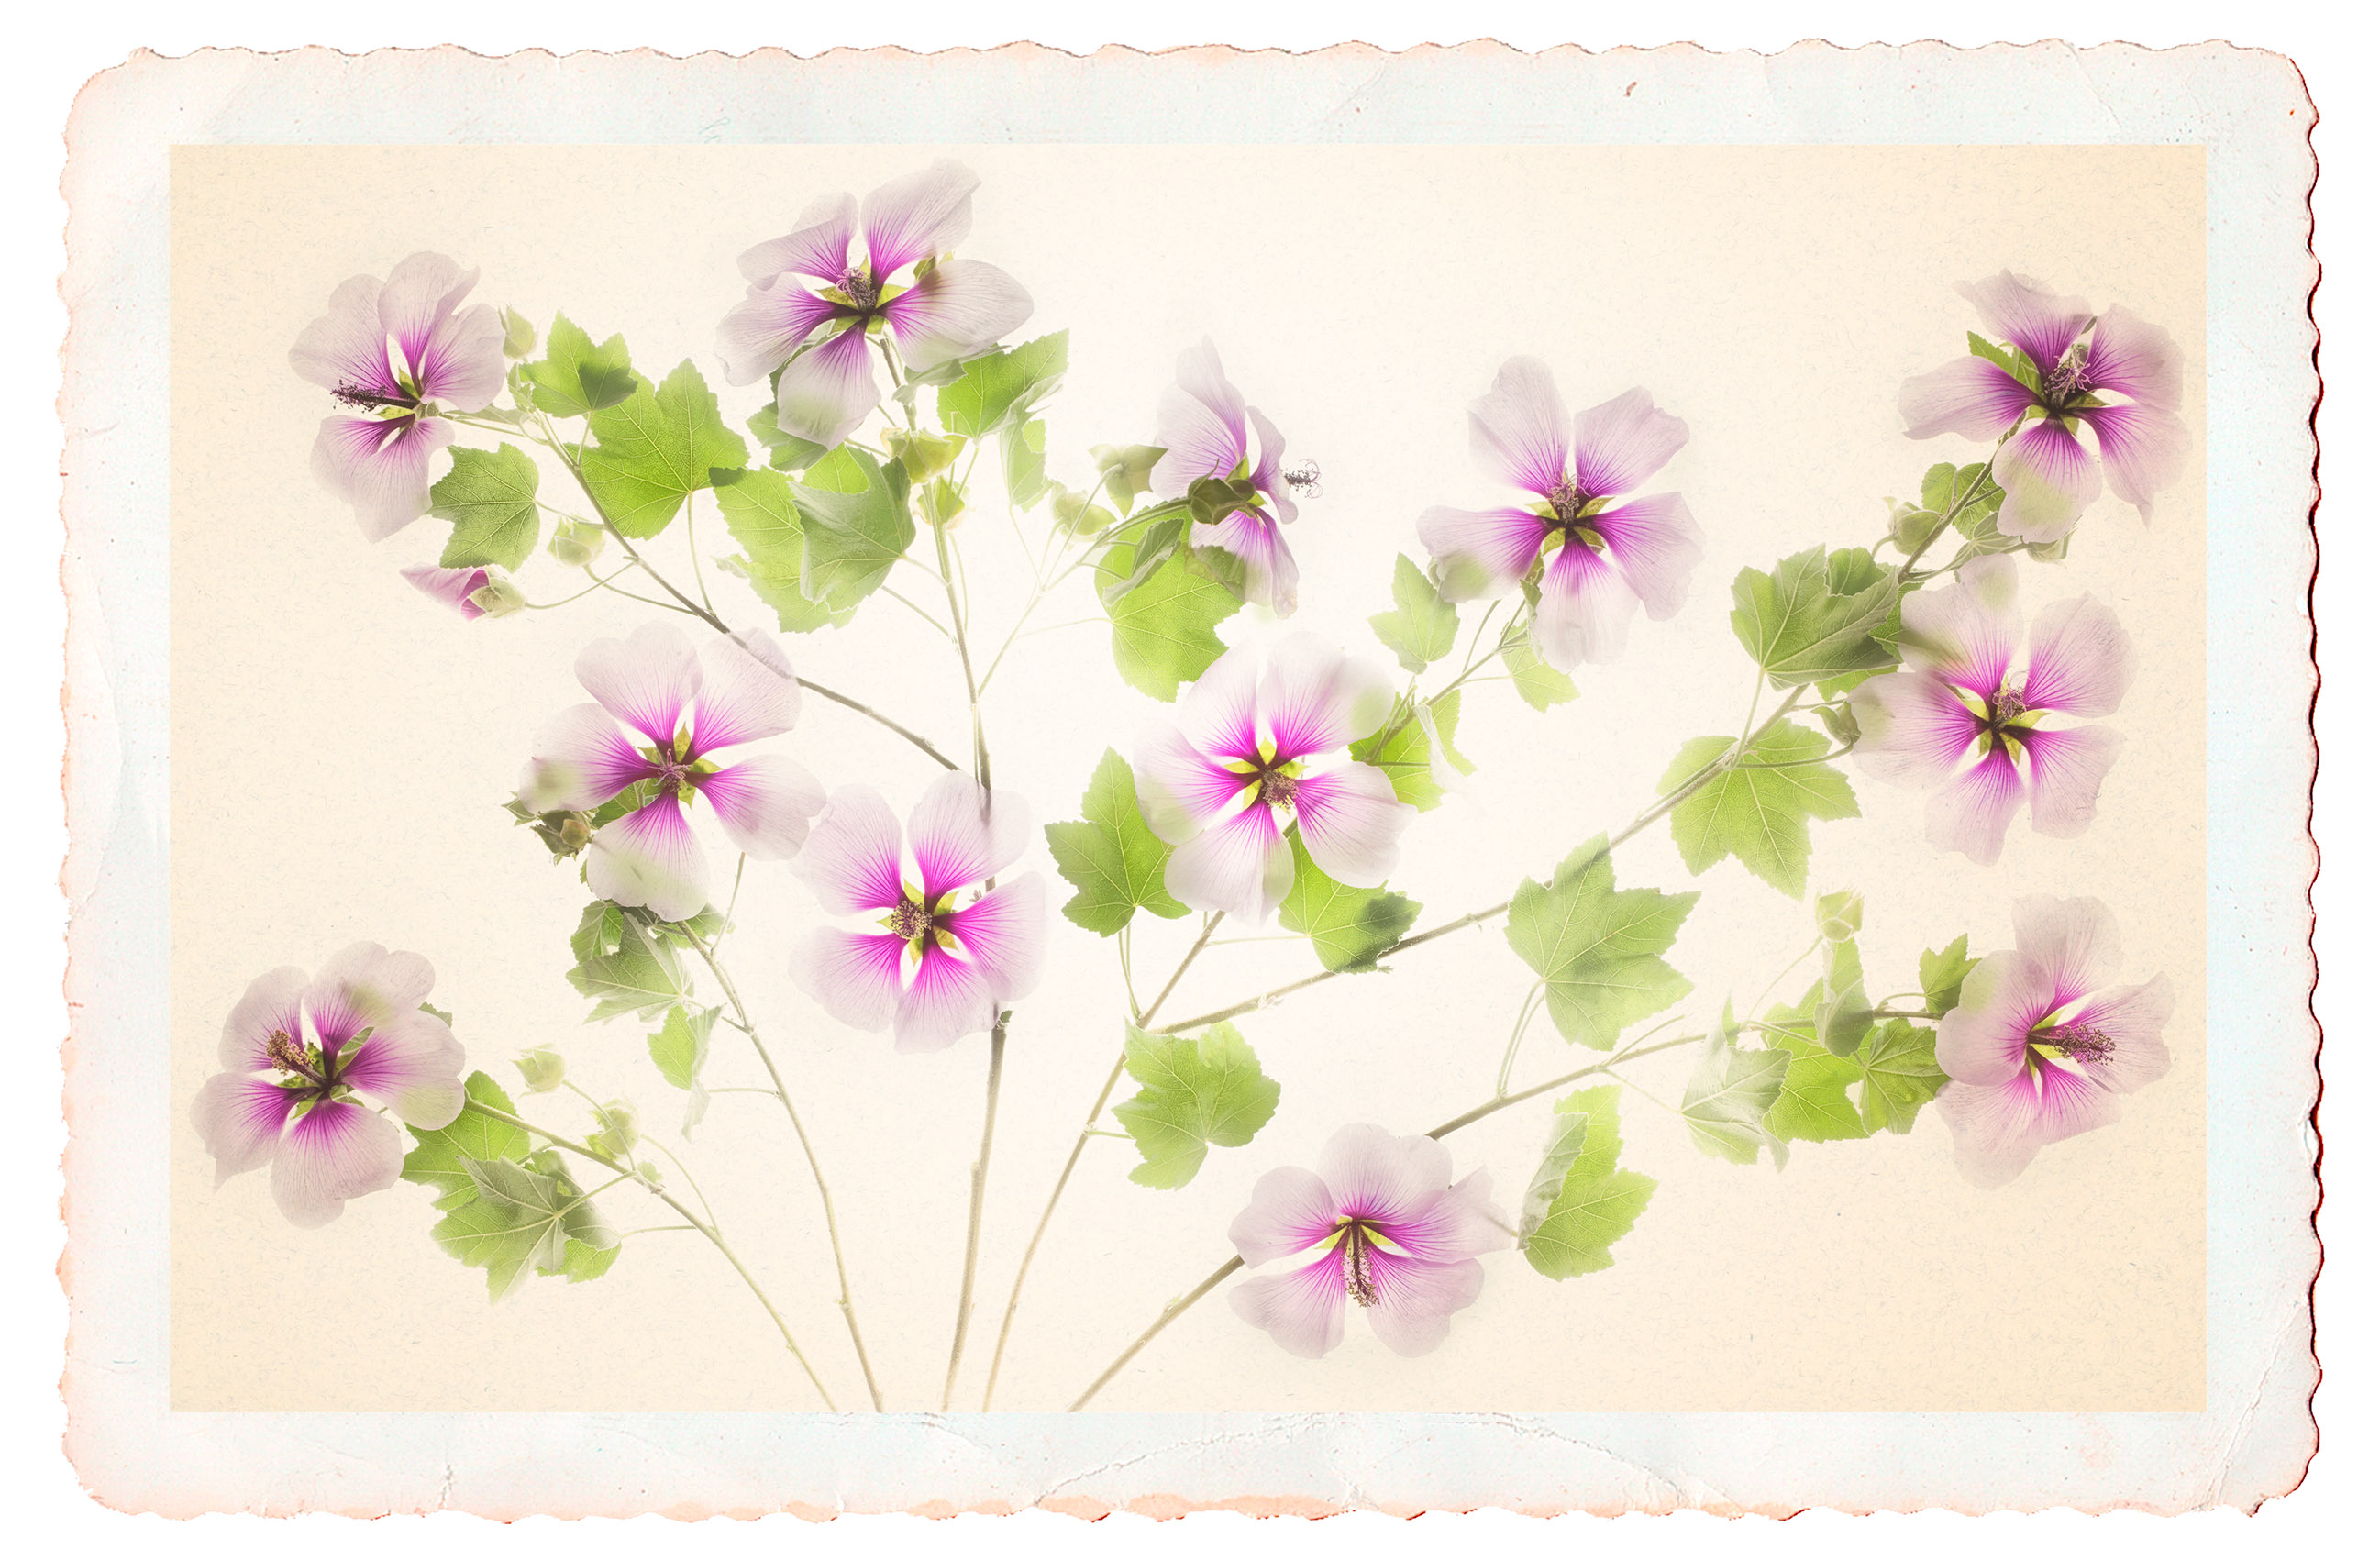
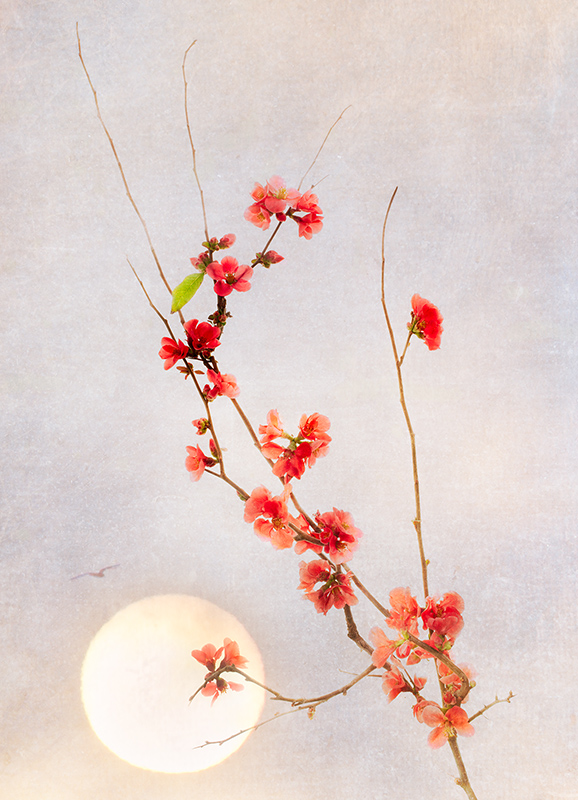
Please explain your photographing flowers for transparency technique. Harold Davis is the inventor of a digital workflow and set of techniques involving specific kinds of back lighting that make it possible to create luminous translucent imagery. These techniques are particularly effective when creating botanical art. At the core of the technique is a method of floral arrangement on a light box, followed by a sequence of aligned and bracketed high-key HDR exposures. Post-processing involves painting in the layers for transparency in Photoshop, and in some cases finishing the images by applying it to a background or adding a texture.
Does this technique use a strobe and modifier? No. Absolutely not. While it would be conceivable to use a strobe as the lighting source for this kind of photography, a continuous lighting source is easier to use because you can immediately see the impact of the lighting on translucency. When used with the Harold Davis technique, the term “light box” refers to a continuous light source with a white diffused cover, such as the ones used for slide sorting or artistic tracing, and not to a modifier used in stroboscopic studio lighting.
What is light box photography? As used by Harold Davis, “light box photography” refers to photography of subject-matter that is not opaque using diffused and continuous back lighting.
How does this technique work? The Harold Davis Photographing Flowers for Transparency technique takes advantage of an important fact about human vision: when a lighter area is next to a darker area, the lighter area is likely to seem translucent. The initial high-key bracketed exposure sequence decomposes the colors in the flowers (or other subject matter), and allows access on the part of the artist to the color sequences that are normally hidden by the opaque outer wrapper of the flower. The process of building up layers in a layer stack from light to dark allows the artist to “paint in” exactly the translucent color sequences that are desired, while maintained the overall shapes and forms of the objects photographed.
What is the difference between transparency and translucency? When an object is translucent, it is partially transparent. Taking this to the limit, a photographic subject that is 100% translucent is referred to as “transparent.” By way of clarification, the Harold Davis Photographing Flowers for Transparency technique generally involves translucency, rather than transparency.
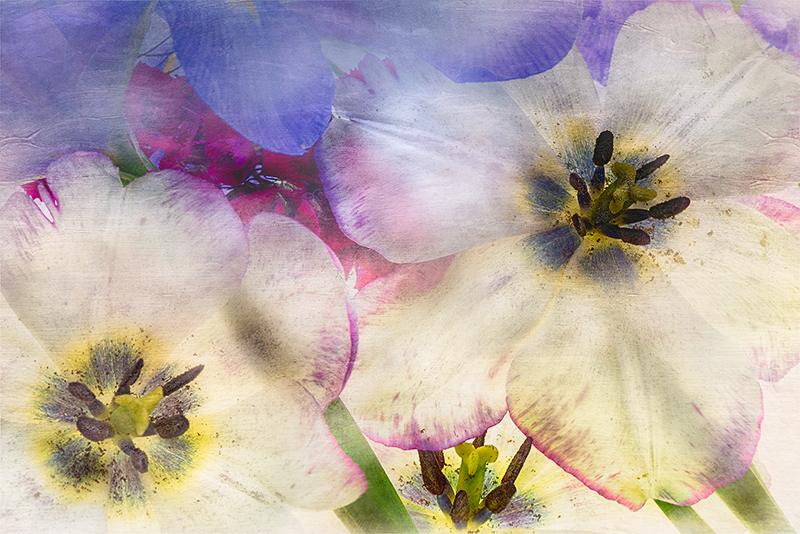
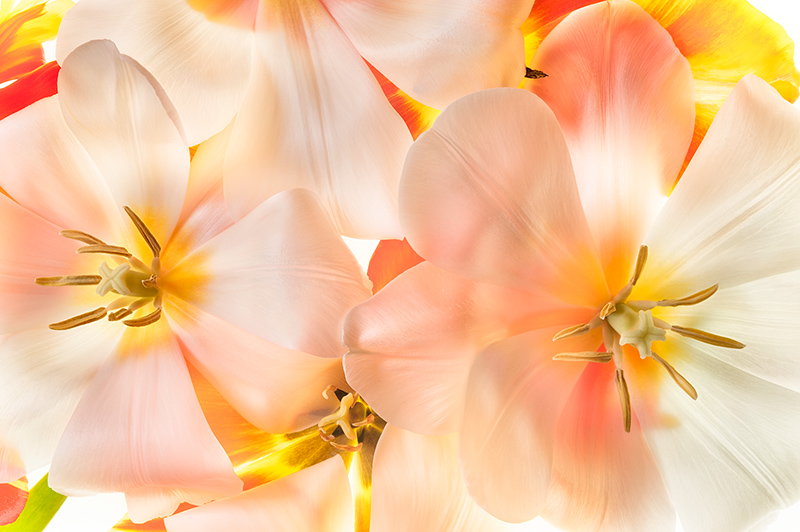
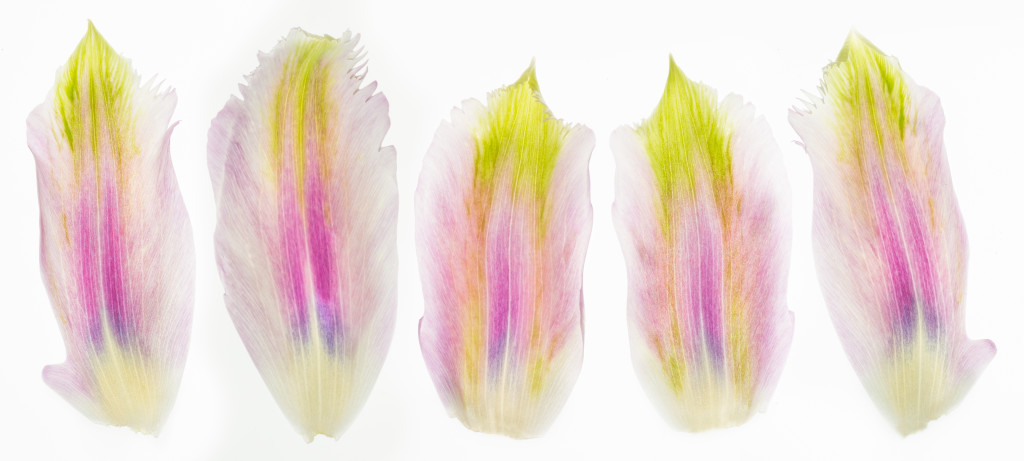
How are you able to flatten flowers such as the tulips without the petals falling off? I know that you use a large piece of glass at times with flowers, but with parts of the flower still standing up (as in your tulip images) I am just not sure how you can do that? Occasionally Harold uses glass for flattening floral arrangements, but mostly this is too crude because it breaks petals. He explains: “I handle the flowers really gently. If you soak them in warm water before photography they often open more, and then once you are ready to photograph it is also often possible to ‘persuade’ them to open further by gently caressing the petals, and carefully placing individual petals where you’d like.”
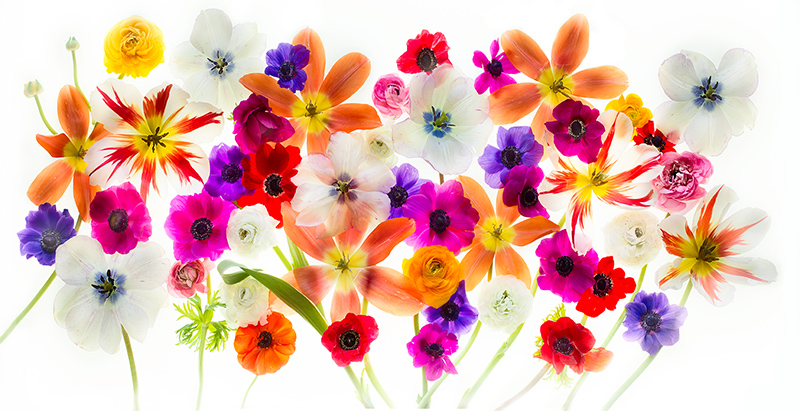
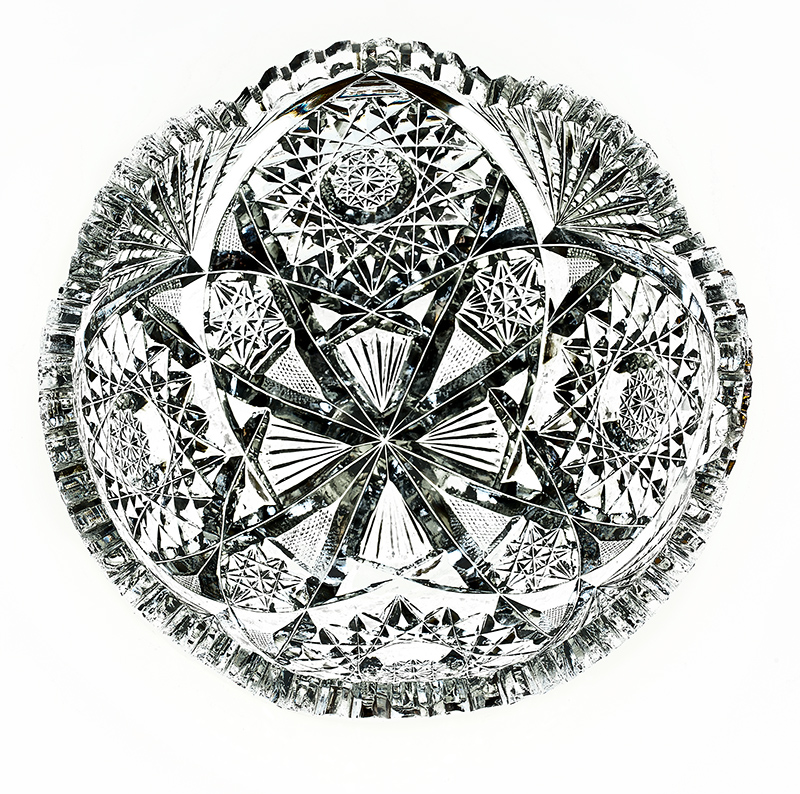
Can you photograph other things besides flowers using this technique? Absolutely. Yes. Many kinds of subject matter work well with this technique. Generally, there needs to be some aspect of translucency. Some of the varied subject matter that Harold Davis has successfully photographed using his technique includes vegetables, insects and glassware.
Where can I learn more about the Harold Davis technique for photography flowers for transparency? You’ll find some material on the techniques involved in Photography Flowers (primarily pages 182-185), Creating HDR Photos (case studies on pages 80-85 and pages 128-131) and in The Way of the Digital Photographer. Please also check out our related FAQ, Using a High-Key Layer Stack.
Harold has also been leading a series of technical webinars that address parts of the workflow involved (recordings are available). Specifically, please check out the Painting in Transparency Using a High-Key Layer Stack webinar recording.
But the best way to learn the process from beginning to end to apply to your own work is to take the acclaimed, hands-on Harold Davis Photographing Flowers for Transparency Workshop.
When are you next giving your Photographing Flowers for Transparency workshop? These workshops are given approximately twice a year. Please see the Harold Davis Workshops & Events page for information about the next Harold Davis Photography Flowers for Transparency workshop.
When will you next be presenting a workshop/course/lecture on your Photographing Flowers for Transparency techniques in my hometown/city/state/province/country?Generally—but not always—my schedule is planned about a year ahead. The best way to be apprised of what I have upcoming is to check my upcoming engagements on my website on the Workshops & Events page, or by subscribing to my email list of blog feed (click here for my Subscriptions page). Note that I am a working artist, and often prioritize protecting my creative space. Occasionally, I will give individual sessions on a bespoke basis (please inquire if interested).
Is the material in the Photography Flowers for Transparency workshop also available in the Harold Davis Craftsy course? There’s a great deal of information in the Harold Davis Photographing Flowers course for Craftsy, but this course does not include information about photographing flowers on a light box for transparency.
Besides your workshops, nothing you reference seems to give a start-to-finish idea about the process. Where can I go to get an overview? You might try the step-by-step description of my process in an article I wrote, Learn to Photograph Flowers for Transparency in Six Steps.
Where can I get my own light box, and what kind should I buy? A consistent light source is the single most important thing to keep in mind. The light box Harold Davis mostly uses is about 24″ by 48″. You can see a setup shot of Harold’s light box here and also a photo and description of how he uses it in Photographing Flowers on pages 184-185. This light box falls in the expensive category. It began life as a slide sorting table, and was made by an outfit in San Luis Obispo, California, Hall Productions, who make expensive, custom bespoke light boxes.
Less expensive light boxes can be found as artist tools at Dick Blick, see http://www.dickblick.com/categories/lighttables/. Almost anything in the Dick Blick category list would probably work, such as this 11X18 light panel: http://www.dickblick.com/products/gagne-porta-trace-led-light-panel/
It is also easily possible to build or improvise your own light box (see “Can I build my own light box?”).
What is the best light source for a light box that will be used for photography? We’ve had good luck with daylight-balanced fluorescent tubes and with LED lights. According to Harold Davis, “Assuming you are shooting RAW, the color temperature of the light source for light box flower photography is surprisingly unimportant, because this can be adjusted in post-production. I have seen good results from a wide variety of light sources.”
My light box is illuminated using LEDs. Do I need to set a custom white balance, or does auto while balance work okay?
If you shoot RAW files, white balance matters less than one might think, because it is easy to adjust after the fact in the RAW conversion process. So I generally just leave my camera on auto white balance when photographing flowers on a light box for transparency. This is a great way to keep things simple, and I urge you to stop reading here unless you are the kind of photographer that embraces technical complexity!
There are several reasons why setting a custom white balance might make sense, and be worth the additional trouble involved.
For one thing, it makes processing a sequence of bracketing images easier if the color tonality in all the images is the same. While normally you’d expect multiple exposures of a single light source such as a light box to yield identical colors (and white balance), the fact that you are bracketing exposures can lead to shifts (as more of the light comes from the light box, and less proportionally from other sources when you move towards the higher-key exposures).
To use a fixed white balance, you can simply dial in a value. For example, most LED lights are roughly 2700 Kelvin degrees. However, the actual white balance in any given situation will also be impacted by incident light. In the light box situation, this means whatever other light sources you use to illuminate the light box composition. So the best practice is to use the color photo-spectrometer built into your camera (if this feature is available) to take a reading of the white balance at a mid-range in exposure sequence, then dial this number into your camera as a fixed white balance setting for all the exposures in the sequence.
Be sure to remember to set your camera back to auto white-balance when you are done with your exposure sequence!
Can I build my own light box? Absolutely. Quite a few of our students have constructed their own light boxes. You can click here to download a detailed plan for a fairly large LED light box that uses less than $100 of materials found in any store such as Home Depot.
How do I clean the surface of my light box? And, in your videos, you sometimes mention using glue. Do you glue right on the surface of the light box? Light boxes that are used for flower photography do get dirty, both with pollen and sap from the flowers. The first resource for cleaning them is simply a damp cloth, or paper towel and water. With harder-to-remove sticky stuff, we’ve also found that Isopropyl Alcohol (“rubbing alcohol”) works wonders.
Please keep in mind my perspective that tools are meant to be used: I will use cameras (and light boxes) in potentially dirty environments to get a great image, and worry about cleaning them later.
Gluing directly to a light box surface is a bit dicey, and depends on the kind of glue. It is okay to do this with Museum Gel, which is meant to be applied and easily removed without causing damage. But I wouldn’t use glue that isn’t intended to be easily removed directly to a light box surface. A work-around for this is to use the glue on a small piece of glass (or clear plexi) which can then be placed on the light box, and will not show in the photo.
Will Photoshop Elements work for your Photographing Flowers for Transparency technique? Probably you can use PS Elements, but I do not recommend it.
Let me clarify: The key features you need for my Flowers and Transparency technique are layers and layer masking. PS Elements provides these features, but in a different interface than the full Photoshop, and also w/o the full power of Photoshop.
So my recommendation is to “bite the bullet” and start with Photoshop rather than Photoshop Elements. Please also note that my Photographing Flowers for Transparency workshop and Using a High-Key Layer Stack webinar show the work being done in the full Photoshop, and not in Elements.