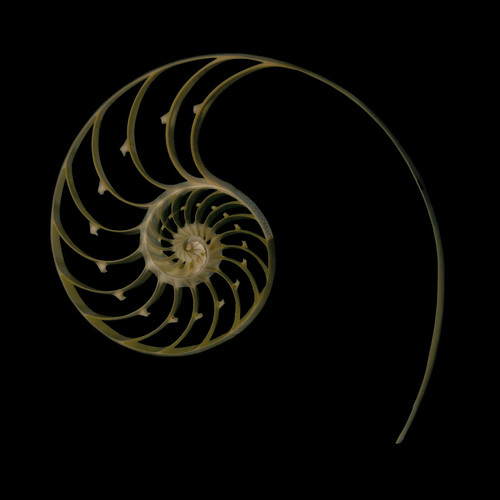
Nautilus Cross Section, photo by Harold Davis. View this image larger.
Continuing with my simplicity kick, I shot this Nautilus cross-section a while back on a light box. To process the image I used a number of tricks from the Photoshop darkroom:
- First, I converted the image to LAB color, and inverted the Lightness channel to place the image on a black background.
- The shell was too dark on the background once it had been inverted, so I layered the original version back on top. I used Blend If in the Layer Style Blending Options dialog to get only the shell portions of the image modified, and used a layer mask to further refined the changes I needed.
- I converted the image back to RGB, and layered a version that I had equalized in LAB back over it. In this version, the shell was very dark. The Divide blending mode (new in Photoshop CS5) applied at low opacity (7%) allowed me to feather in a touch of additional special lighting effects because essentially it blended the dark layer as its opposite—attractively bright.
If all this sounds complex, it is easier to do in practice than to read abstractly. Work on an actual example of your own and you’ll get the hang of it quickly!
For more about post-processing, check out The Photoshop Darkoom: Creative Digital Post-Processing and our upcoming now-in-progress sequel filled with many new techniques, The Photoshop Darkroom 2: Creative Digital Transformations.