
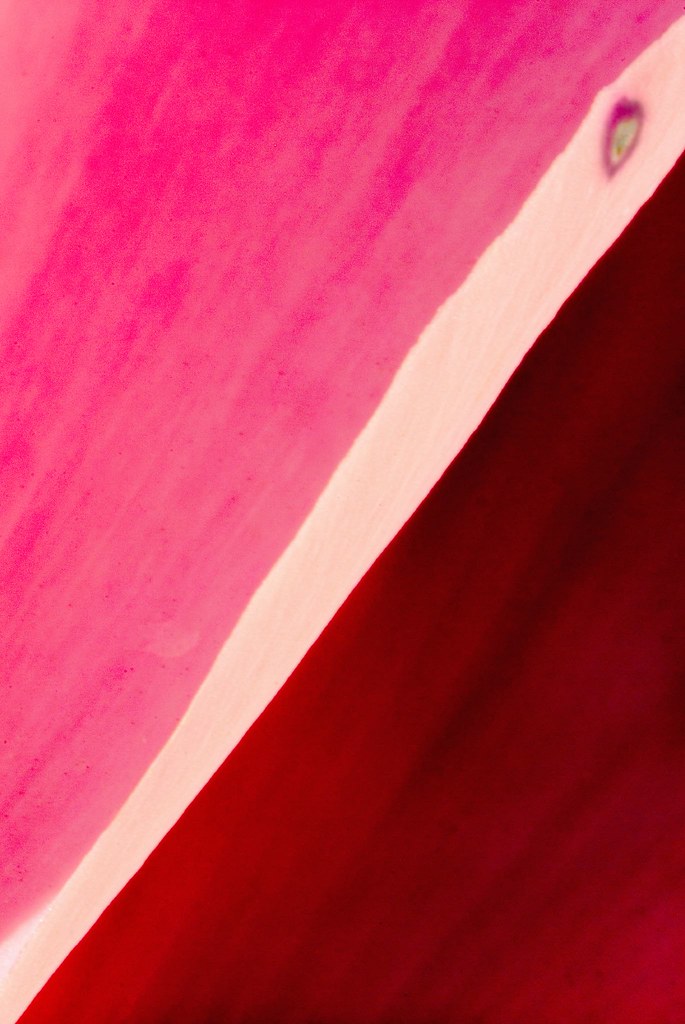
I like this extreme close-up of a cyclamen flower for its abstraction and graphic simplicity. True, it may never knock anyone’s socks off for drama, but it moves me when I consider that this is the petal of a flower. (Here are another pair of cyclomen images from last year.)
For me, there’s also a technical hurdle overcome in the post-processing of this photo. Here’s the story. When I looked at the RAW file of the photo in Adobe Bridge, I saw that I would need to combine three exposures, one for the top petal, one for the bottom darker petal, and one for the light petal edge in the center of the image. This kind of portional image processing from the RAW original is pretty typical. It’s been remarked that it is taking the Ansel Adams zone system to a place where only digital could bring it, by allowing saturated exposures all along the dynamic range of the photo.
Typically, I combine the different exposures from the RAW original using layers and layer masks. You can either paint on the layer mask, or use a gradient to selectively add portions of the image.
My problem was dealing with the white center of the image, which needed to be underexposed relative to the other image components. I saw immediately that neither paint brush nor gradient technique would really work here. Gradients were clearly out, as there was nothing to blend. Using a paint brush on the relatively small center strip would lead to a halo effect around the strip, no matter how careful I was. It was time to create a layer mask using brains, not brawn.
Here’s what I did. I took a duplicate of the center component exposure and converted it to LAB color. Next, I inverted the luminosity channel to come up with a reverse image of the white strip (it was now mostly black). I threw away the A and B color channels, leaving me with an alpha channel, which I converted to Grayscale and then back to RGB mode. I then used Image > Apply Image in Photoshop to convert the inverted black and white RGB image into a layer mask for the layer that I was using to control the exposure on the white strip. This worked perfectly.
The Image > Apply Image command (and related dialog) seems pretty confusing, and it took me a while to get it to work right. The secret is to remember that the active image in Photoshop will always be the target for the command. So I had to make sure that the right layer in the image I was working on (and not in the image that was to become the layer mask) was active before invoking the command. I also had to make sure to check the Mask box in the Apply Image dialog to convert the inverted image into a layer mask.
All that said, this is a great time saving technique that is a lot more accurate than selecting or painting. I think that one will often be able to find a channel in one color mode or other than can easily work well as a layer mask.
Pingback: Photoblog 2.0: » Photoblog 2.0 Archive: » In the Bag
Pingback: Photoblog 2.0: » Photoblog 2.0 Archive: » Nautilus 69