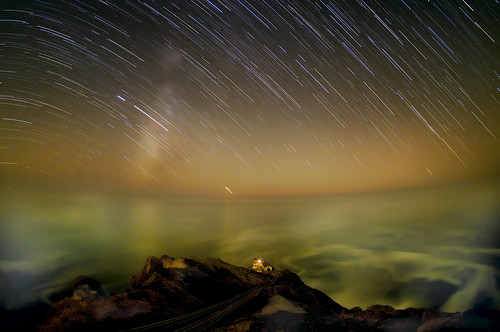
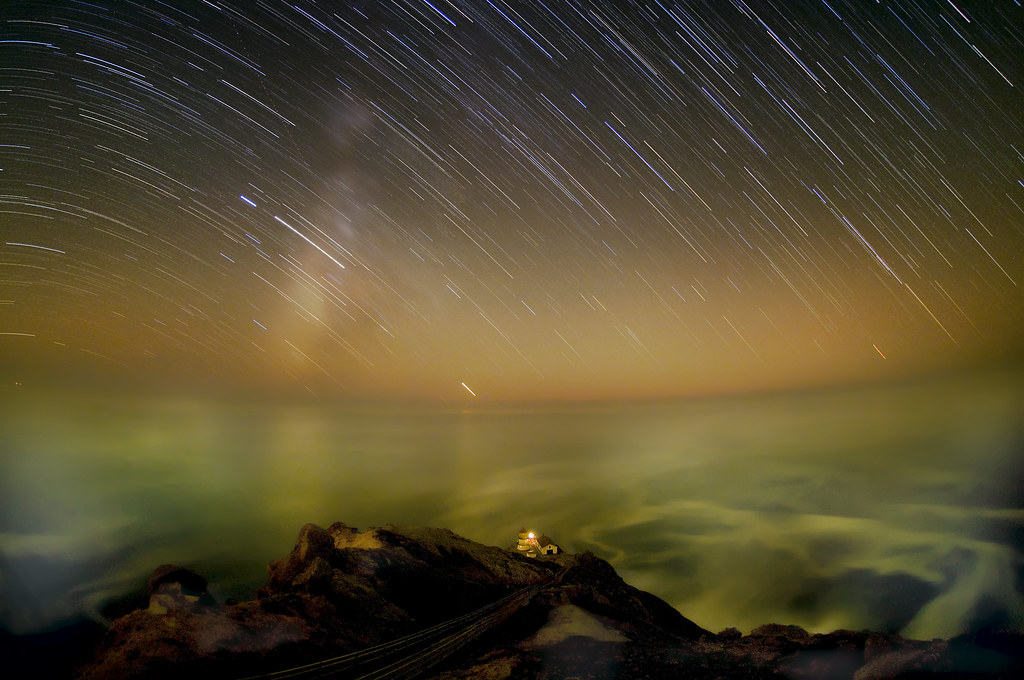
Edge of Night, photo by Harold Davis. View this image larger.
“Holy Stacking Star Trails, Batman!”…As many of you know, I’ve been shooting and then stacking star trails lately. The idea is to take numerous “shorter” exposures that include the night sky, rather than one longer exposure. The shorter exposures are then composited together (they are “stacked” one on top of other).
A set of exposures that can be composited together to create an interesting star trail image is not always the easiest thing to achieve. But the technique does have some potential benefits compared to a single very long exposure:
- A stacked composite image is less noisy than a single very long exposure.
- The effective exposure time possible with a single battery is extended by segmenting the exposure (see my comment about long exposure noise reduction below).
- Single captures that contain disturbing elements such as airplane trails or light from the photographer’s headlamp can be eliminated from the stack if desired. In other words, stacking gives you granular control over the time slices.
The most important thing when attempting to photograph star trails for stacking, of course, is to find the right view. Ideally, the scene should be free of ambient light—this goes for moonlight, city light pollution, and car headlights. Since my star trail images include a landscape in the foreground, I like to find a location in which the general scene (and not only the night sky) is interesting.
To get the effect of circular star trails, your camera should be pointed north. Polaris, the North Star, will be stationary in the center of circular moving stars. Between Earth and Sky illustrates this well.
In addition, the wider the angle of the lens you use the greater the curvature effect in the star trails. I exclusively use extreme wide angle lenses for these images, most of the time my 10.5mm digital fisheye lens.
The trick to exposing the multiple images is to expose for the starlight itself. This means at ISO 100 each individual exposure should be about four minutes at f/4 or f/5.6. (I’ll also be experimenting with using ISO 200 for the sensitivity setting.)
If you stack 12 four minute exposure times you get a total elapsed time of about 48 minutes. To achieve this, you need a sturdy tripod and a programmable timer. In this example, you put the camera on manual exposure and Bulb. Next, set the time for 12 exposures, each of a duration of four minutes, with a four minute and one second interval between the start of each exposure.
It’s important to turn in-camera long exposure noise reduction off. As I noted earlier, this gains you battery life (and noise reduction for the four minute exposures wouldn’t help you much with the star trail portions of the images). If you left in-camera noise reduction on (which I generally do for longer “straight” night time exposures like Stars Rush In or Tennessee Beach at Night), the elapsed duration following the start of the exposure would be far greater than four minutes, and the four minute and one second interval setting wouldn’t work. Even if you could figure out the right interval, the “missing” time would leave gaps in the trails.
I often like to also expose a longer exposure of the foreground, for example eight minutes at ISO 100 and f/2.8. I’ll use in-camera long exposure noise reduction on this one, so the actual time it takes is close to 16 minutes. If this foreground exposure turns out well, I’ll blend it into the composite using a layer mask and gradient. Here’s more about post-processing stacked star trails. Worth noting: I use the Unsharp Mask filter on the Luminance channel of the star trails, to bring out their detail, but I leave the foreground relatively soft.
Here are some of my recent stacked images in the order I made them (so you can witness my learning curve!), with links to the stories I wrote about creating the images.

|
Within the Photoshop Statistics script, the default setting, Mean, produced some kind of average sampling, not a very striking result. Standard deviation was interesting, but not ultimately satisfying. Range was good, but Maximum was best. My assumption is that this blended in the maximum value for every sampled point, so it makes sense that it produced the brightest star trails….Night Vortex |

|
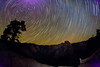
First I tested the light with a one minute exposure at ISO 800 at f/3.5. Then I made an eight minute ISO 100 exposure (with in-camera long exposure noise reduction enabled) for the foreground. This image in its entirety is found below (I think it is interesting in its own right, with the still stars at the center and circular star trails around the edges)…..Between Earth and Sky |
|
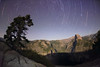
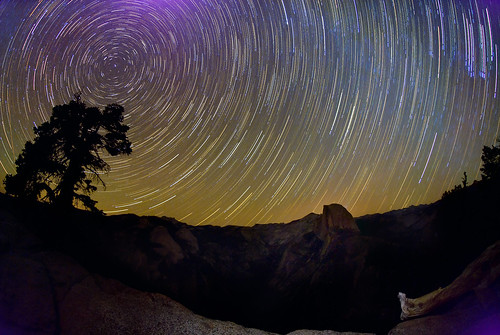
This one is a combination of sixteen exposures, taken early enough in the night that the moon was still lighting Tenaya Canyon and Half Dome….Yosemite by Moon and Star |
|
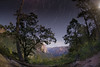
Taken from old Inspiration Point, this image uses a layer mask and gradient to combine a brighter foreground image with a stacked set of captures exposed for the sky and stars….Down in the Valley |
|
Many of my night photos are created in homage to Vincent van Gogh, who wrote in a letter to his brother Theo, “It often seems to me that the night is much more alive and richly colored than the day.” The star swirl in this image seems particularly van Gogh, so I thought I’d name this one Starry Night, after one of his most famous works….Starry Night |
|
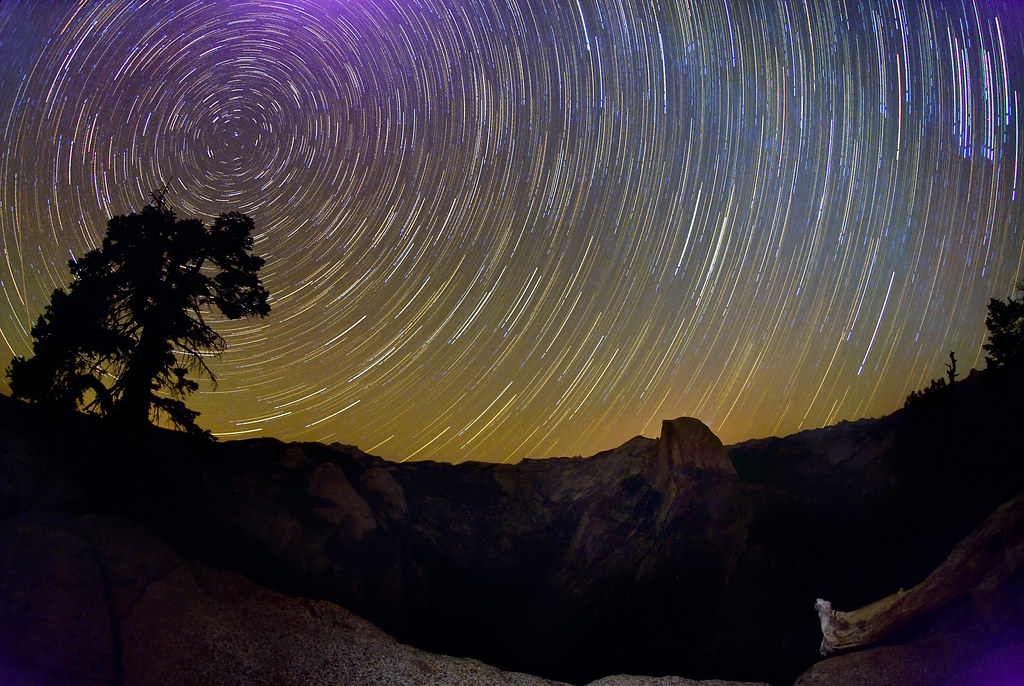
This fisheye starry night stacked photo from Glacier Point consists of 12 captures at four minutes and ISO 100 and f/3.2, and one high ISO capture at four minutes and ISO 800 and f/4. The bright purple comes from sensor flaring in the higher ISO capture in the stack. I intentionally left the foreground dark (the way it looks in the individual exposures) rather than trying to blend in a brighter foreground….Starry Night 3 |

|
Last night at Kirby Cove the weather was balmy. I ate a chicken sandwich from Bakesale Betty’s in the dark and called home to say goodnight to the kids while the timer took care of generating thirteen exposures, each at four minutes and f/5.6 (ISO 100). I had to throw away one of the exposures later because the airplane trails in it were just too distracting….Bridge and Stars |

|
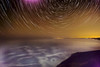
Against the backdrop of pounding surf and a light mist on the ocean, I photographed star trails behind Point Reyes Lighthouse in this portrait of the edge of night….Edge of Night |
|
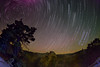
This view is looking north out from the tip of Point Reyes across Bodega Bay. This is a storm-bound, windswept coast, often shrouded in fog, so I was lucky to get clear skies for the star trails….Night View of Bodega Bay |
Starry Night 3, photo by Harold Davis. View this image larger.
Pingback: Photoblog 2.0: » Photoblog 2.0 Archive: » Pigeon Point
Pingback: North Fork | Photoblog 2.0
Pingback: Star Trails: A great way to bring something different home from your safari | Chobe Safari
Pingback: Photoblog – Suprada Urval » My Night Photography Techniques
Pingback: Alabama Hills at Night | Photoblog 2.0