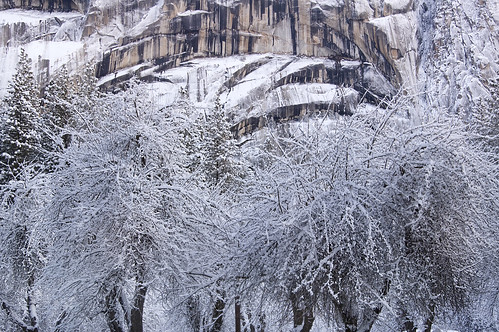
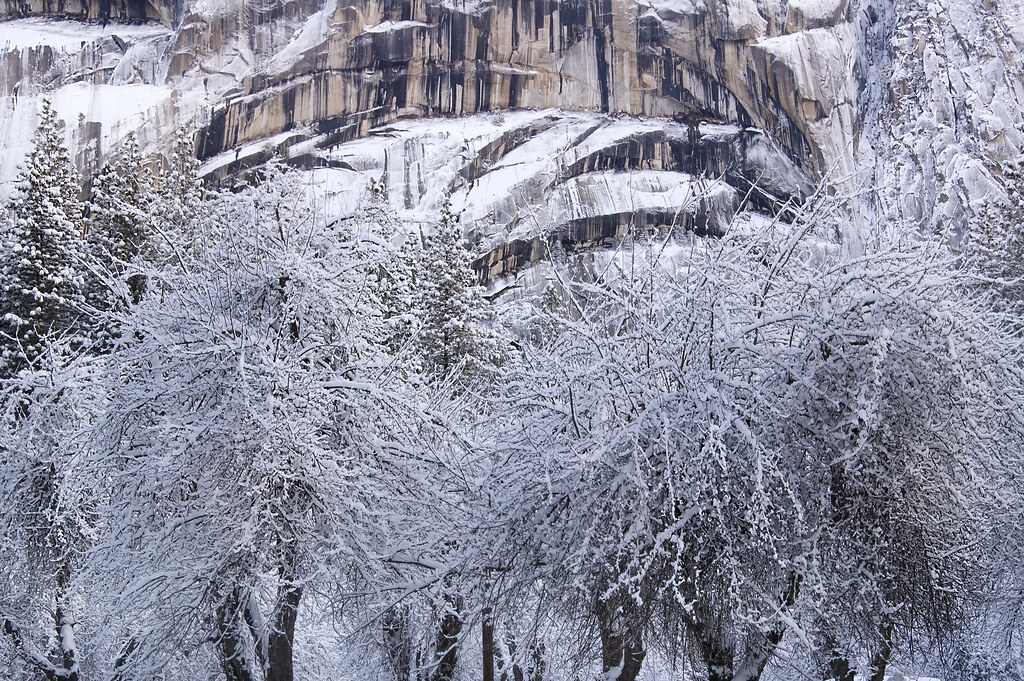
Ice Storm in Yosemite, photo by Harold Davis. View this image larger.
This is a photograph of an ice storm in Yosemite Valley. The lines in the ice on the trees could easily have looked “yucky” when they were sharpened. We’ve all seen oversharpened photos. Yucky. Now there’s a technical term for you!
Fortunately, there is a better way than conventional sharpening tools. I use the image of the Yosemite ice storm to demonstrate the sweetness of selective sharpening with LAB color for compositional purposes in my latest Photo.net column about creativity in the Photoshop darkroom.
Here’s the full description: This tutorial has nothing to do with turning blurry or shaky hand-held images into tack sharp masterpieces. Rather, the point of the article is to teach you how to sharpen selectively or compositionally using LAB color. This can be done to direct the viewer to certain parts of the image. Harold Davis walks you through how to convert to LAB color, and then how to apply a series of sharpen masks and layers to selectively and artistically sharpen your images.
Check out Sharpening in LAB Color, and then try your hand at sharpening your own images with this way cool technique.
Pingback: Ghost | Photoblog 2.0