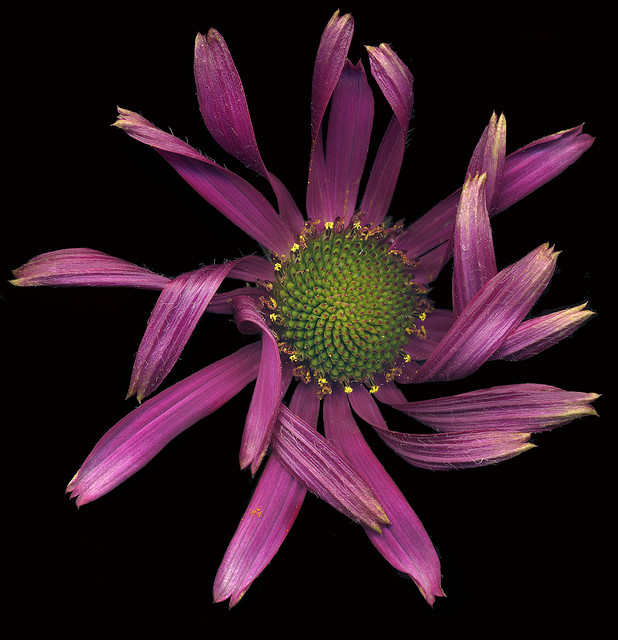
I was reminded of the very high resolution you can get from an inexpensive flatbed scanner recently when there was interest in a large print from one of my scanned flower images. With both the images shown here, the basic image was created on the scanner but I also photographed the flower, and blended the files from the camera and scanner.
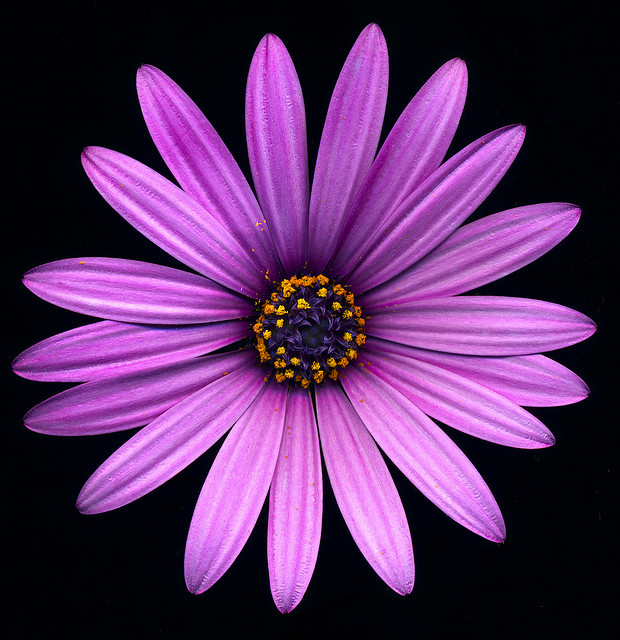
Generally, flatbed scans can give you a very high resolution, but depth-of-field is very shallow. There’s no way to adjust depth-of-field, as you do by stopping down a lens. The ability to capture depth is also limited. If you try this technique, expect to spend a great deal of time spotting out dust, which almost always accompanies scanner images, particularly if you use a black (or dark) background. Combining a scan with a photo in some ways gives me the best of both worlds!
Harold Davis
29 Jul 2014I’ve been getting a great many questions about how I combined the scan and the photo. For example, “How did you manage to keep the flower in the exact same position when you removed it from the scanner to photograph?”
To which the high-level reply is “Carefully!” More prosaically: “Regarding the scan/photo combination, what I did was photograph the same flower straight down on a black background, then resized both the scan and the photo to the same size/resolution, then used elements from each (mostly the scan with a few of the florets from the photo).”
The follow-up question: “I guess I am not sure I follow. You took a flower,and photographed it. Then you MOVED the flower onto the scanner? If so, how did you keep each petal and detail aligned? Or were you just cloning tiny bits of one onto the other, where it did not matter if they aligned?”
My response: “No, alignment mattered. I scanned it first, then carefully turned it over on a black background trying to keep the position more or less the same. I then resized in Photoshop to get the alignment right. You’ll find quite a few techniques along these lines in my book Photoshop Darkroom 2: Creative Digital Transformations.”