Rose Curves Ahead
A bouquet of luscious white roses came home one day. The interior curves of these roses attracted me with their grace and serenity, and I decided to photograph them close-up…
0 Comments
January 17, 2024
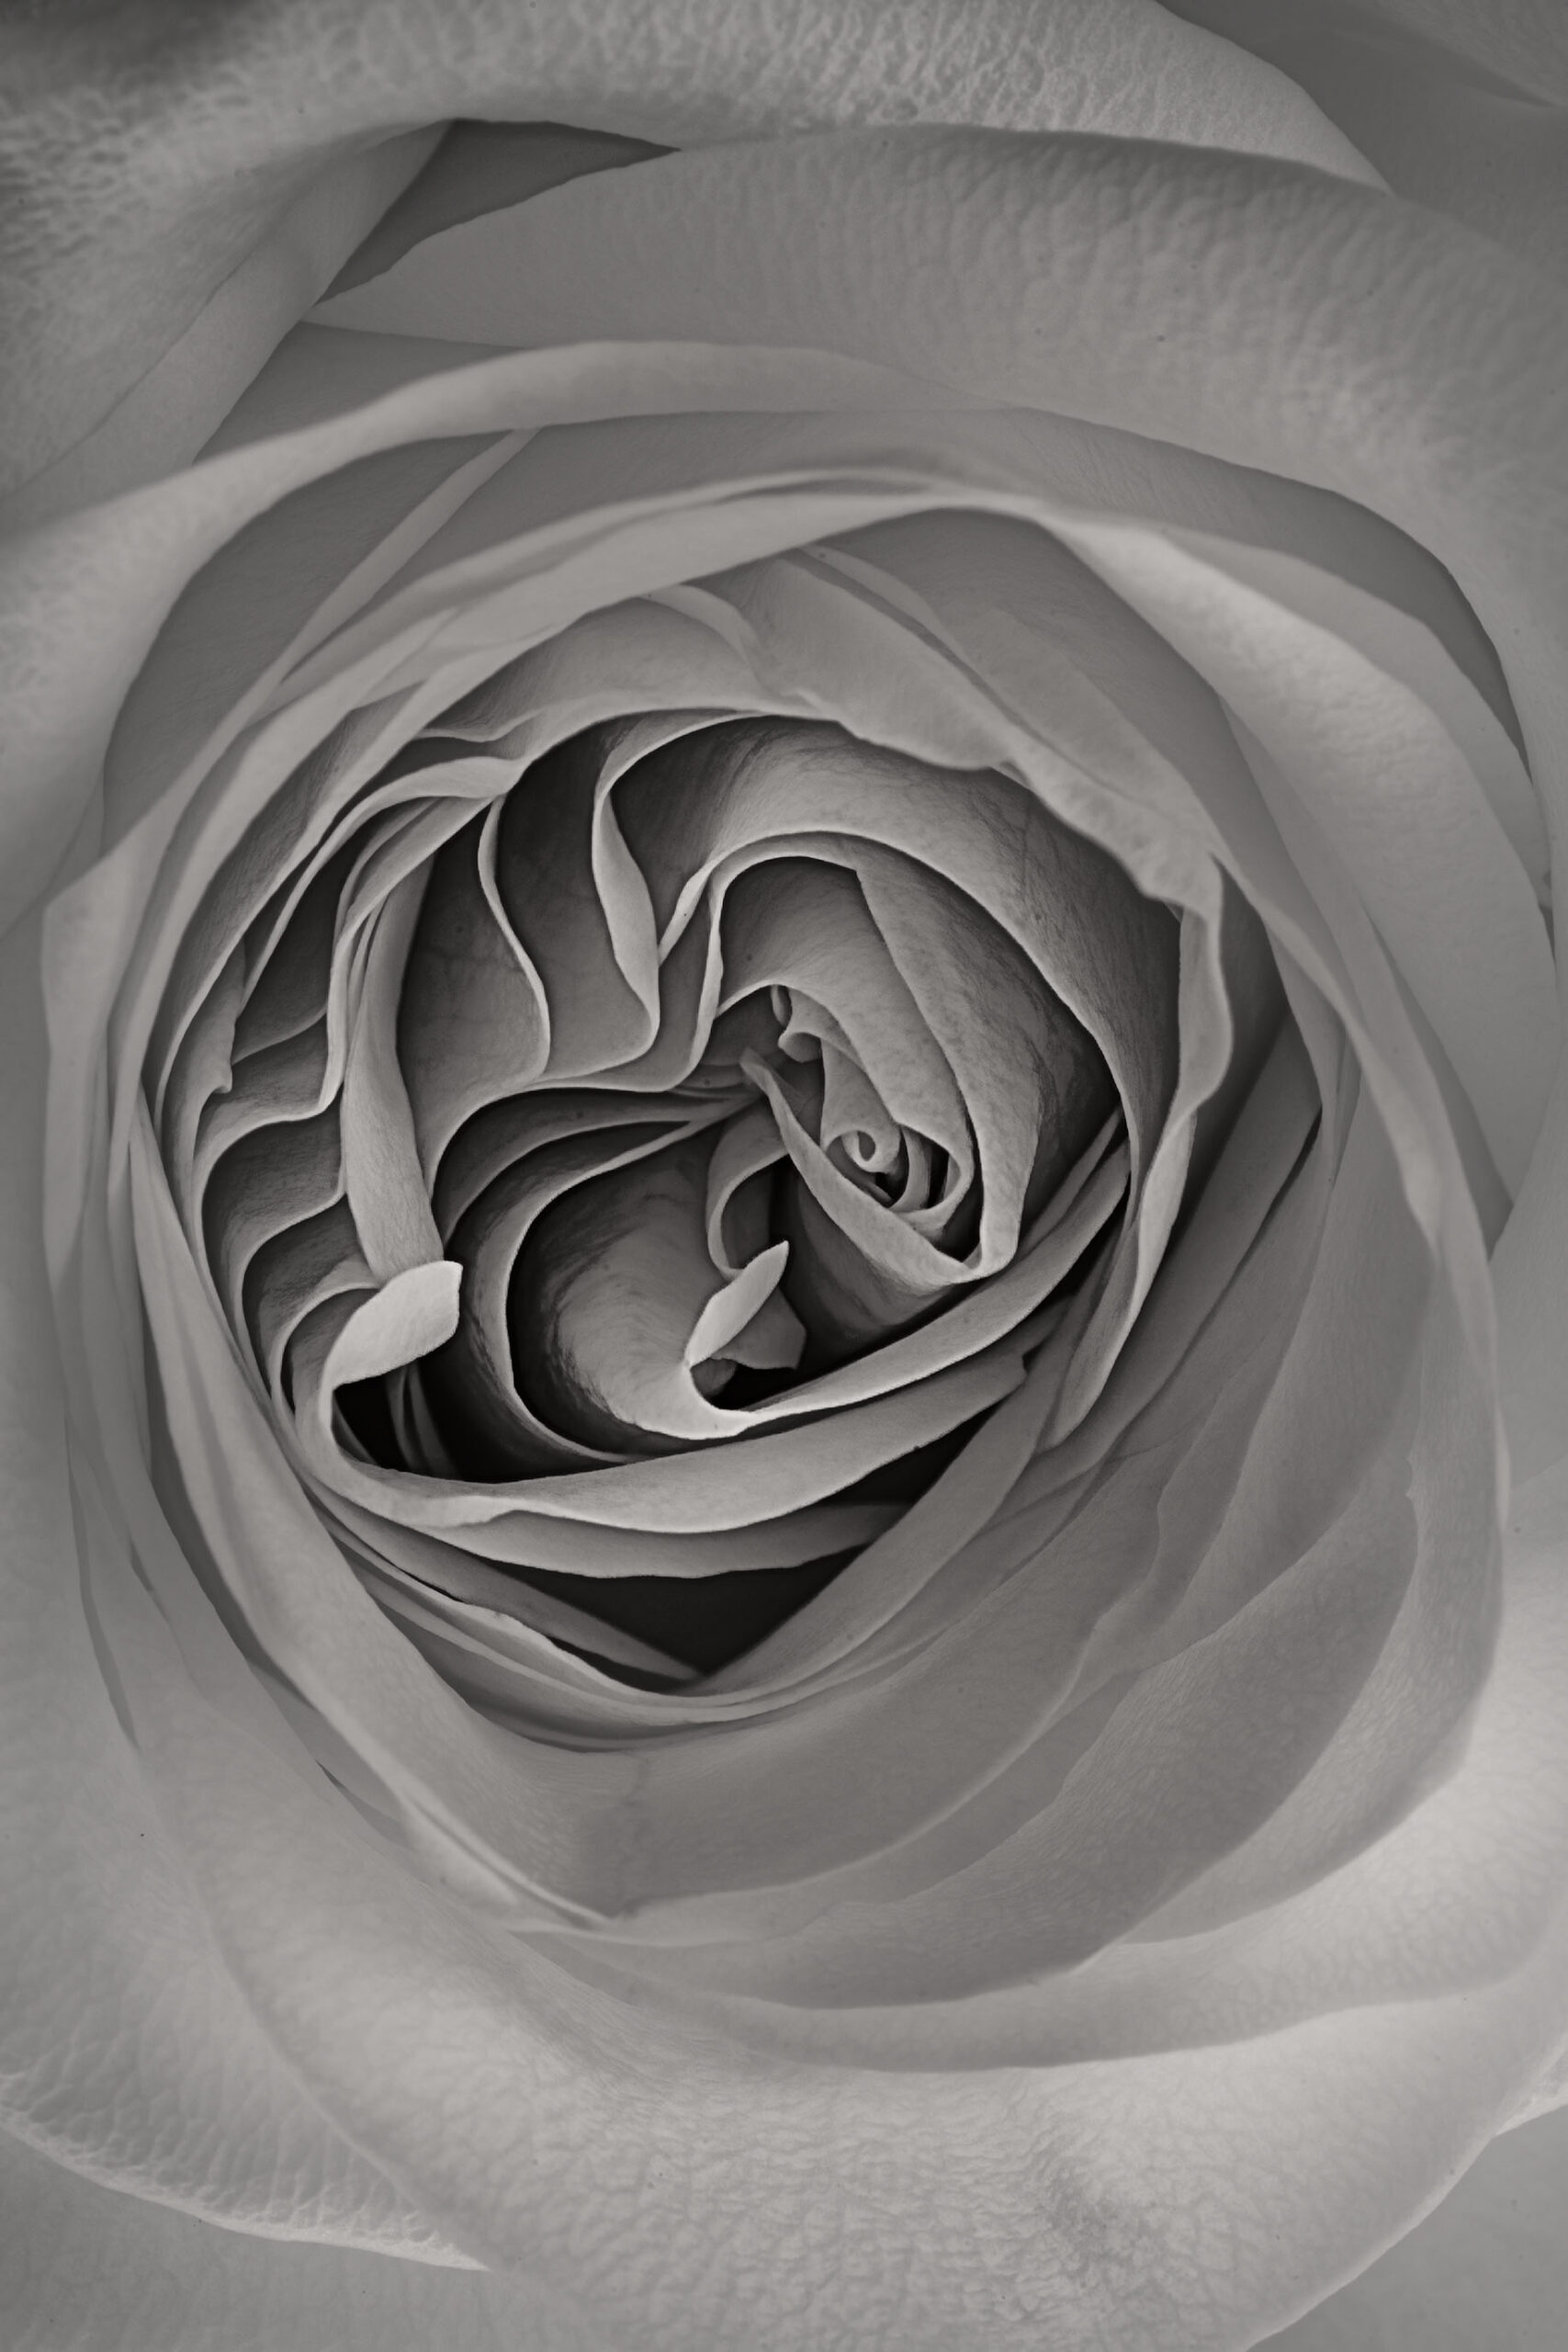
A bouquet of luscious white roses came home one day. The interior curves of these roses attracted me with their grace and serenity, and I decided to photograph them close-up…
Shadows can play a big role in monochromatic photography. If you are interested in making compelling black and white images consider the important role that shadows play in this kind…
When I was young, my parents, my brother and I traveled with Raymond Smullyan. Raymond was a mathematician, logician, writer, classical musician, and---most important from my child's eyes perspective---a magician…
Recently I processed this image from Orvieto, in Umbria (Italy). In the morning the fog was thick. I took advantage of the evocative lighting, and framed an ancient, cobblestone passage…
I took advantage of the mirrors in my dressing room in the hotel in Trieste to create a "recursive" image along the lines of the Droste effect (immediately below). This…
This image is a pretty straightforward x-ray of a rather small Dahlia blossom. Julian and I made the exposure last week at his radiology practice near Heidelberg. In post-production, I…
I photographed Country Lane (shown below) adjacent to a castle that is fairly close by. The overall lighting, mood, and feeling of the image reminds me of Road Less Traveled (shown…
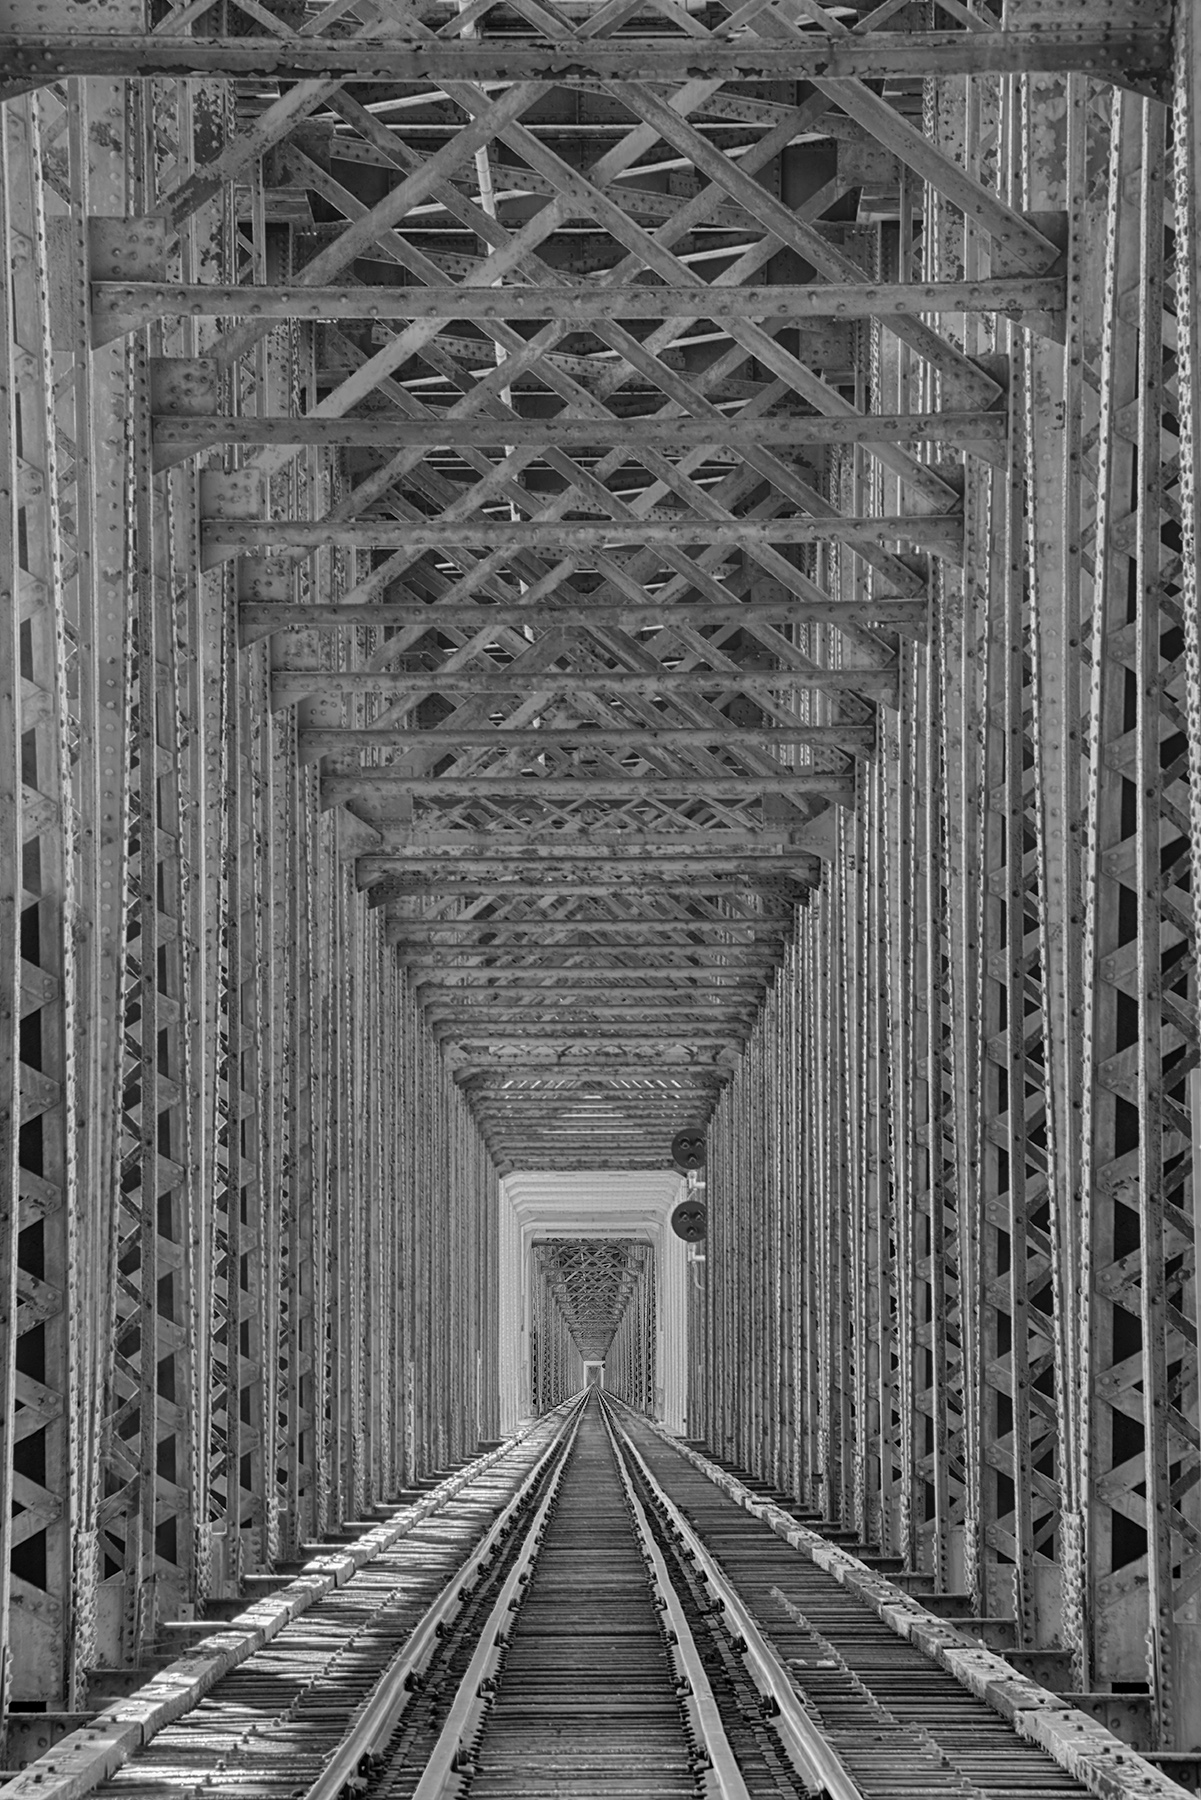
Today I photographed a marvelous train viaduct, built in the 1800s using the same engineering principles that the Romans used. The Himbachel Viaduct is still in use by trains today.…
Baden-Baden is a prosperous spa town at the edge of the Black Forest and near Germany's border with France. A famous place to try to recuperate from tuberculosis in the…
A short trail through the woods leads to the ruins of the Three Castles---more like three towers, really---that are perched on a ridge above Eguisheim, Alsace, France. The structures date…
Taos Pueblo is a World Heritage Site, and believed to be the oldest continuously inhabited structure in North America. The core of the present adobe complex was probably initially built…
I was photographing some derelict factory buildings in La Jara, Colorado, when a natty gentleman came out of the mostly disused train station beside the overgrown train tracks. He was…
I'm excited to be headed back to Italy this autumn, and have been looking through my archives. What work have I done in Italy, and how can I make progress…
Here are a few of my favorite monochromatic black and white images that I haven't posted in a long time. Apparently, despite its success as a large-sized print, Bolinas Beach…
Artichokes are good to eat. They are a real treat. You peel the leaves to the "meat" inside, in a spiral motion that echoes the visual path in this great,…
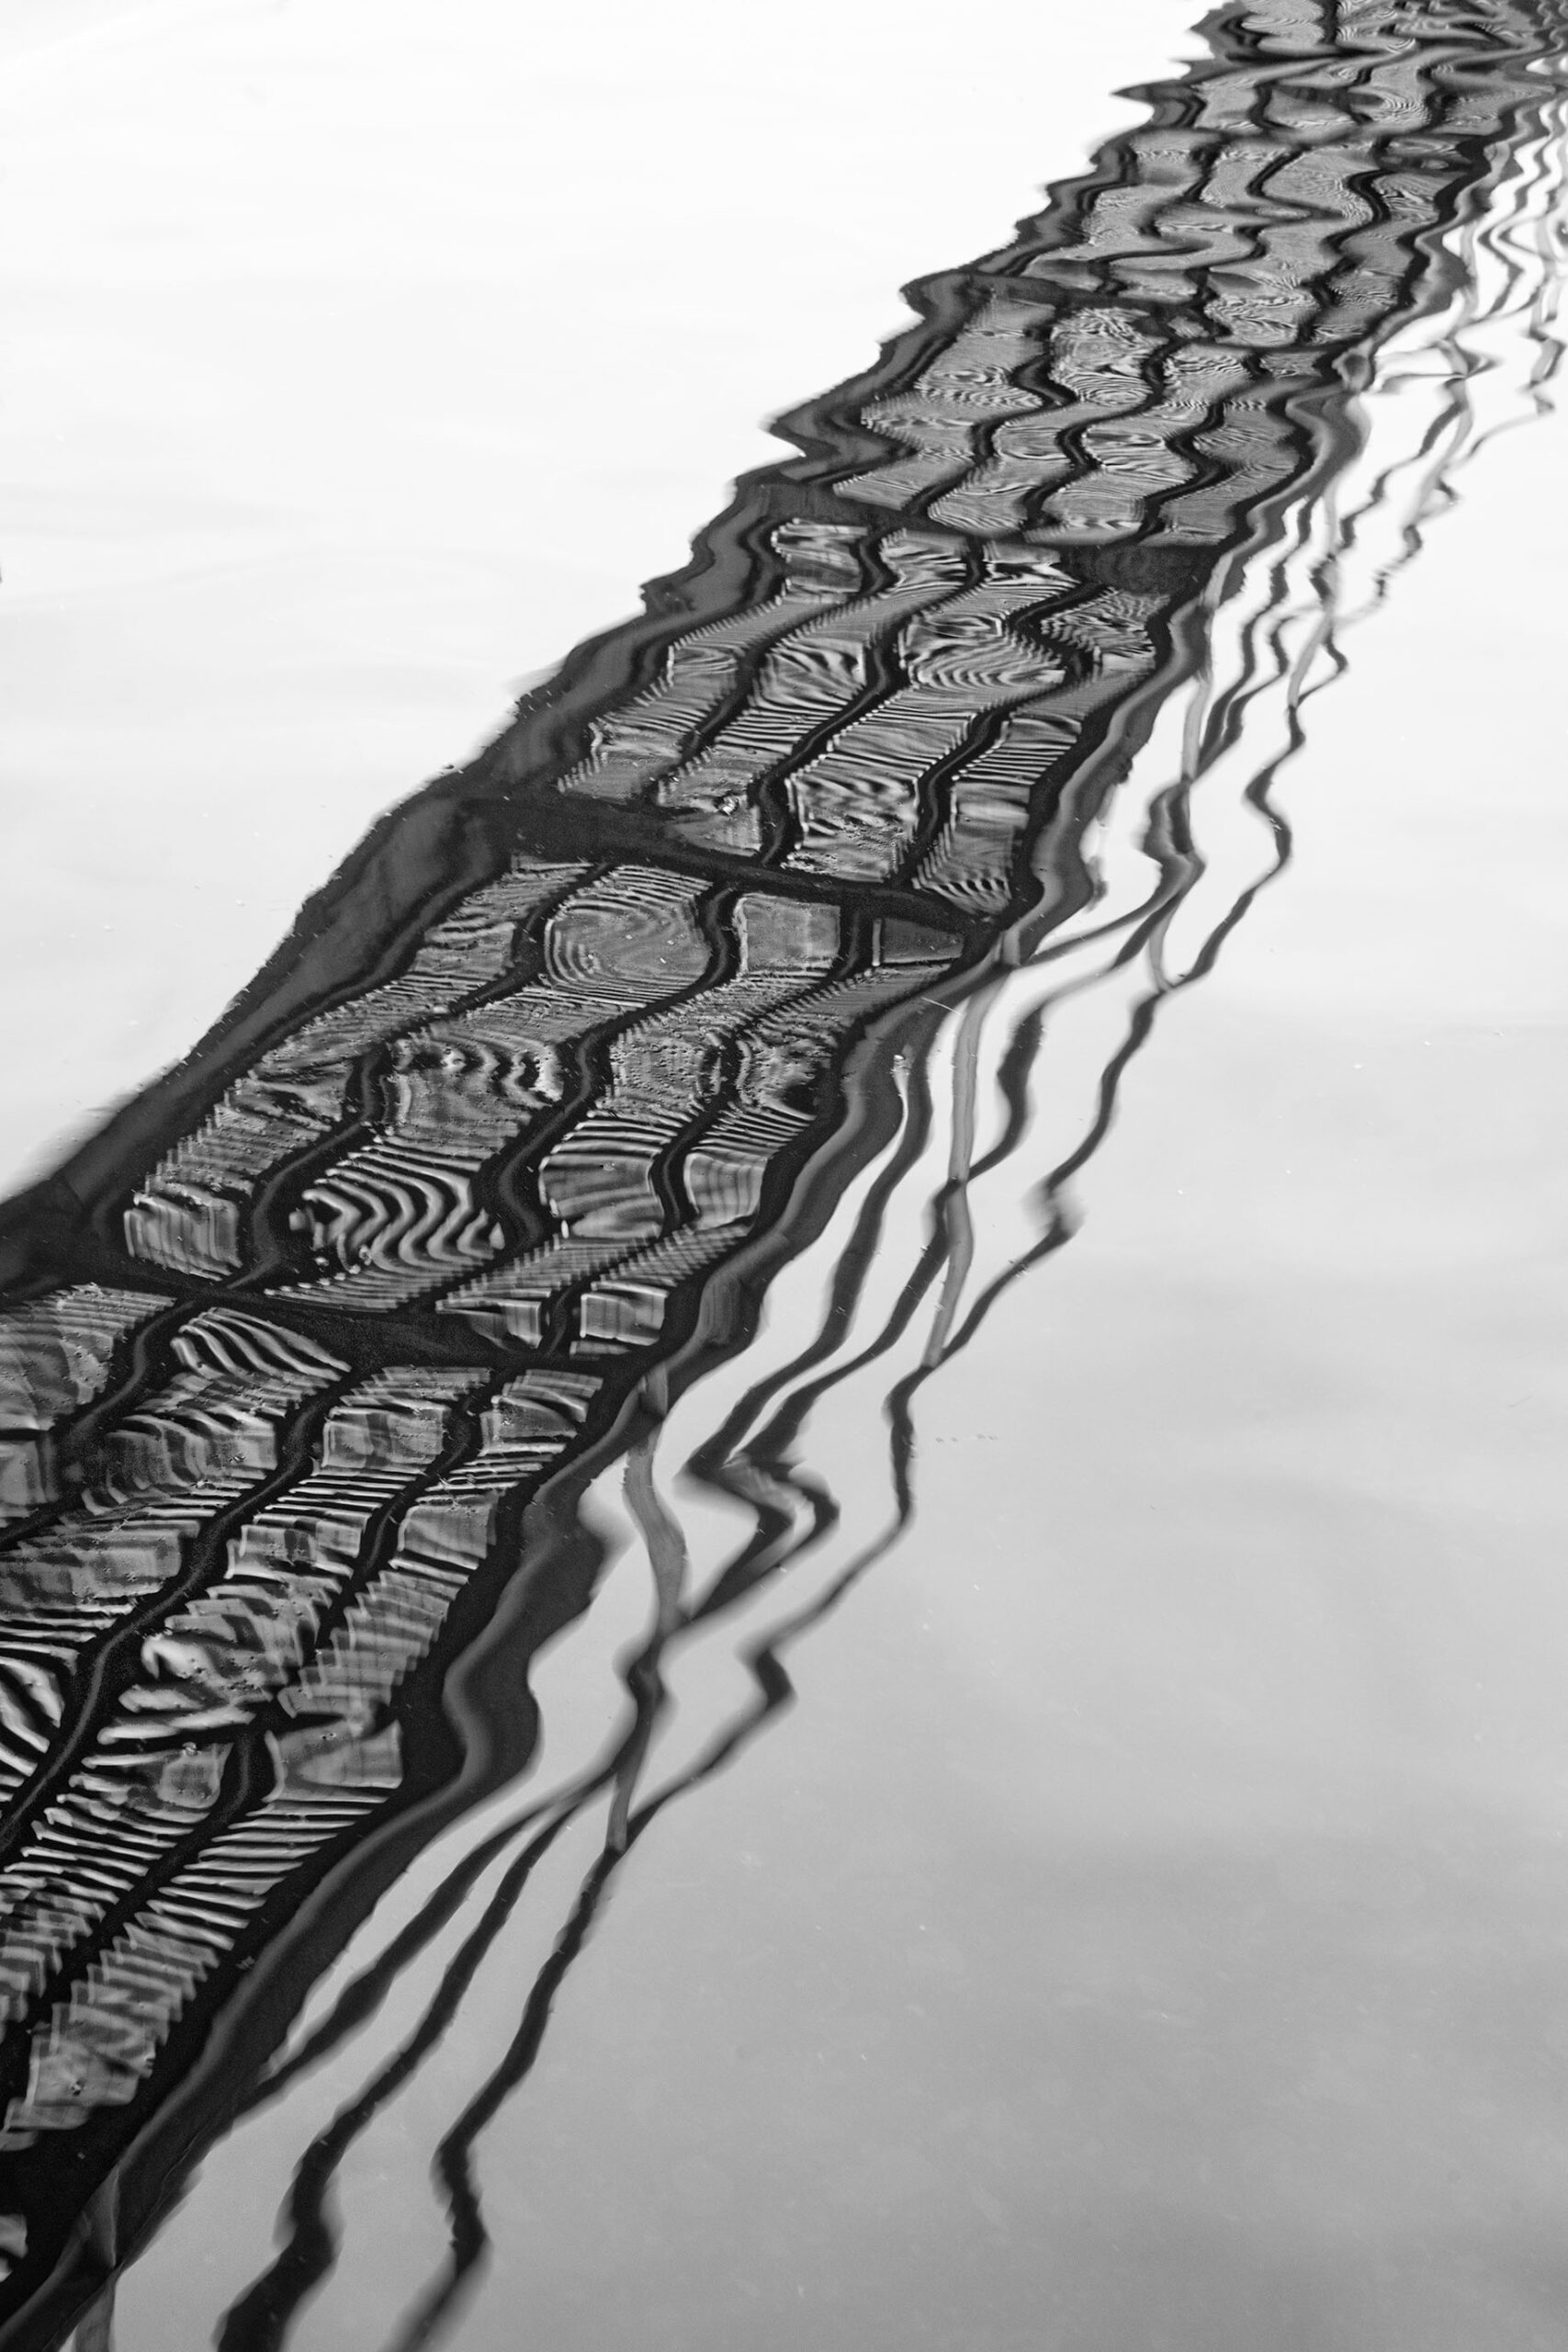
As I've previously noted, I seem to spend a lot of time photographing underneath bridges. The beauty of the scene from the deck of a bridge is often pretty self-evident. On…
At the outset I must stipulate that a spacious room in a luxury 5-star hotel is a great place to organize for a longish walk on the Camino de Santiago.…
I've been working on photographing a group of white Calla Lilies the past few days. With this image, I tried to abstract the flower so that it seemed almost like…