I am often asked about my technique for obtaining creative effects using LAB color adjustments in Photoshop. While the theory behind this set of techniques is a bit complicated, there’s nothing complex in practice about using LAB color adjustments creatively. I’ve written about these techniques both in The Photoshop Darkroom and also in The Way of the Digital Photographer.
To make your life easier if you want to experiment with creative LAB, I’ve also written a Photoshop action that you can download for free using this link (check out the included readme file for installation instructions). This action essentially presents the possible LAB channel adjustments as a palette of possibilites for you to choose from when making your creative choices, and I’ve used my own action—Photoshop’s word for a macro—to create the different creative versions of the images shown here.
For example, with the cone flower (Echinacea) shown here, last year I planted it in a pot on the porch, assuming it would essentially be an annual. Somewhat to my surprise, it has come back strongly for a second year in its pot. We water it with recycled water—such as unfinished water bottles started by the kids. The young flowers are translucent and striated, like the day-old blossom shown. As the flowers mature, the petals become opaque, and a mono-colored shade of pink magenta.
-
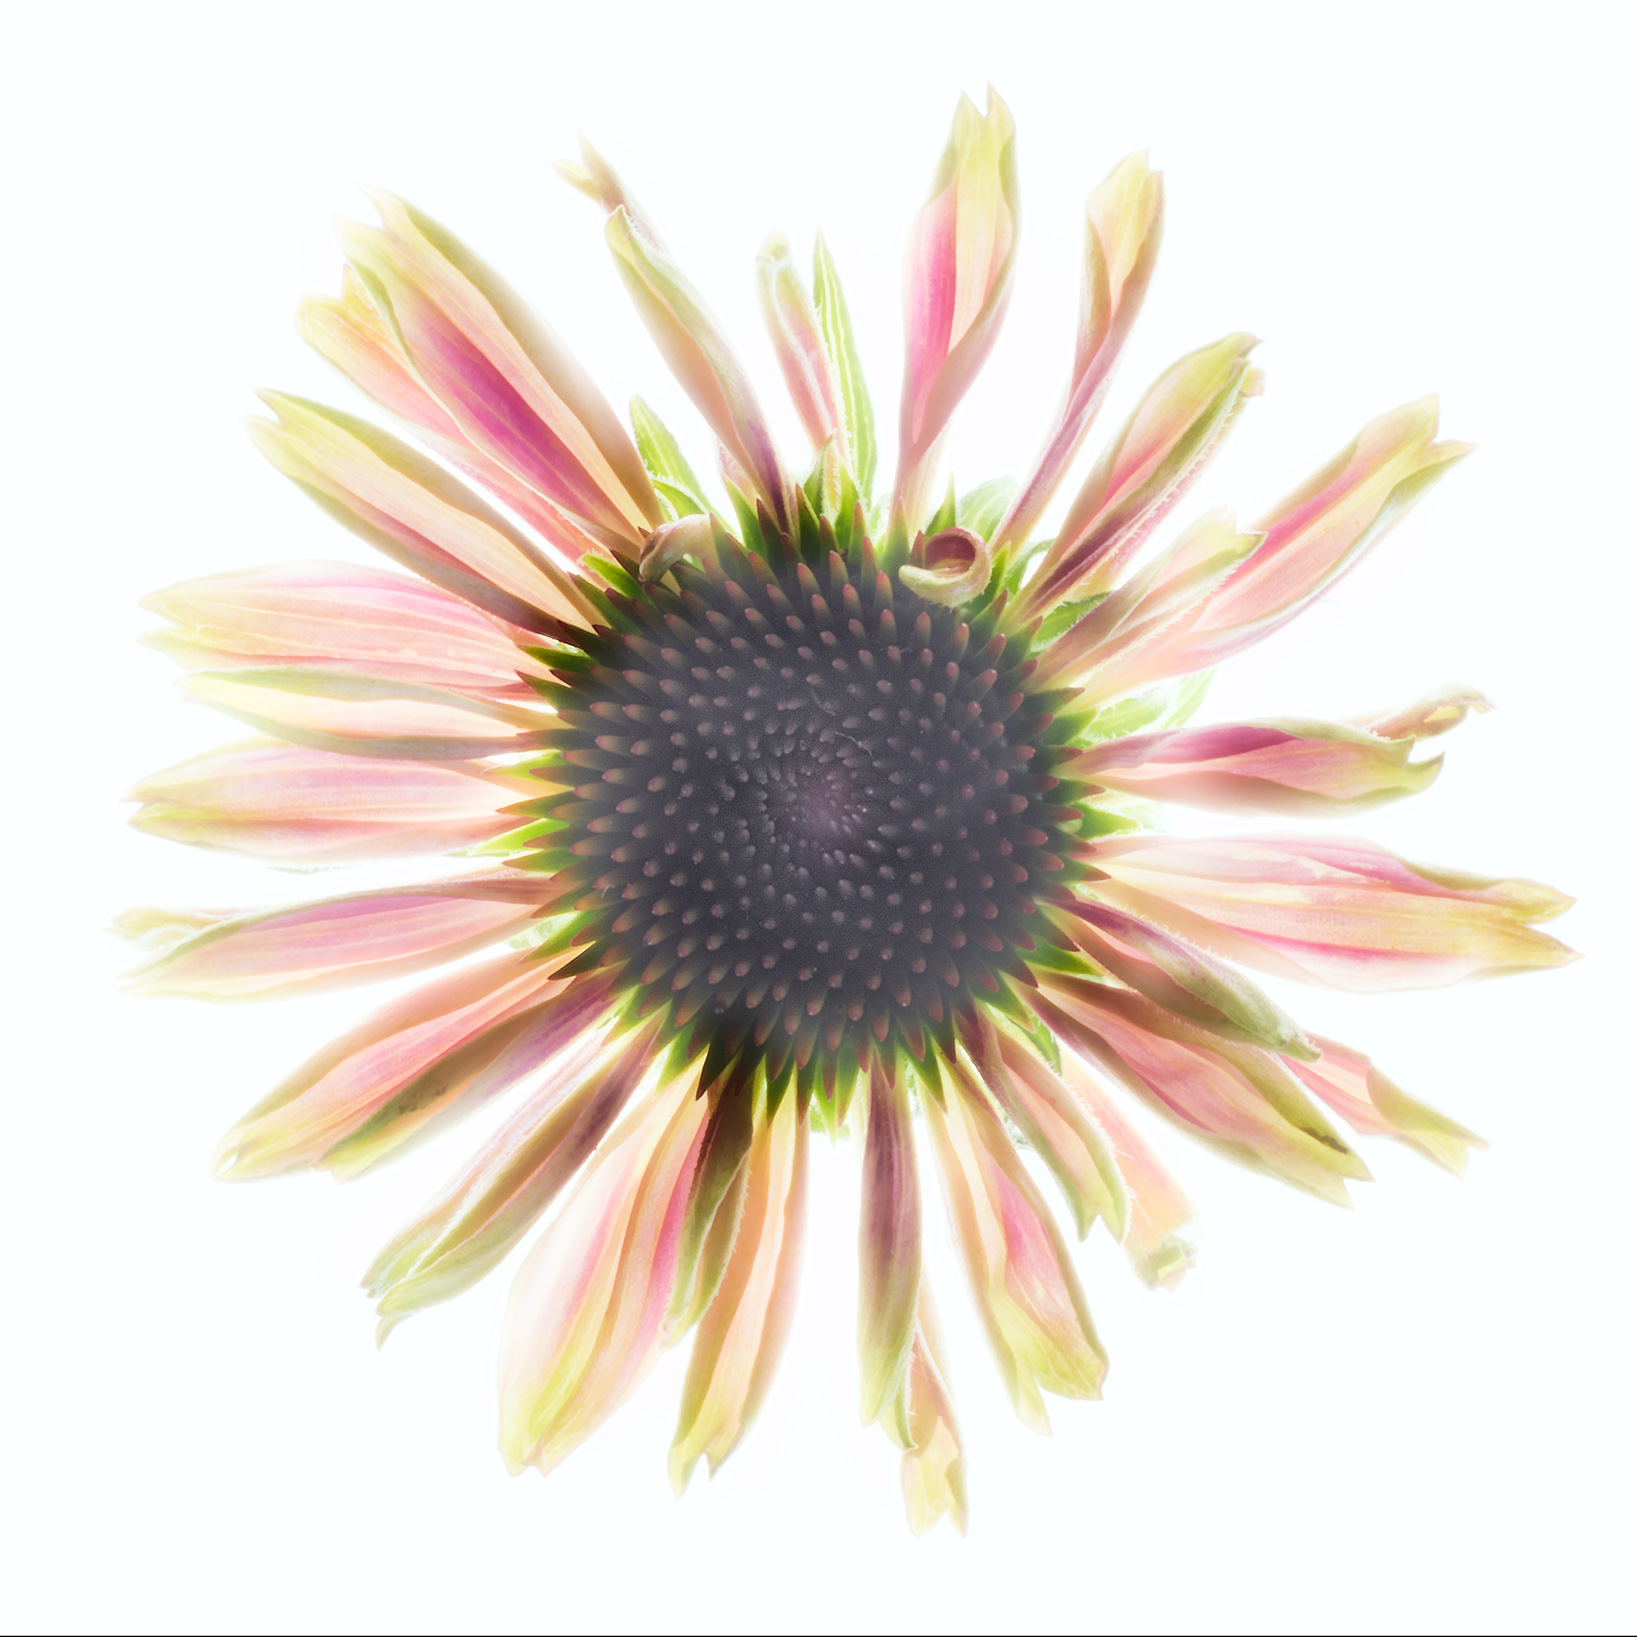
Echinacia © Harold Davis
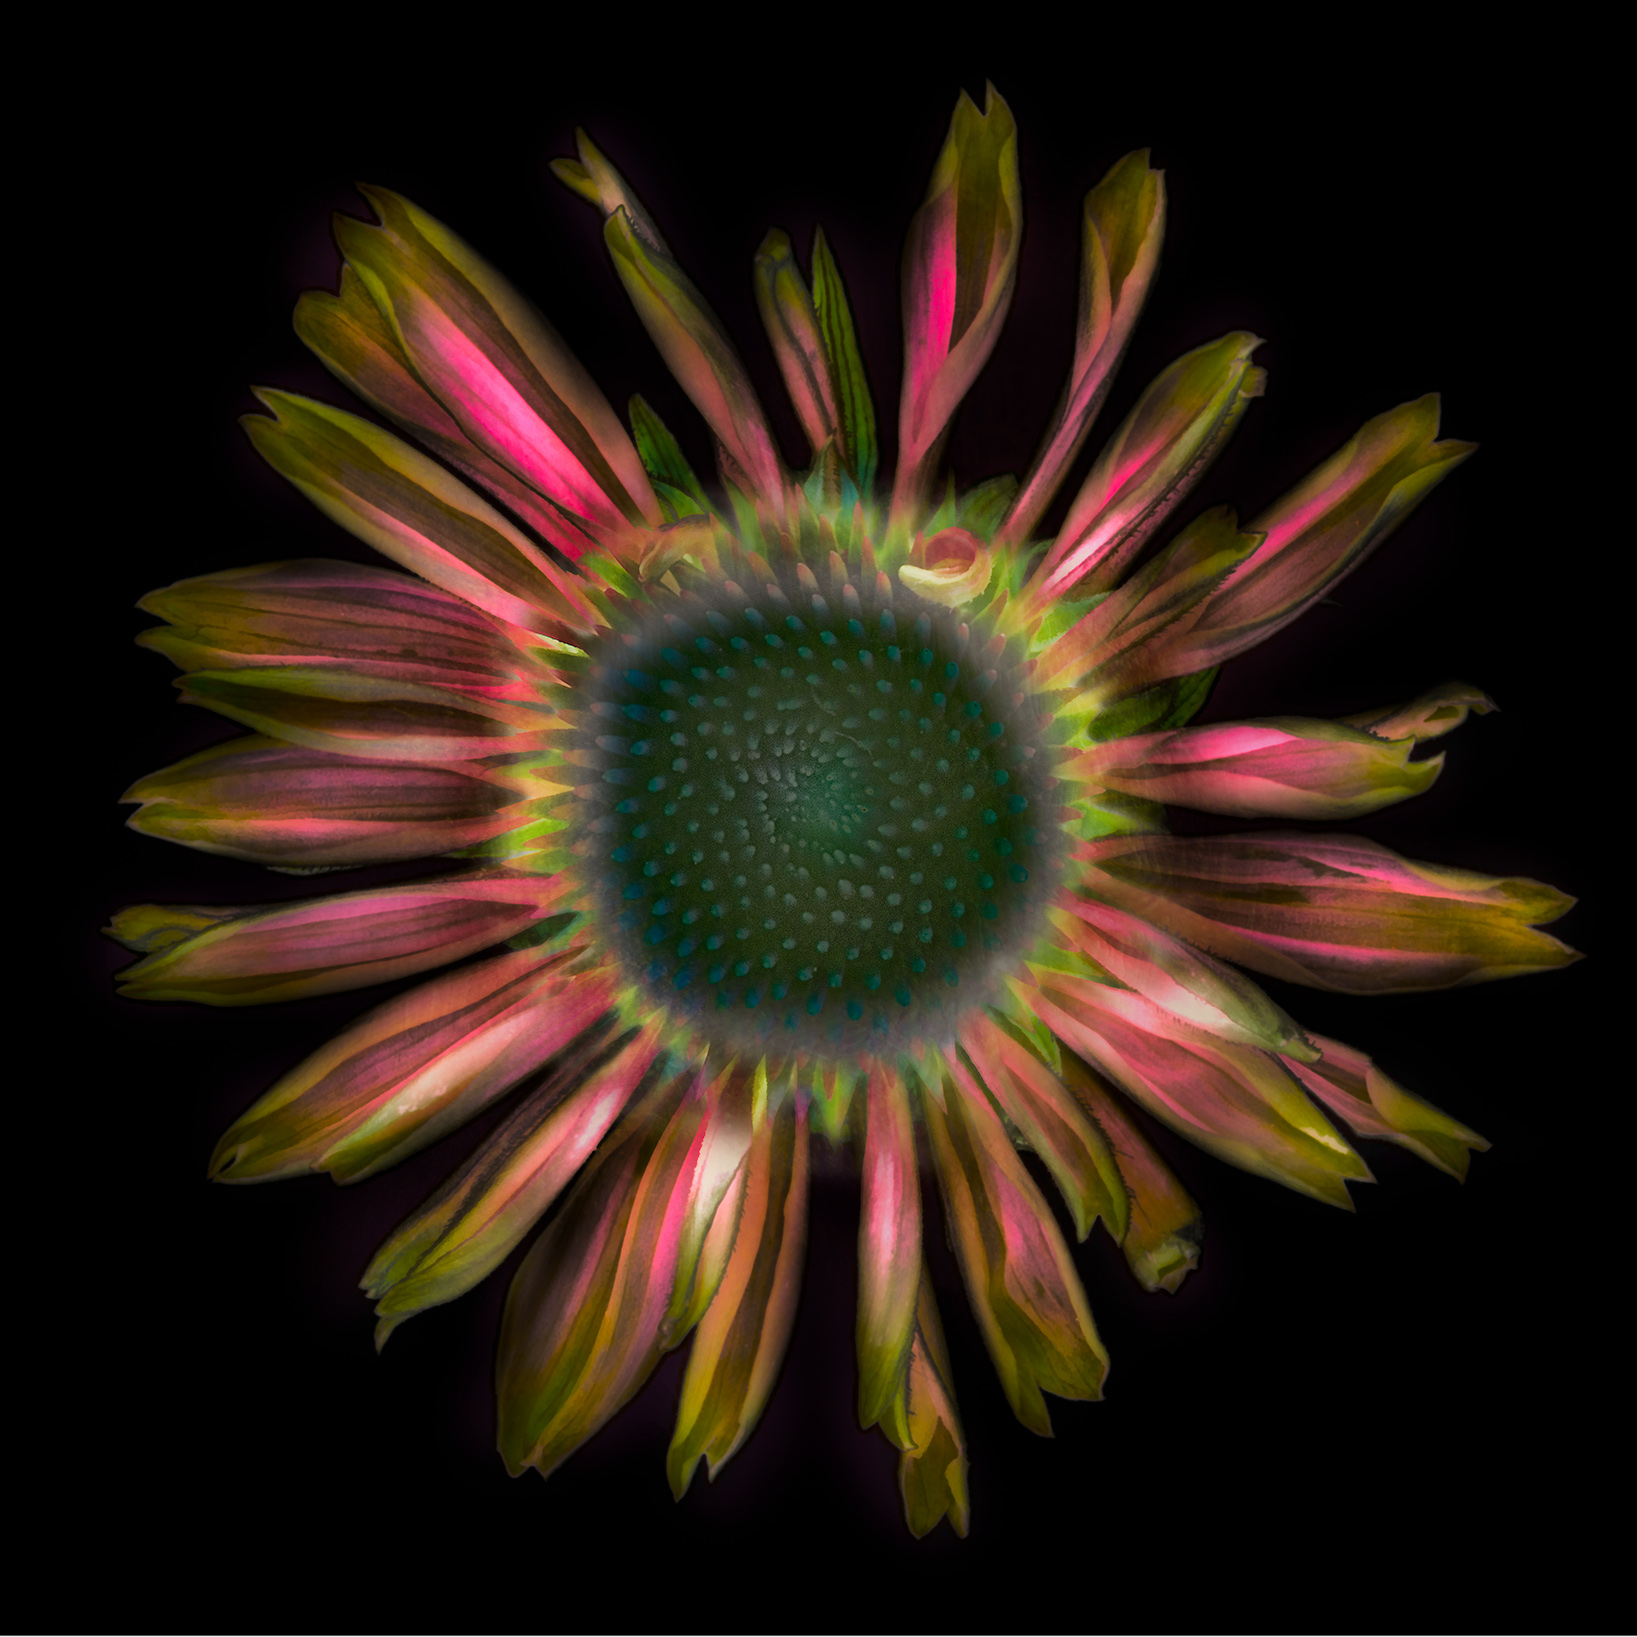
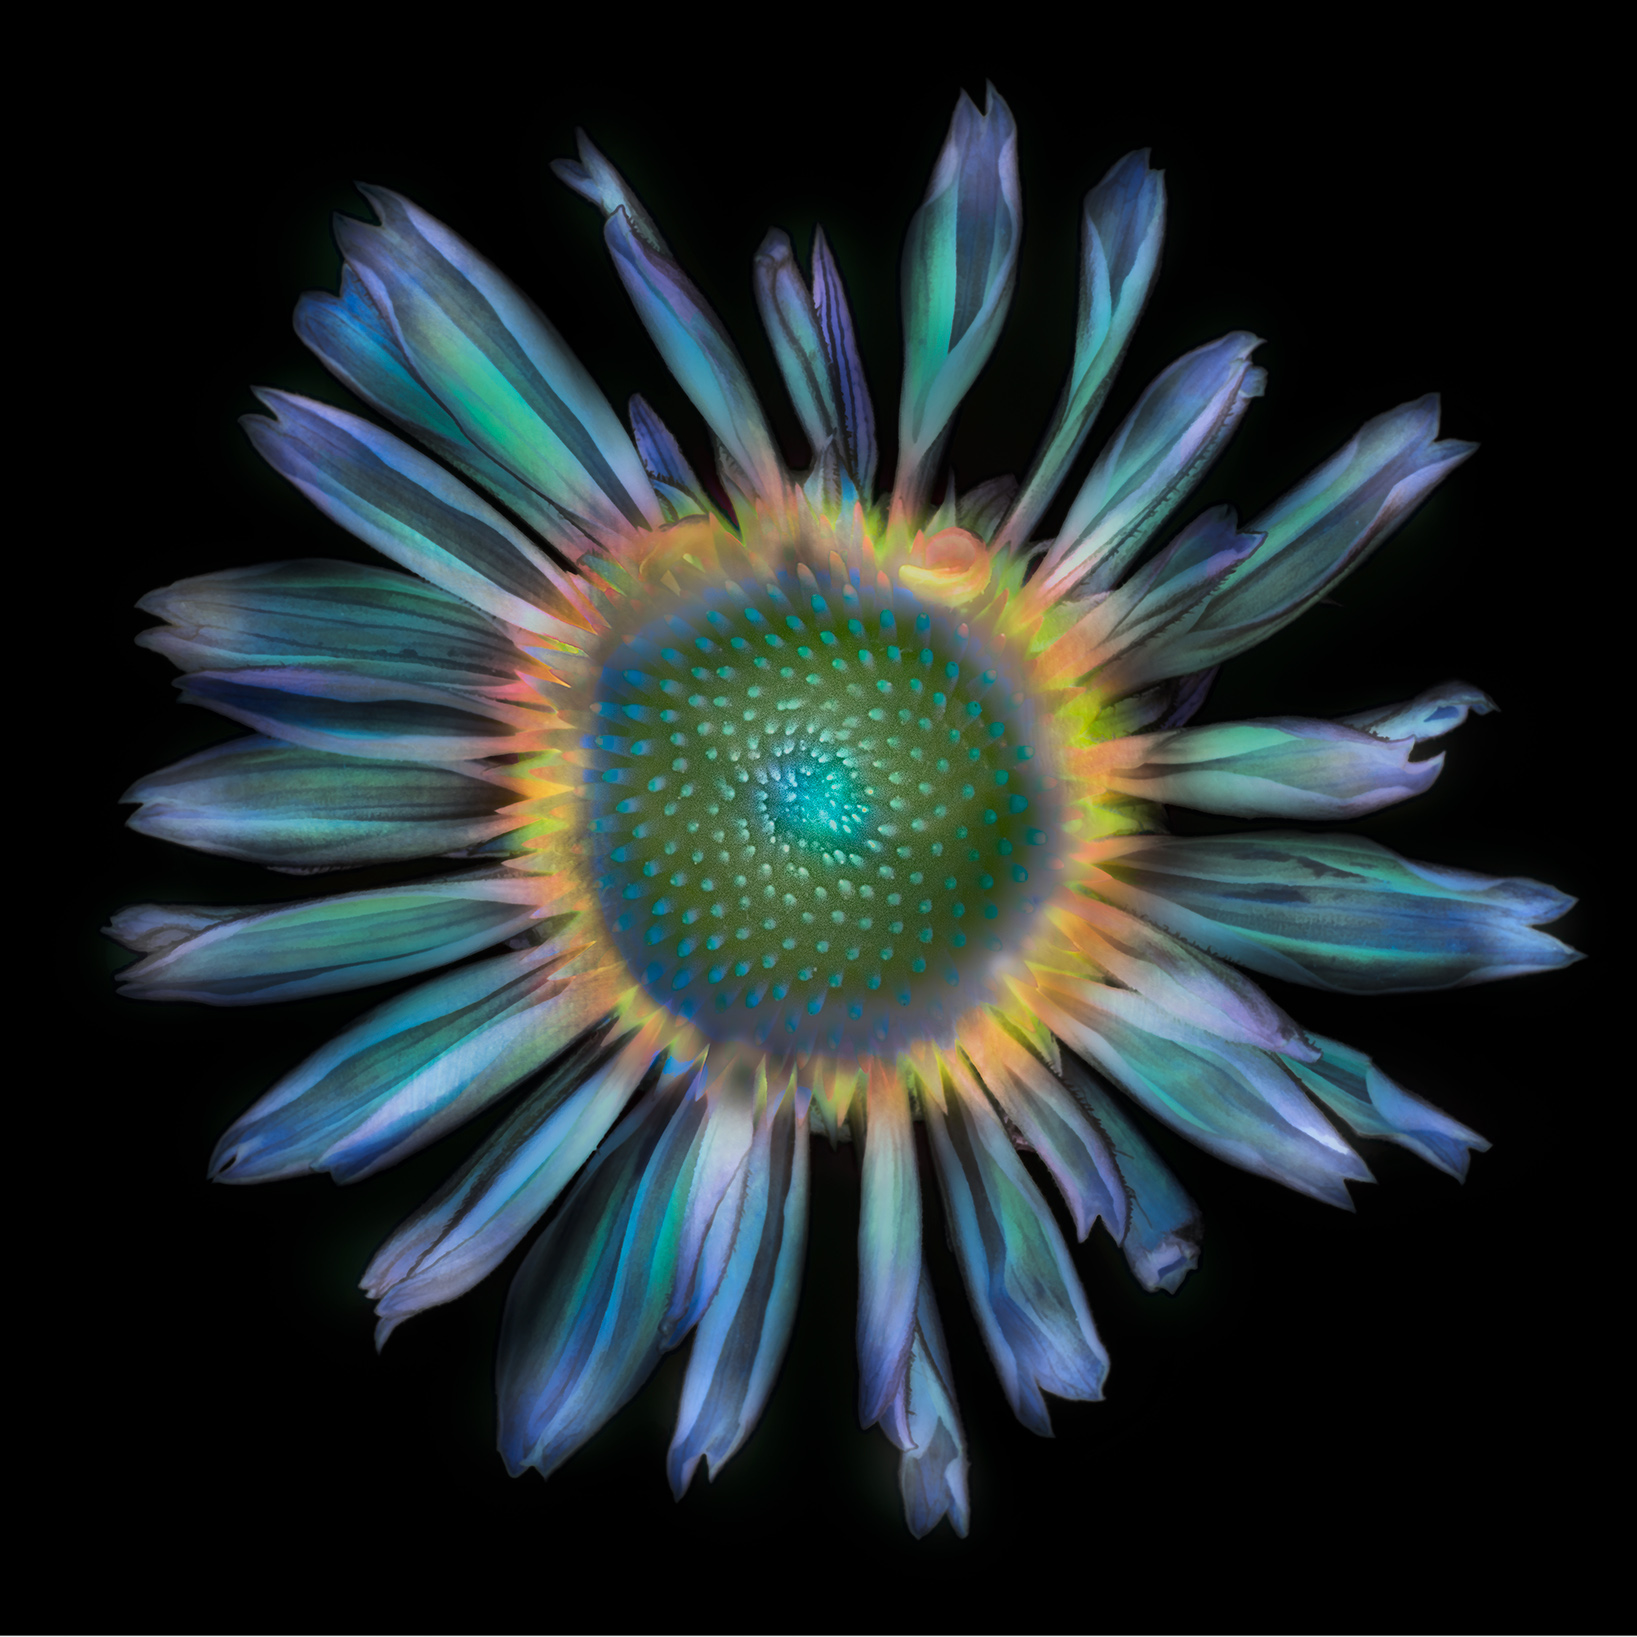
The miracle of LAB channel inversions and adjustments leads straight to the alternative, colorful versions you see below:
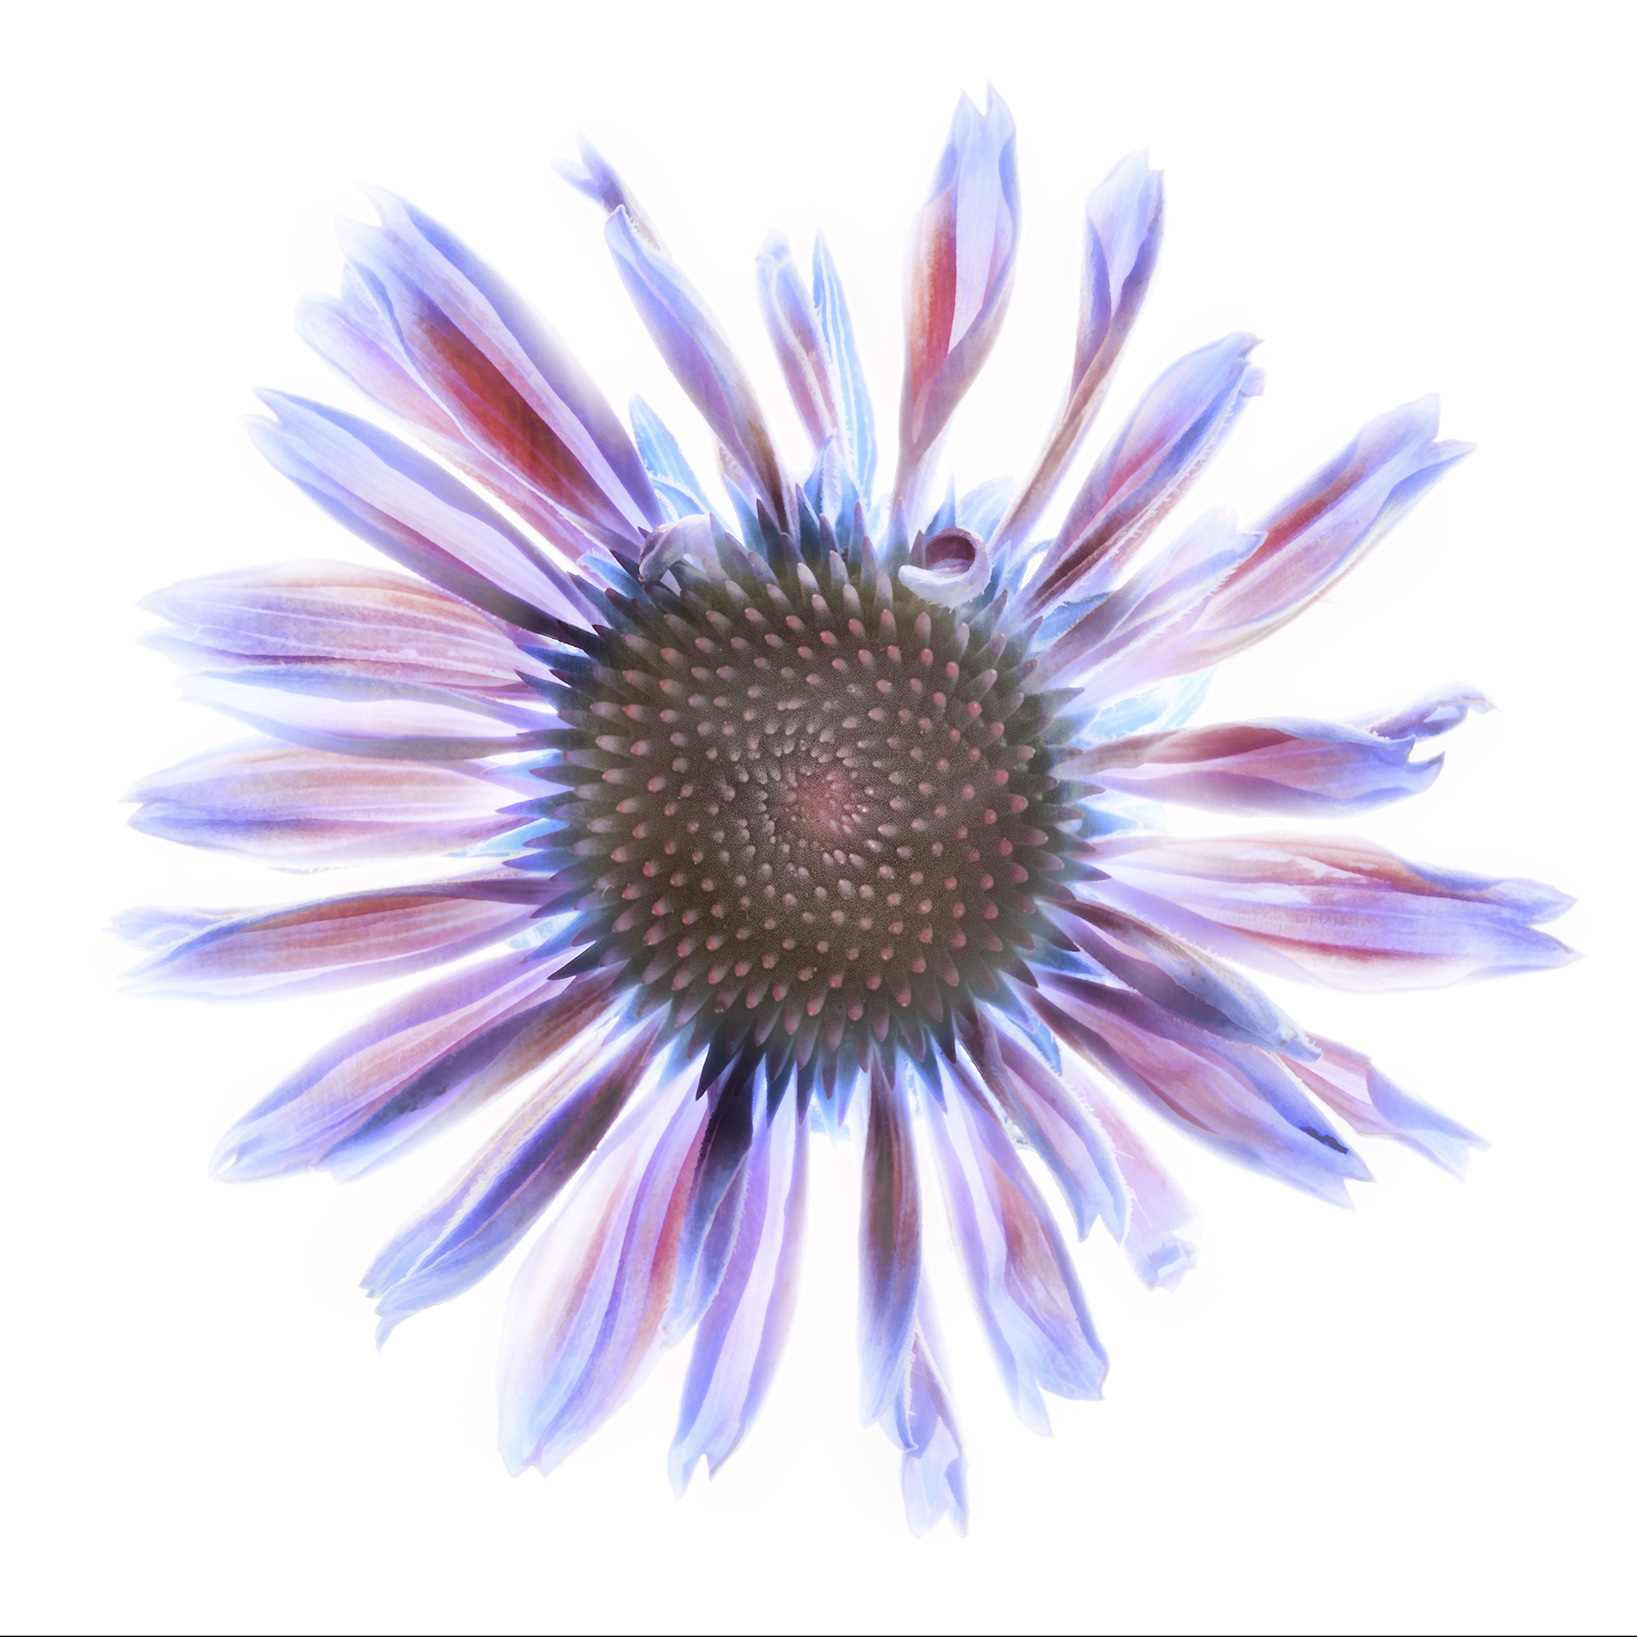
I plan to print these images as a quadtych, with the four images arranged in a sequence, pairing the original version on white with the Inversion on White, and the two black versions together.
-
Echinacia Inversion © Harold Davis
Pingback: Clematis
Pingback: Floral Fantasies
Pingback: Remains of the Clematis