Arles Coliseum Steps
Yesterday evening I decided to leave my camera backpack in the room, and I headed out to explore Arles with one lens. This was my 35mm Zeiss f/1.4. I set…
0 Comments
April 23, 2024
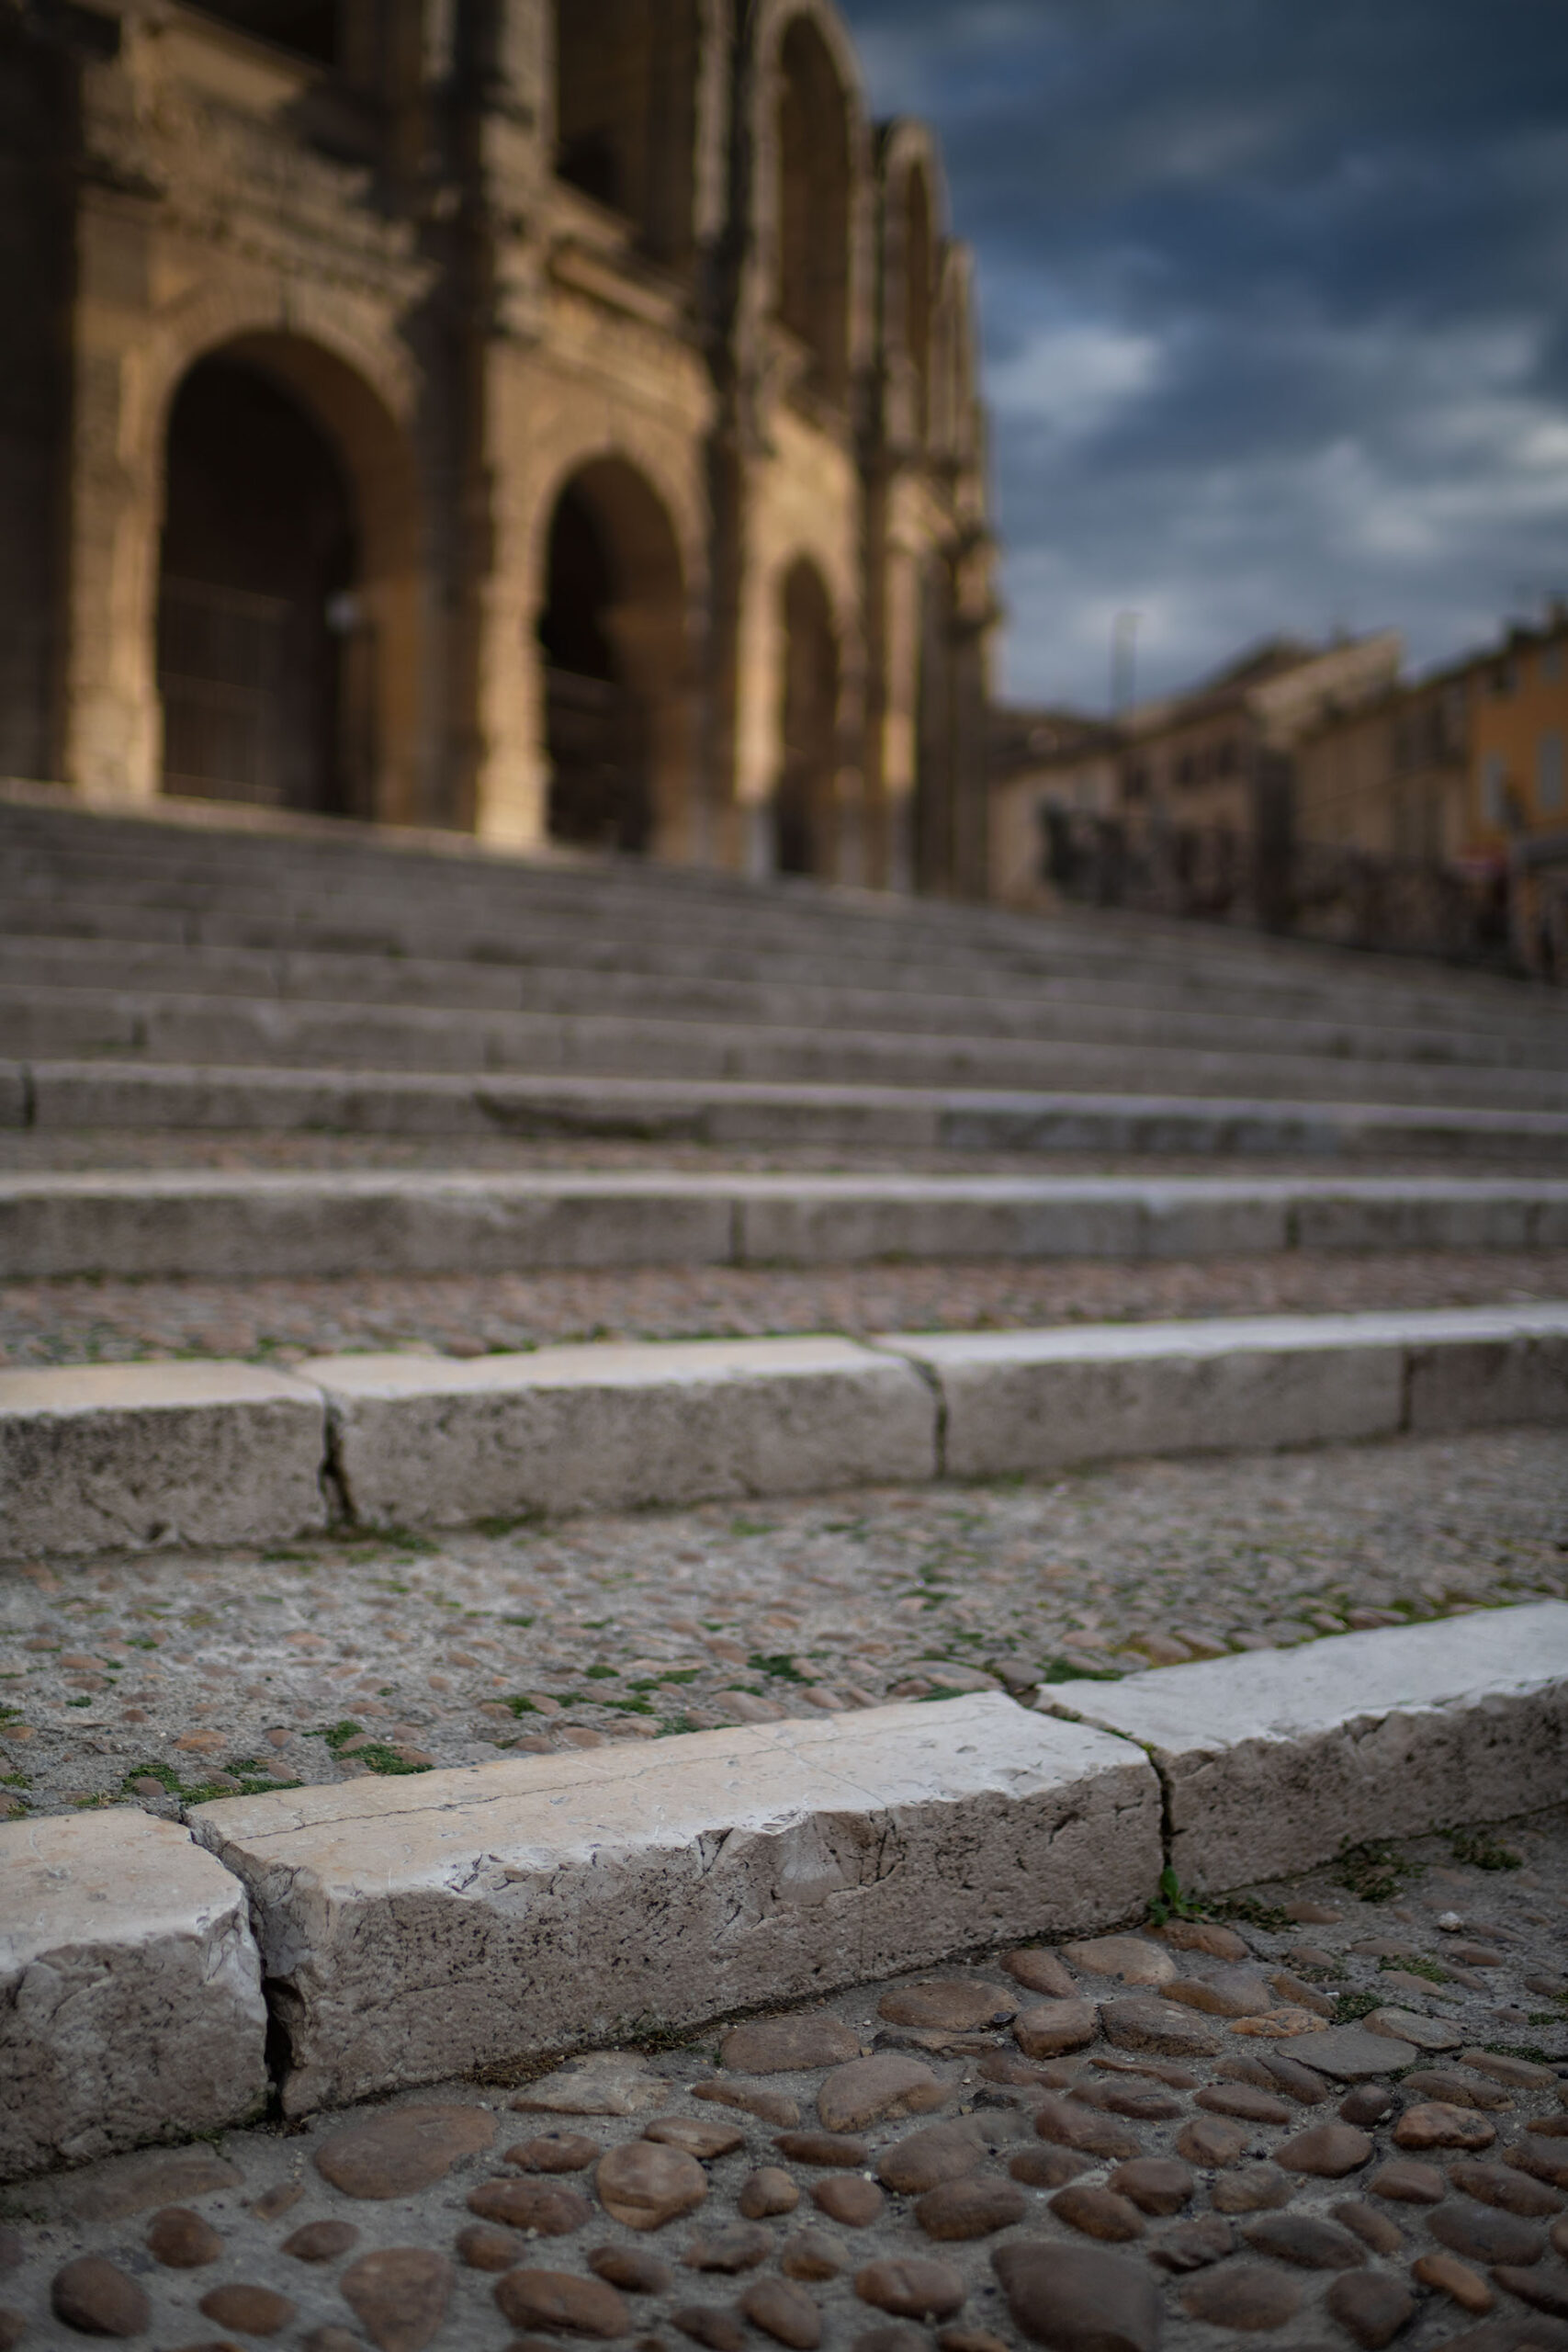
Yesterday evening I decided to leave my camera backpack in the room, and I headed out to explore Arles with one lens. This was my 35mm Zeiss f/1.4. I set…
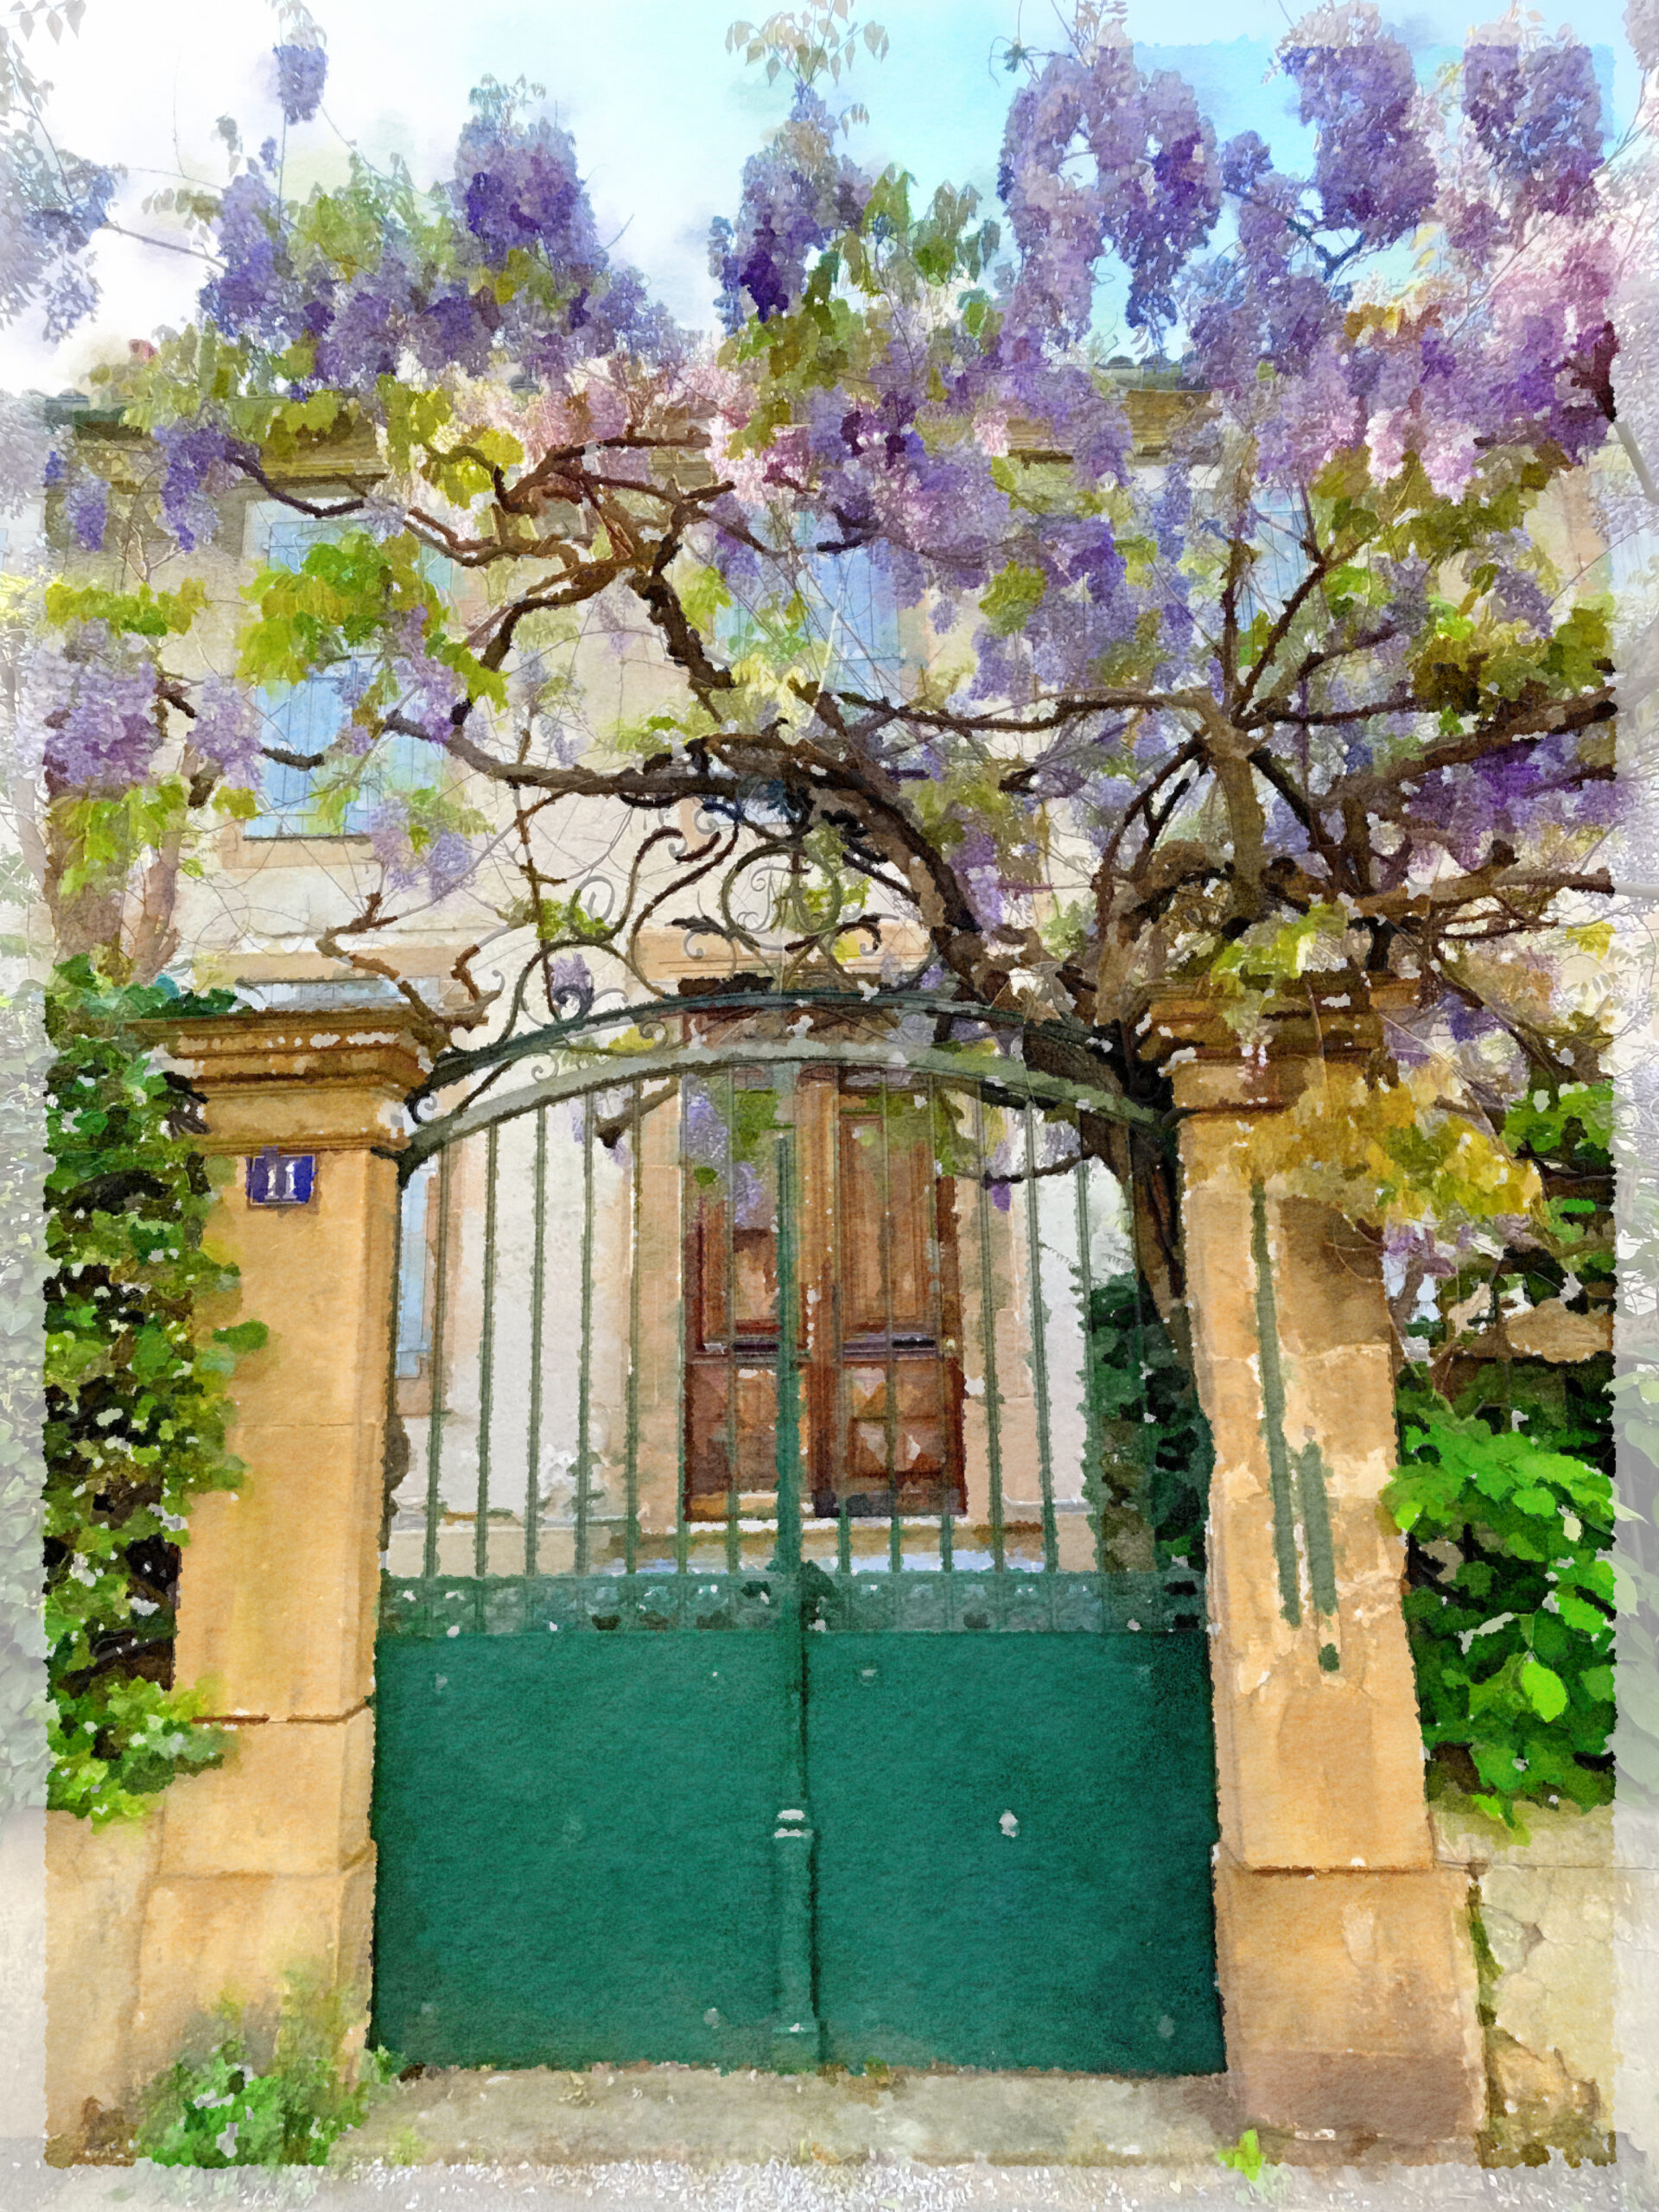
There is something about the wisteria in the French spring that seems particularly stylish. Not that there is anything wrong with our wisteria at home. In fact, my garden has…
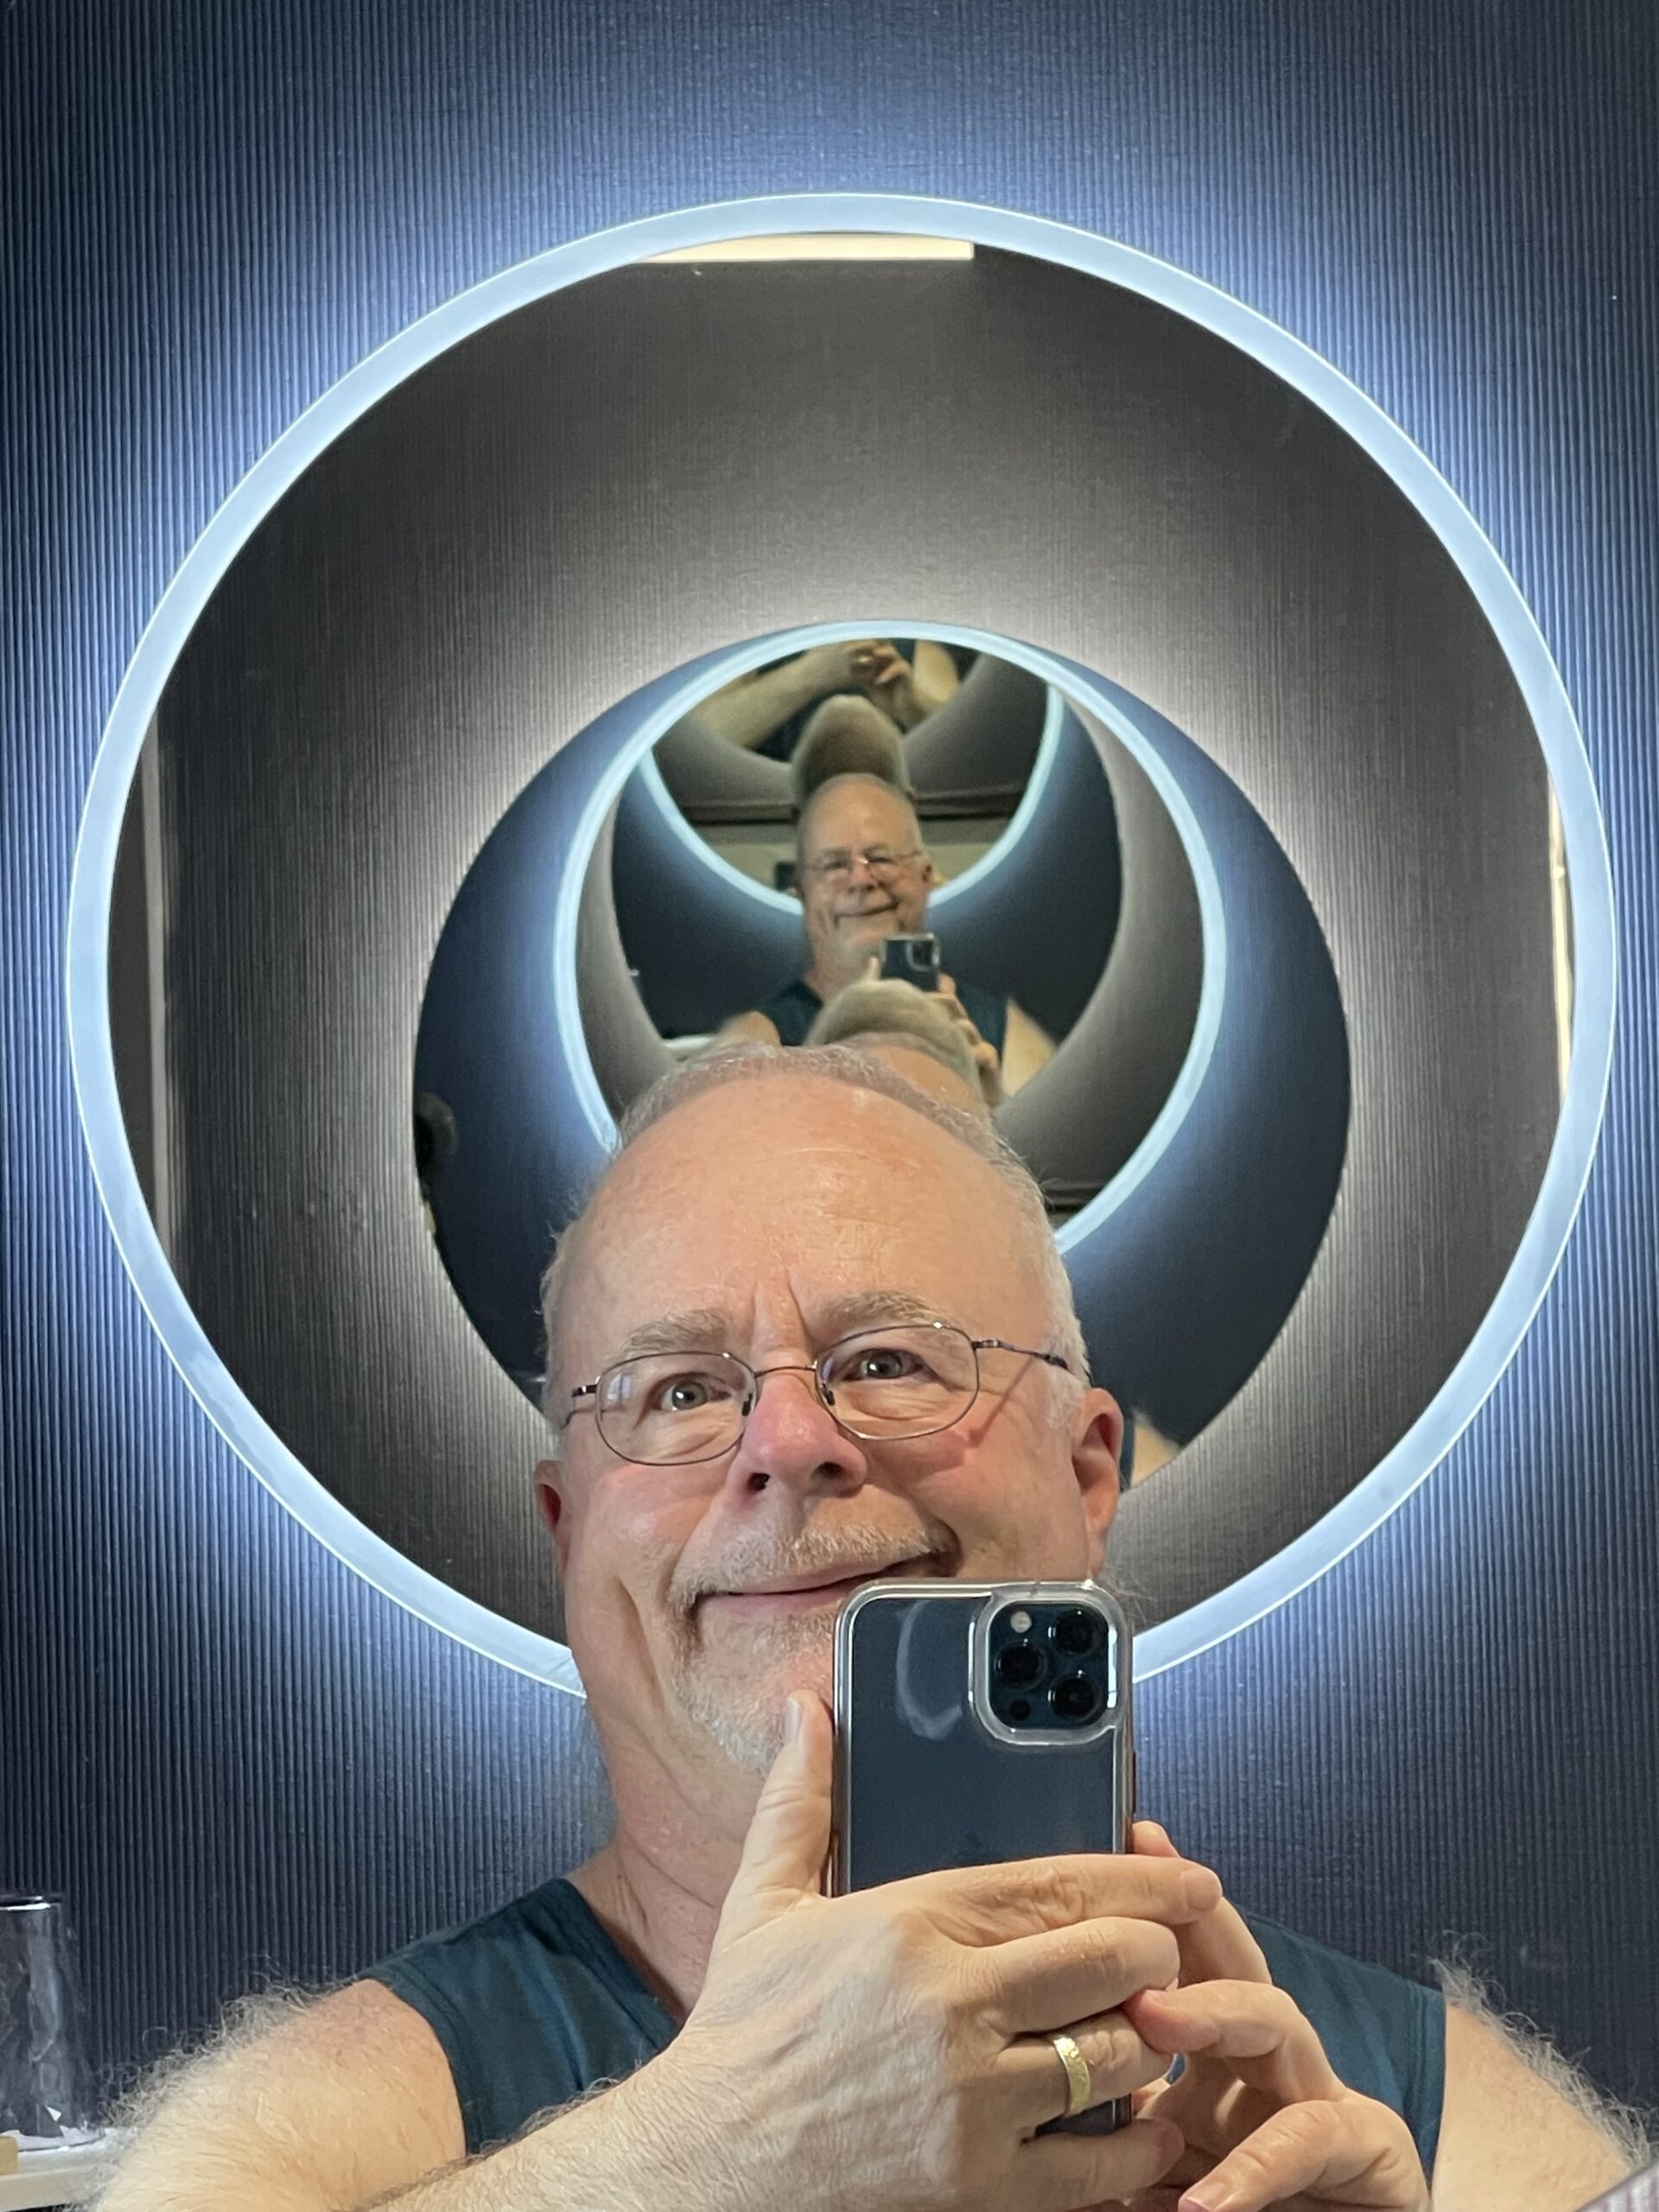
Wherever you go, there you are. I embrace this solecism (or tongue-in-cheek tautology if one prefers). But I do wonder why so many hotel bathrooms have "infinite" mirrors. Both images…
I've been reading Josef Koudelka Next: A Visual Biography by Melissa Harris. I think there is a great deal to learn from Koudelka, but I have some misgivings about this…
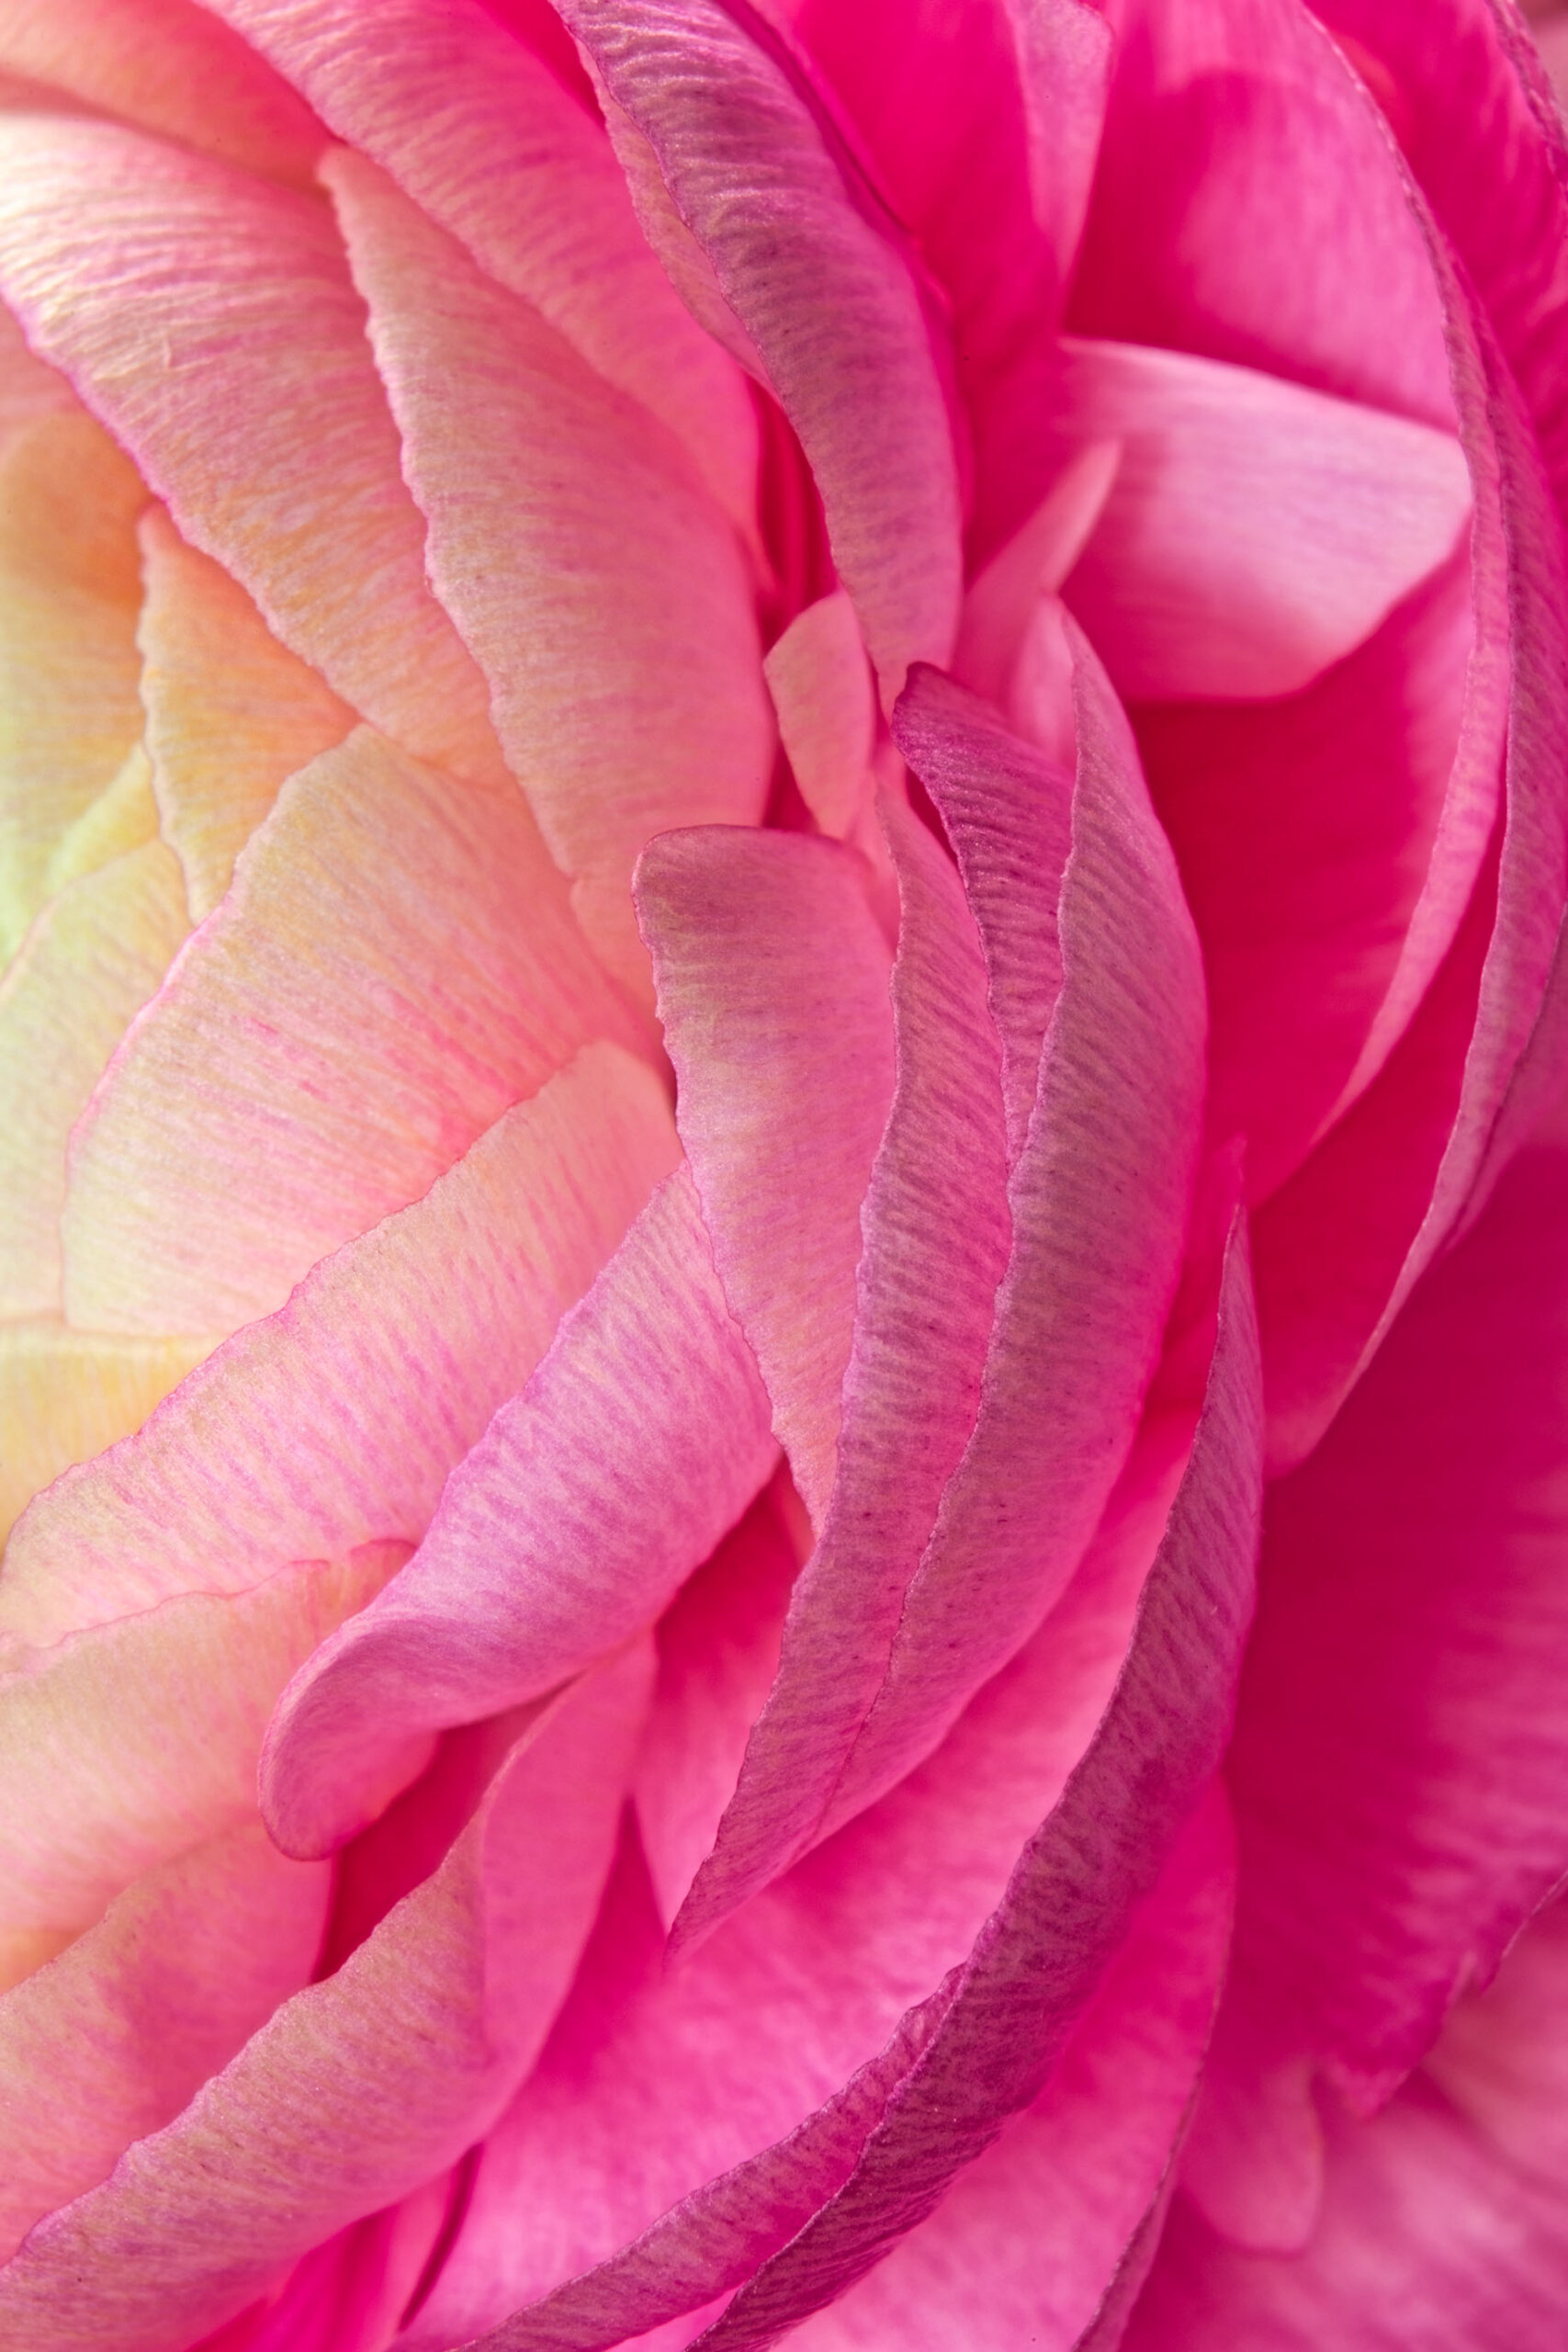
In the garden we now have a variety of ranunculus in bloom. These are a joy to photograph because every ranunculus is different. Just like people, no two are alike.…
This is the time of year when my garden starts to come alive. Each day brings delight and new surprises, from the flocks of freesias and iris in the front…
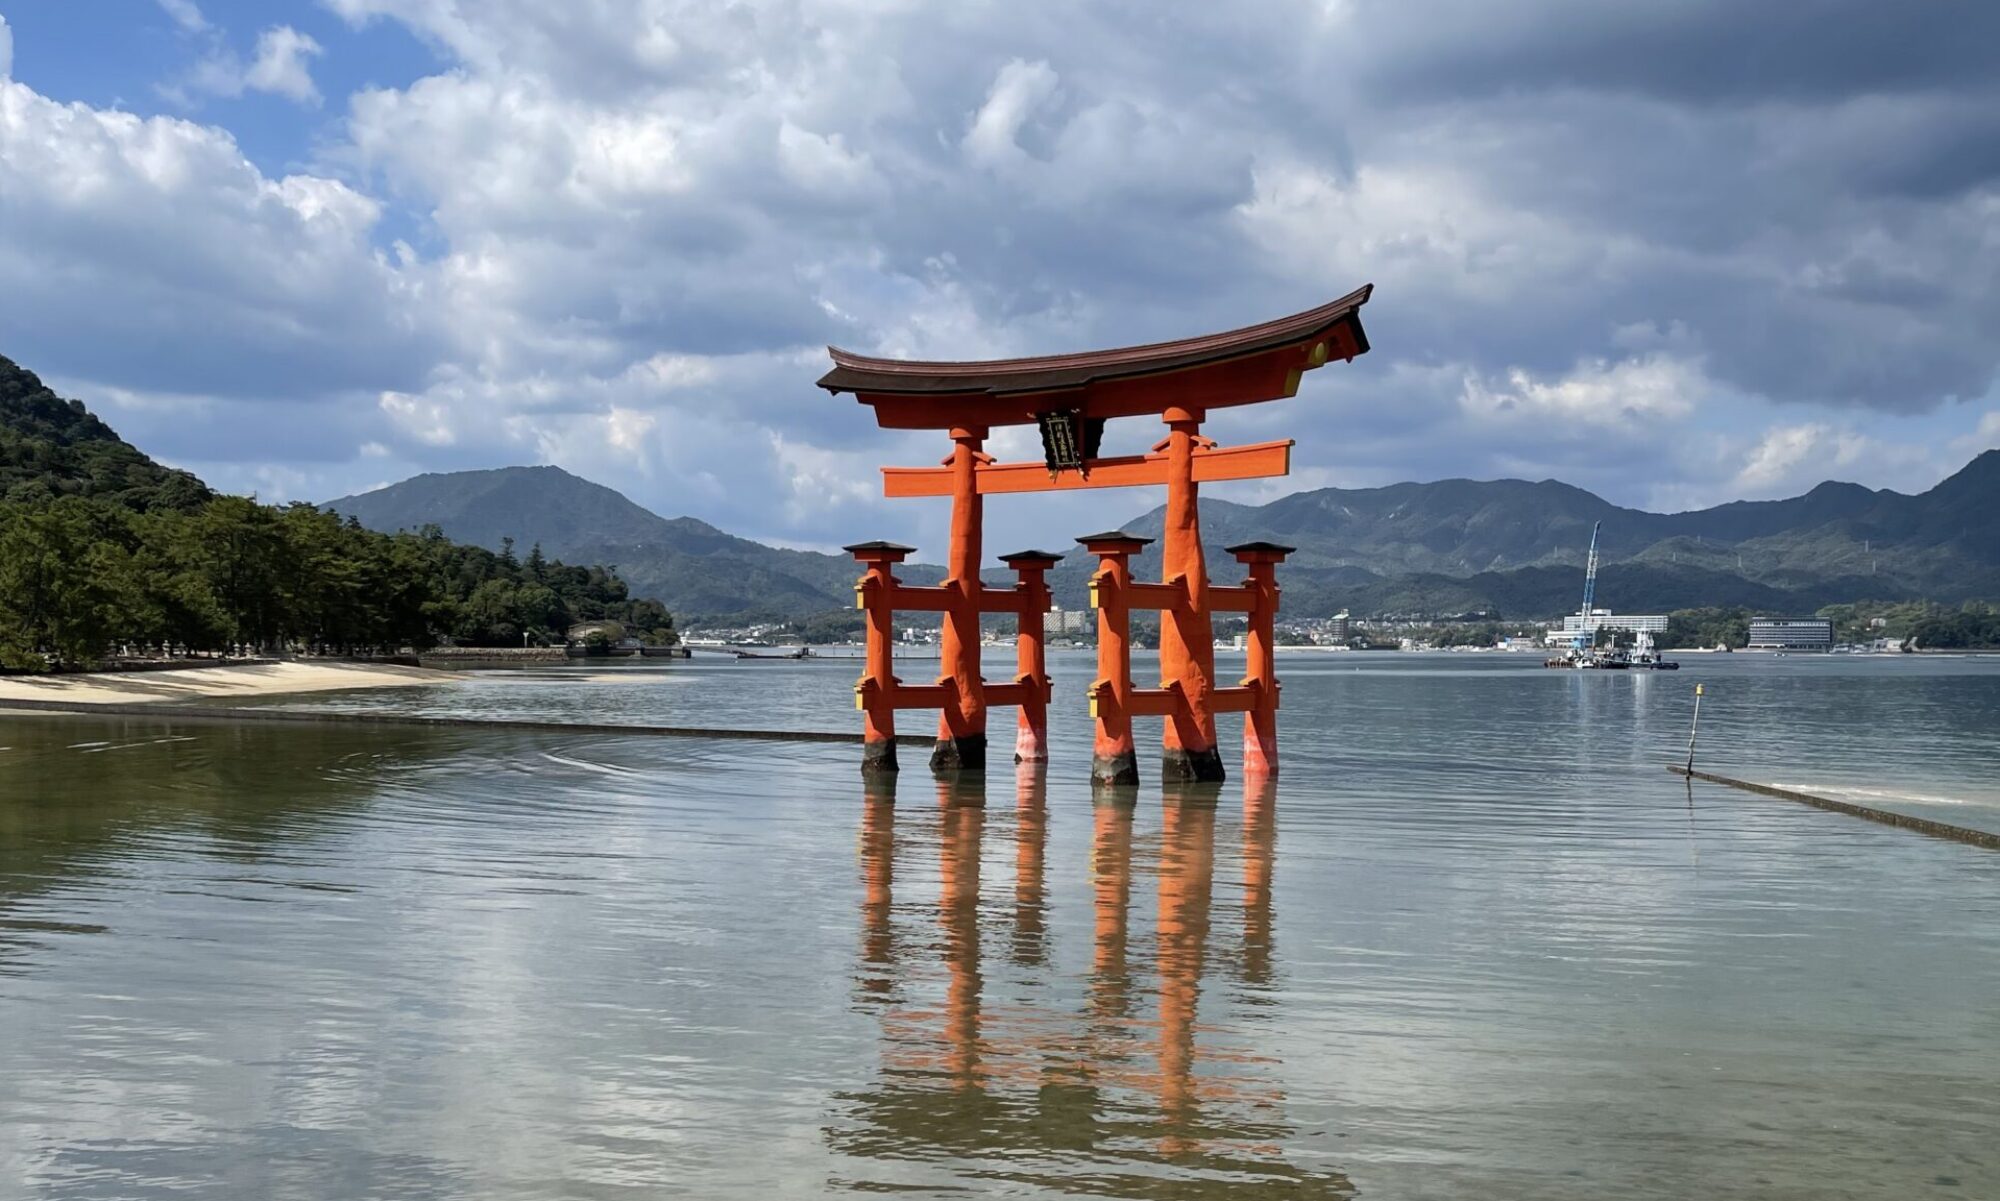
When and where: November 6-19, 2024; the adventure begins in Osaka and ends in Kyoto, Japan. Group Size: This is an exclusive, small photo workshop (non-photographer significant others are also…
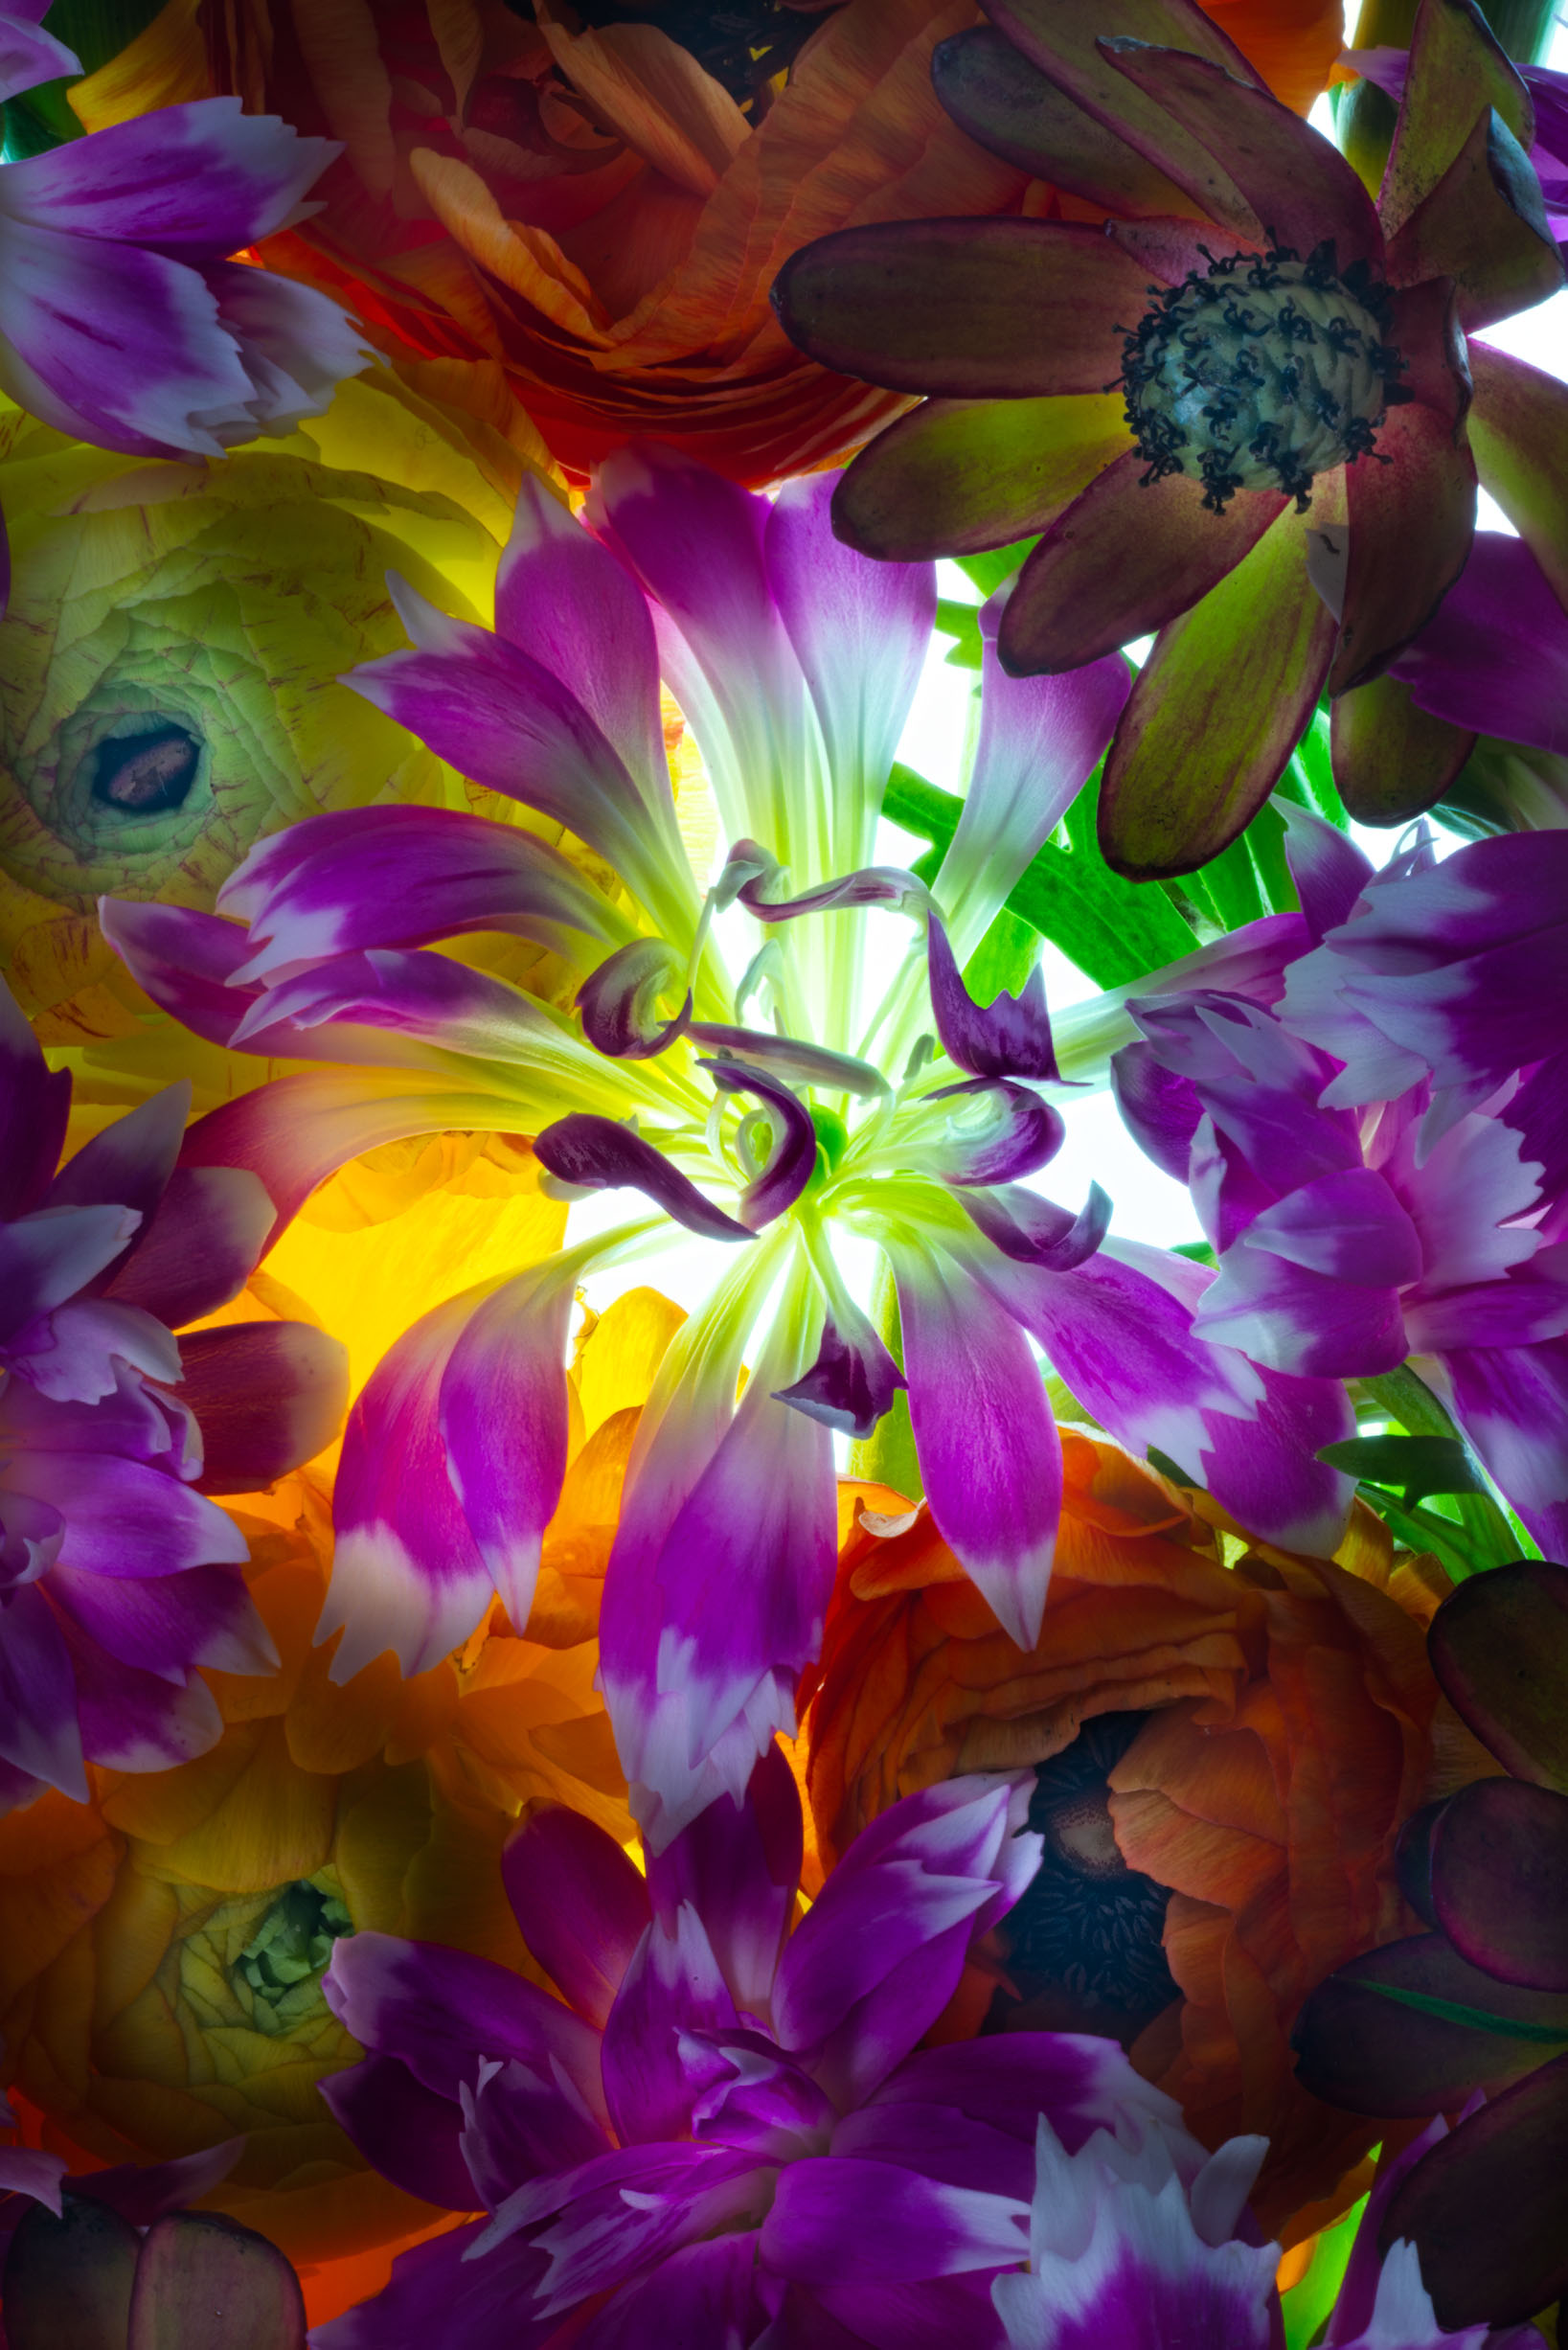
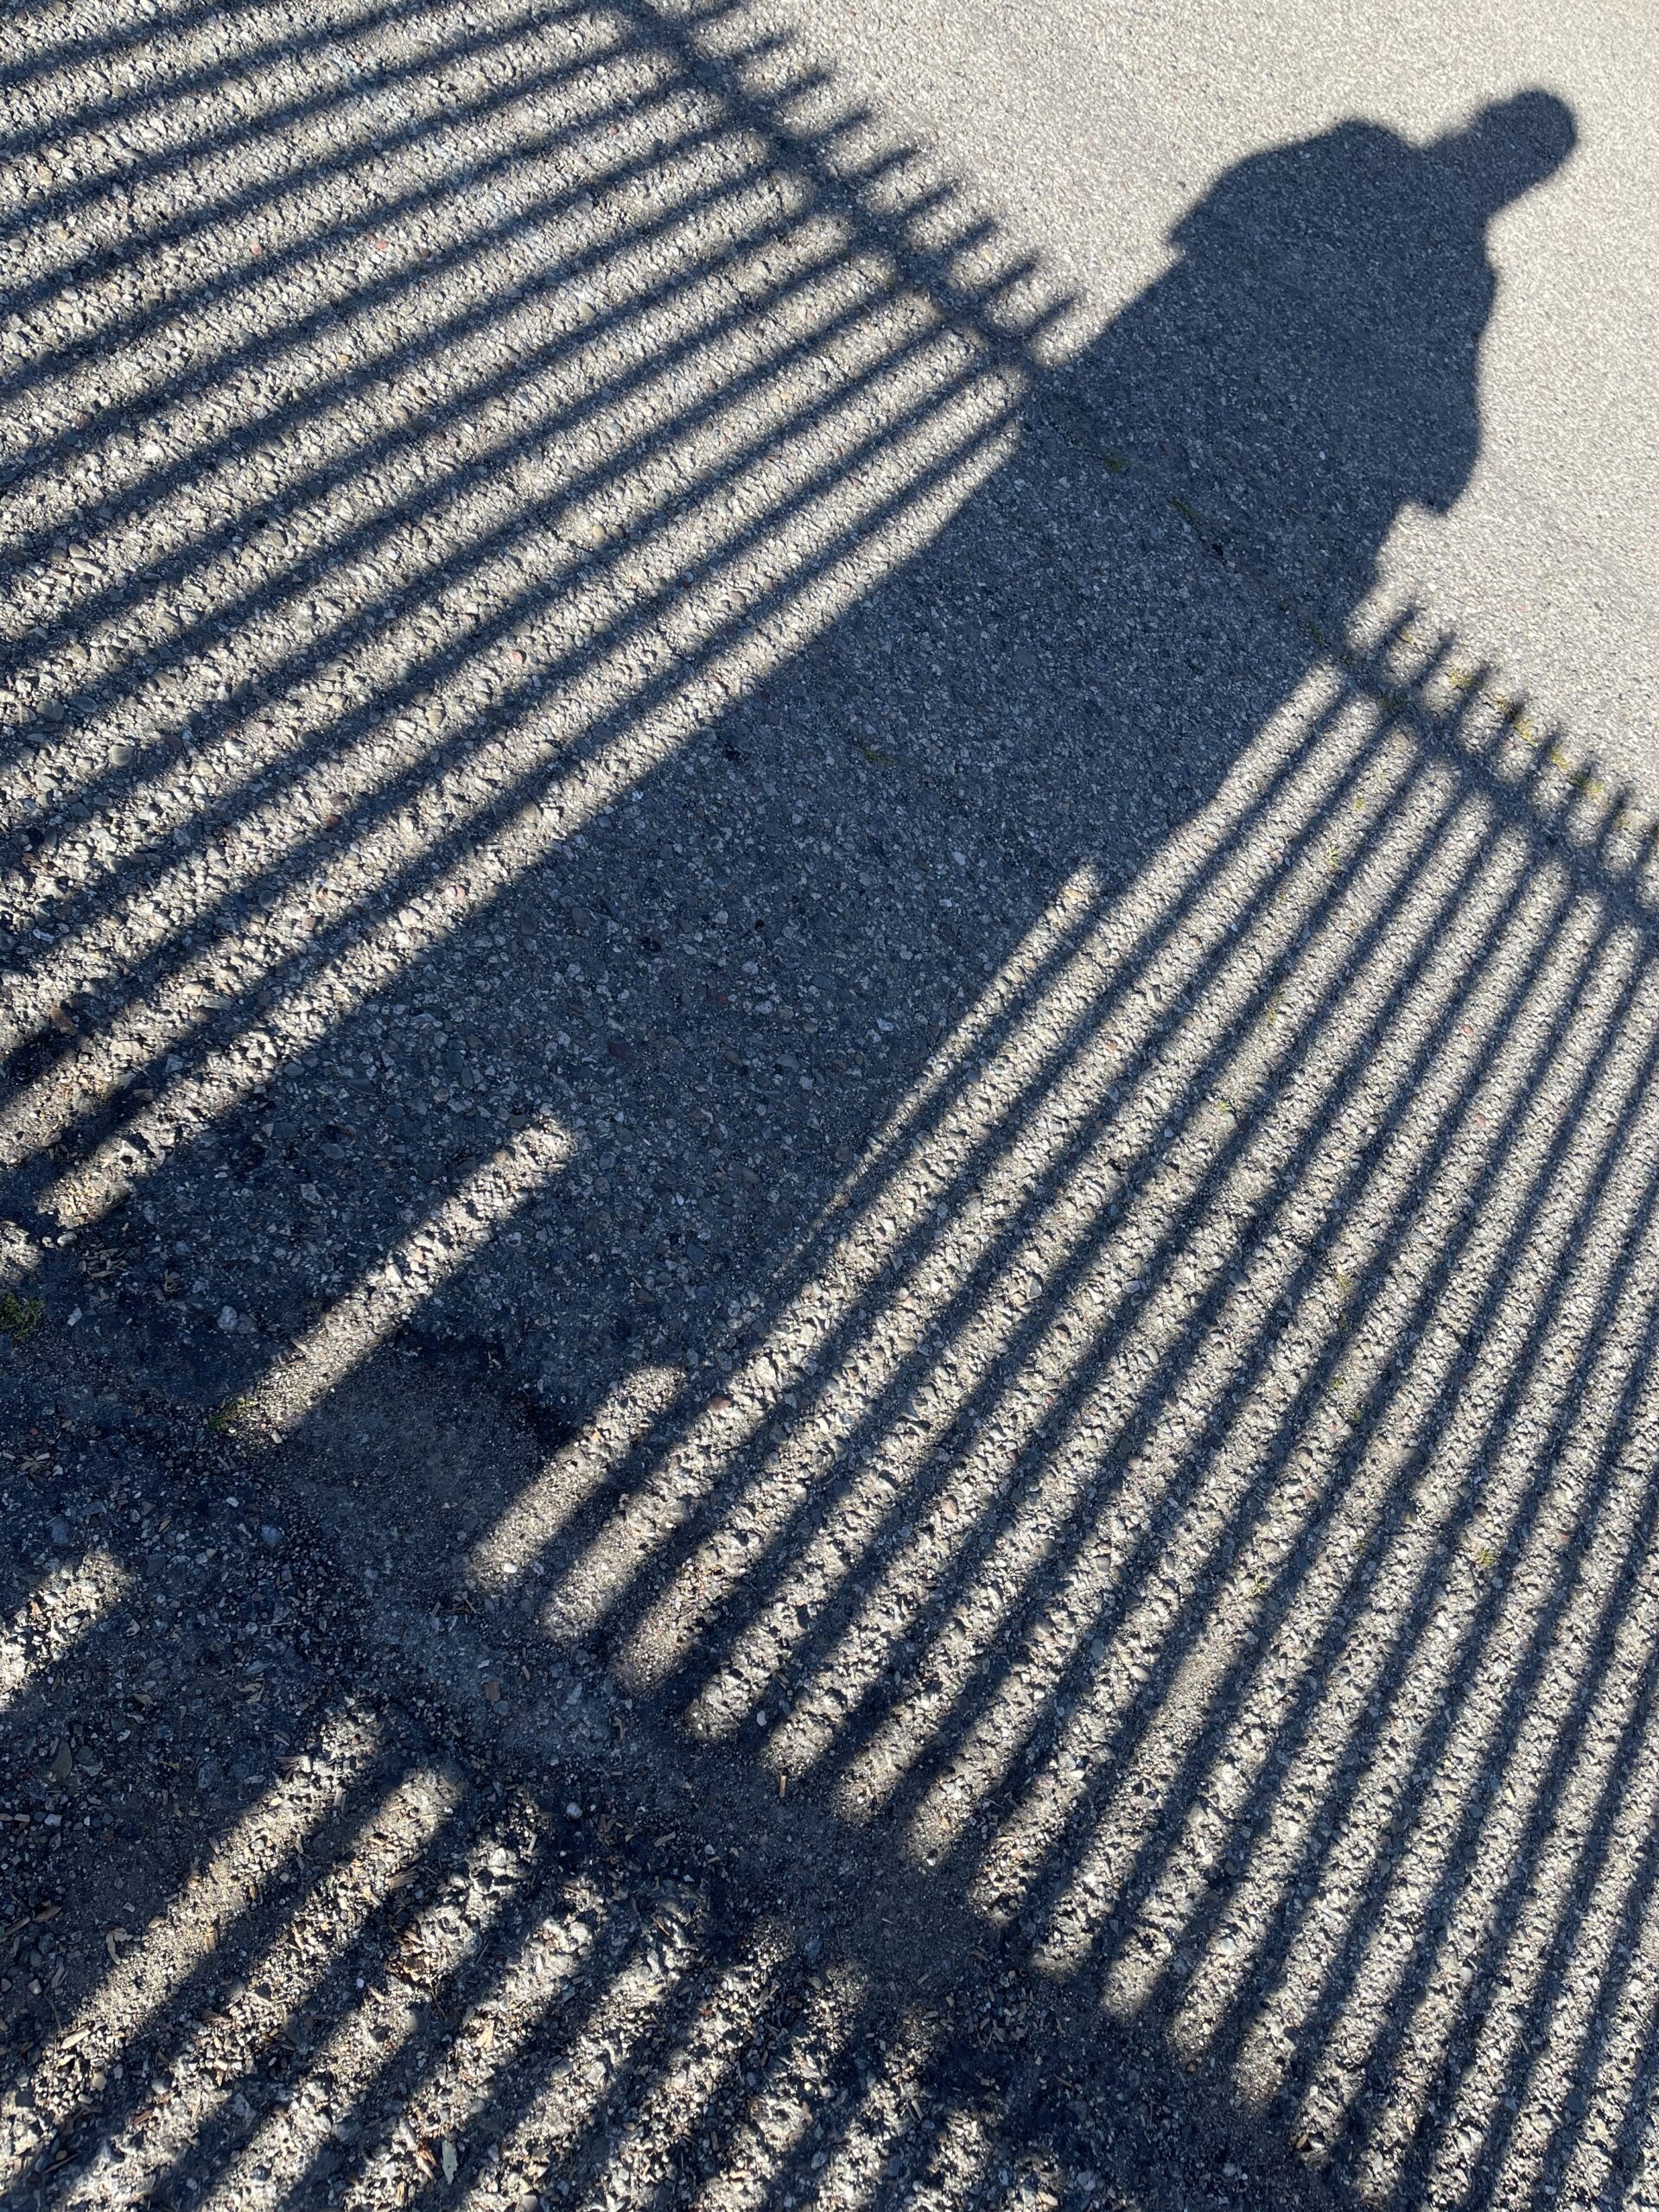
Well, flowers are magical. So is nature, and so are people. Of course, with light comes darkness, and without the contrast we would not grasp the magic of the moment…
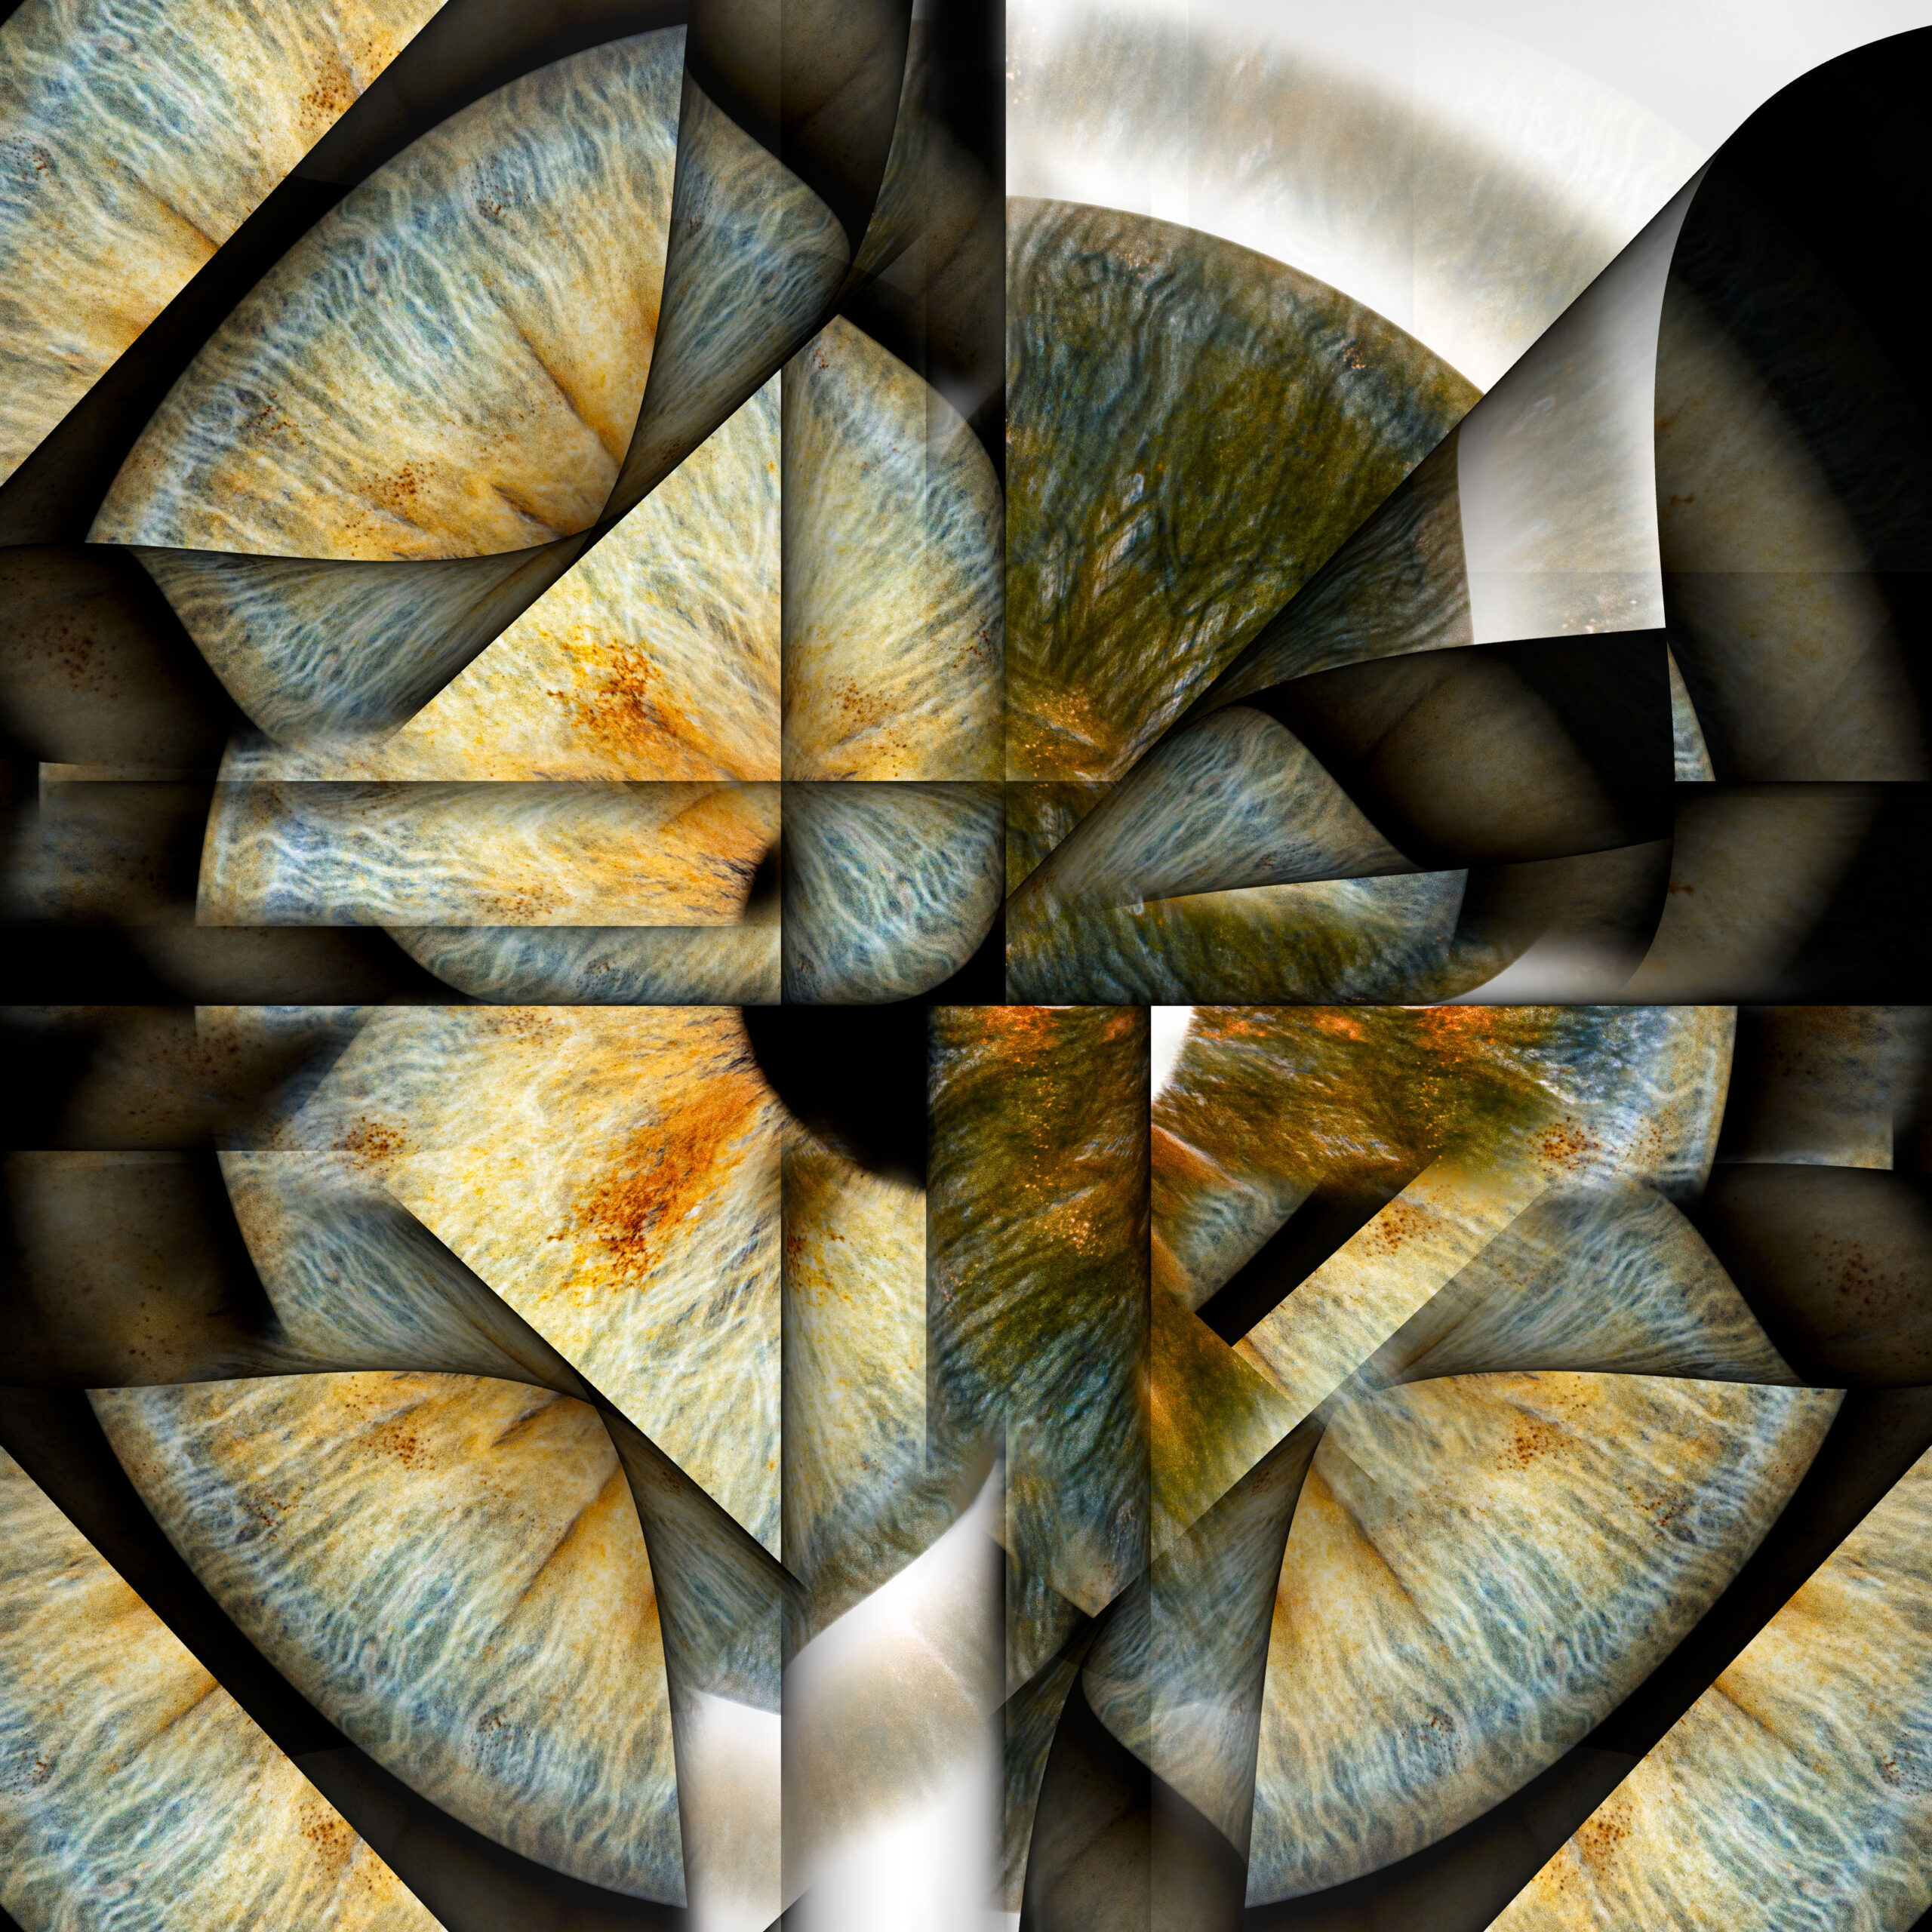
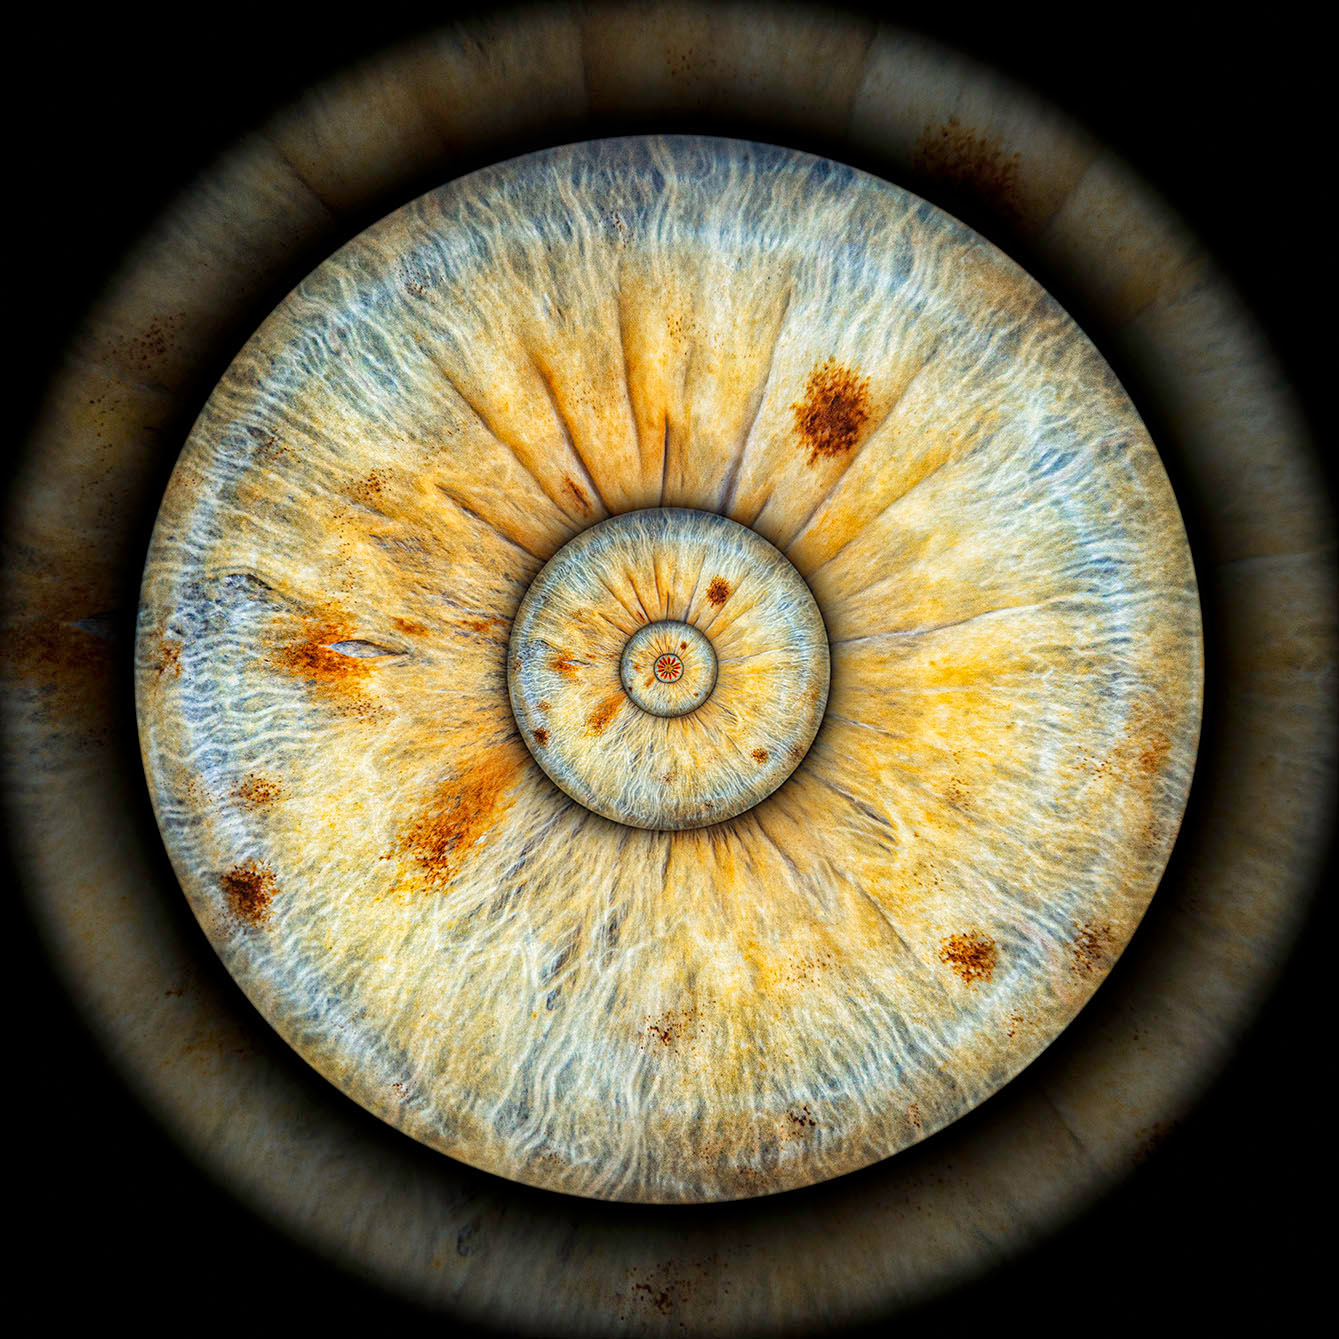
Following an appointment at the eye doctor with the usual ocular poking and prodding, I came home inspired to create another composite image based on the photo of my eye!
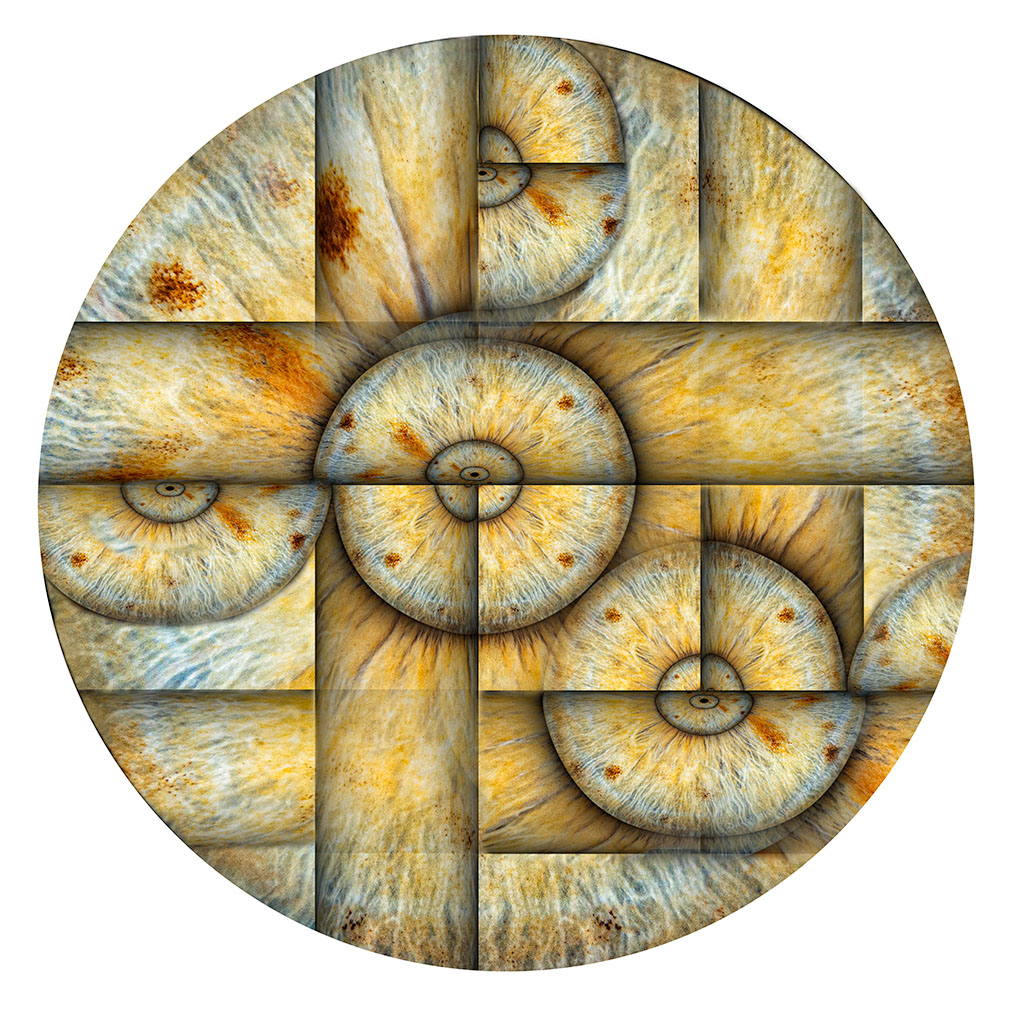
Here are two more Photoshop composites (I call these "Impossible Images") based on the photo of my left eye!
Sometimes a limited palette of colors can actually seem more colorful than a full spectrum of rainbow colors. As a case in point, consider these two compositions, limited to a…
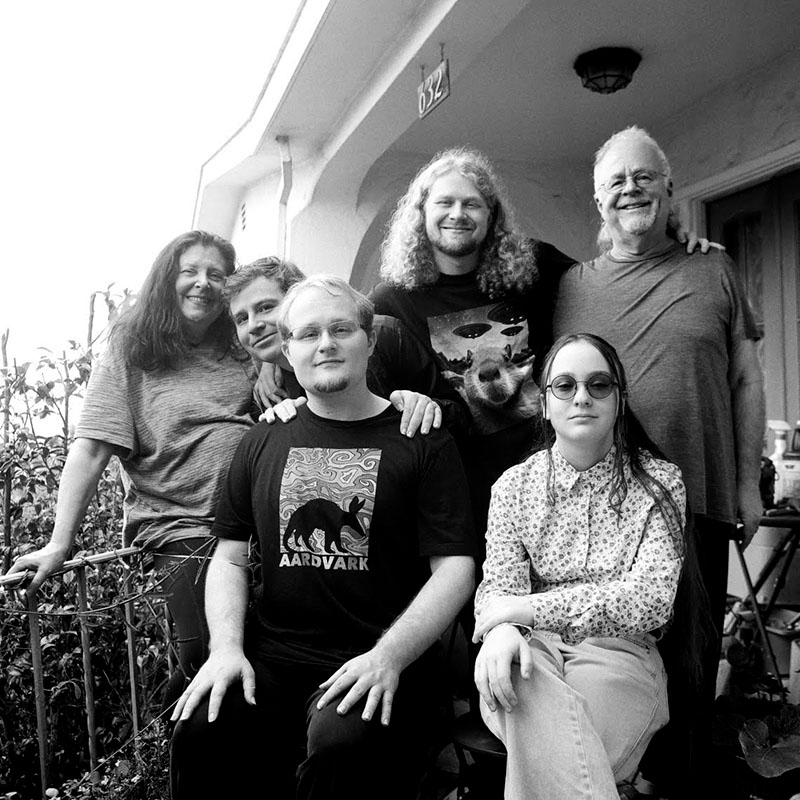
In December 2023, with Mathew home from college, we engaged portrait photographer Nan Phelps to make a family photo of the six of us. Nan worked the old-fashioned way: with…
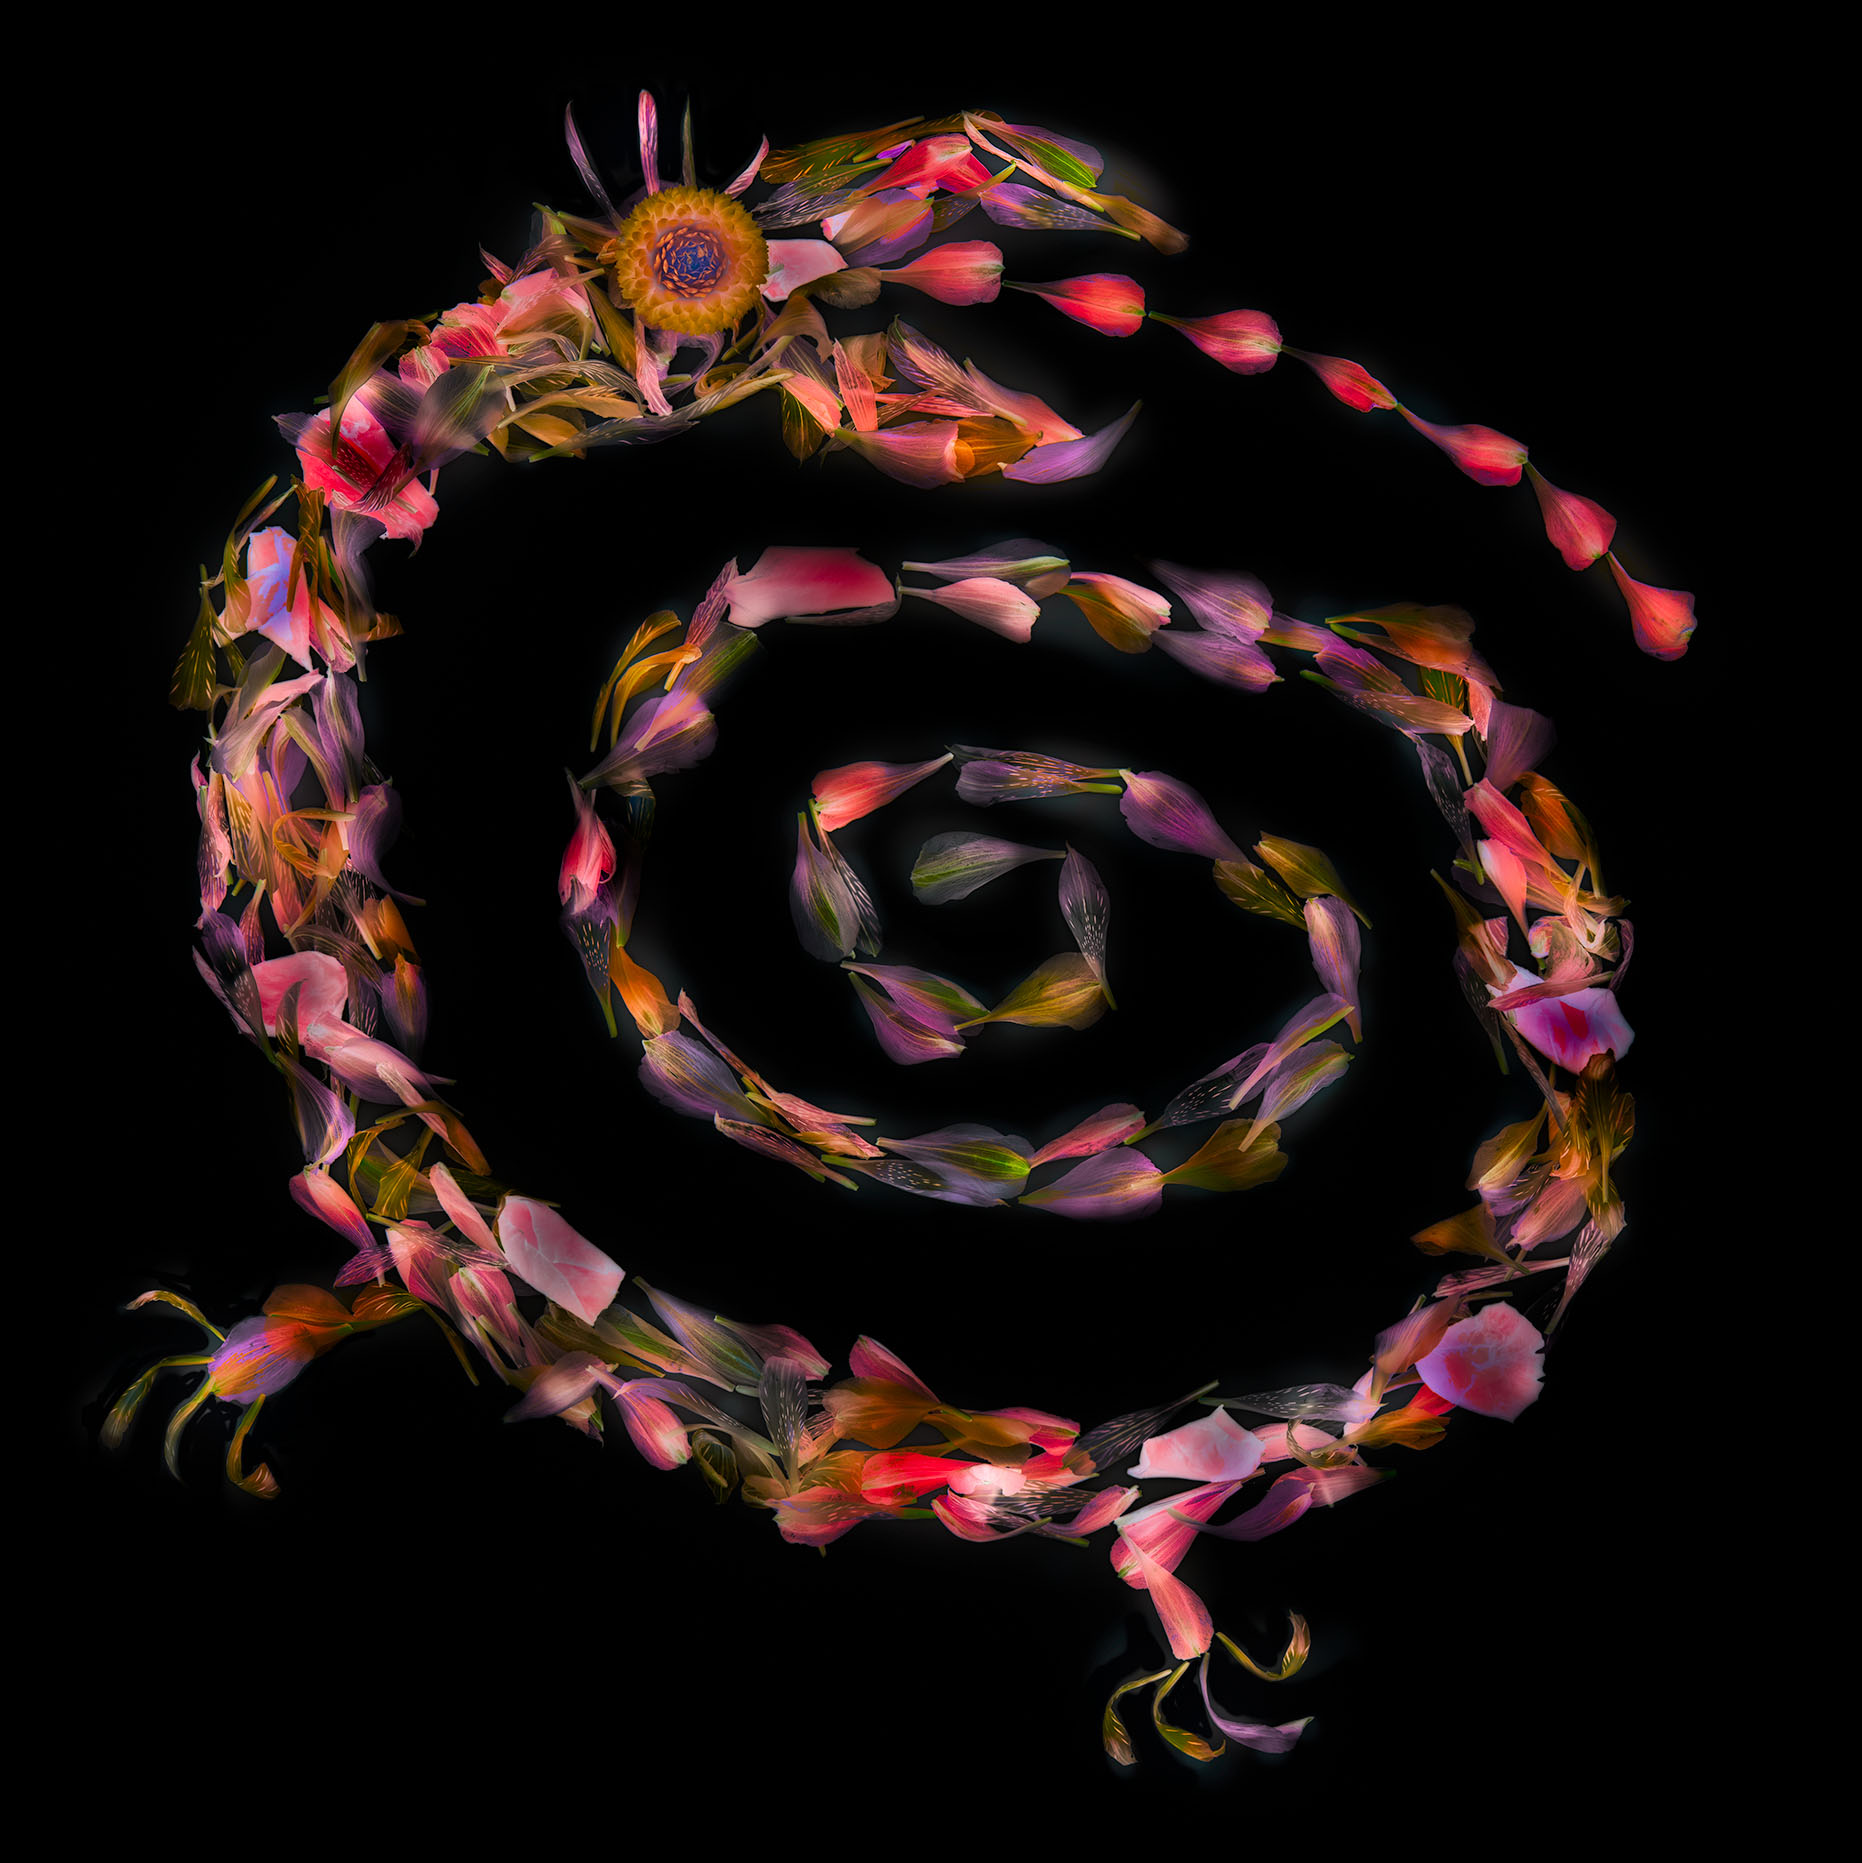
In honor of the quickly approaching Year of the Dragon, and since I am a "golden Dragon," I thought it would be fun and appropriate to post some of my…
I was walking north from the Oculus in downtown Manhattan along West Broadway. Back in the day, when I lived and worked out of my studio at 18th Street and…
Please consider joining me for a free webinar hosted by B&H Photo on February 8, 2024 at noon Pacific Time (3pm ET). Click here for more info, to register, and…
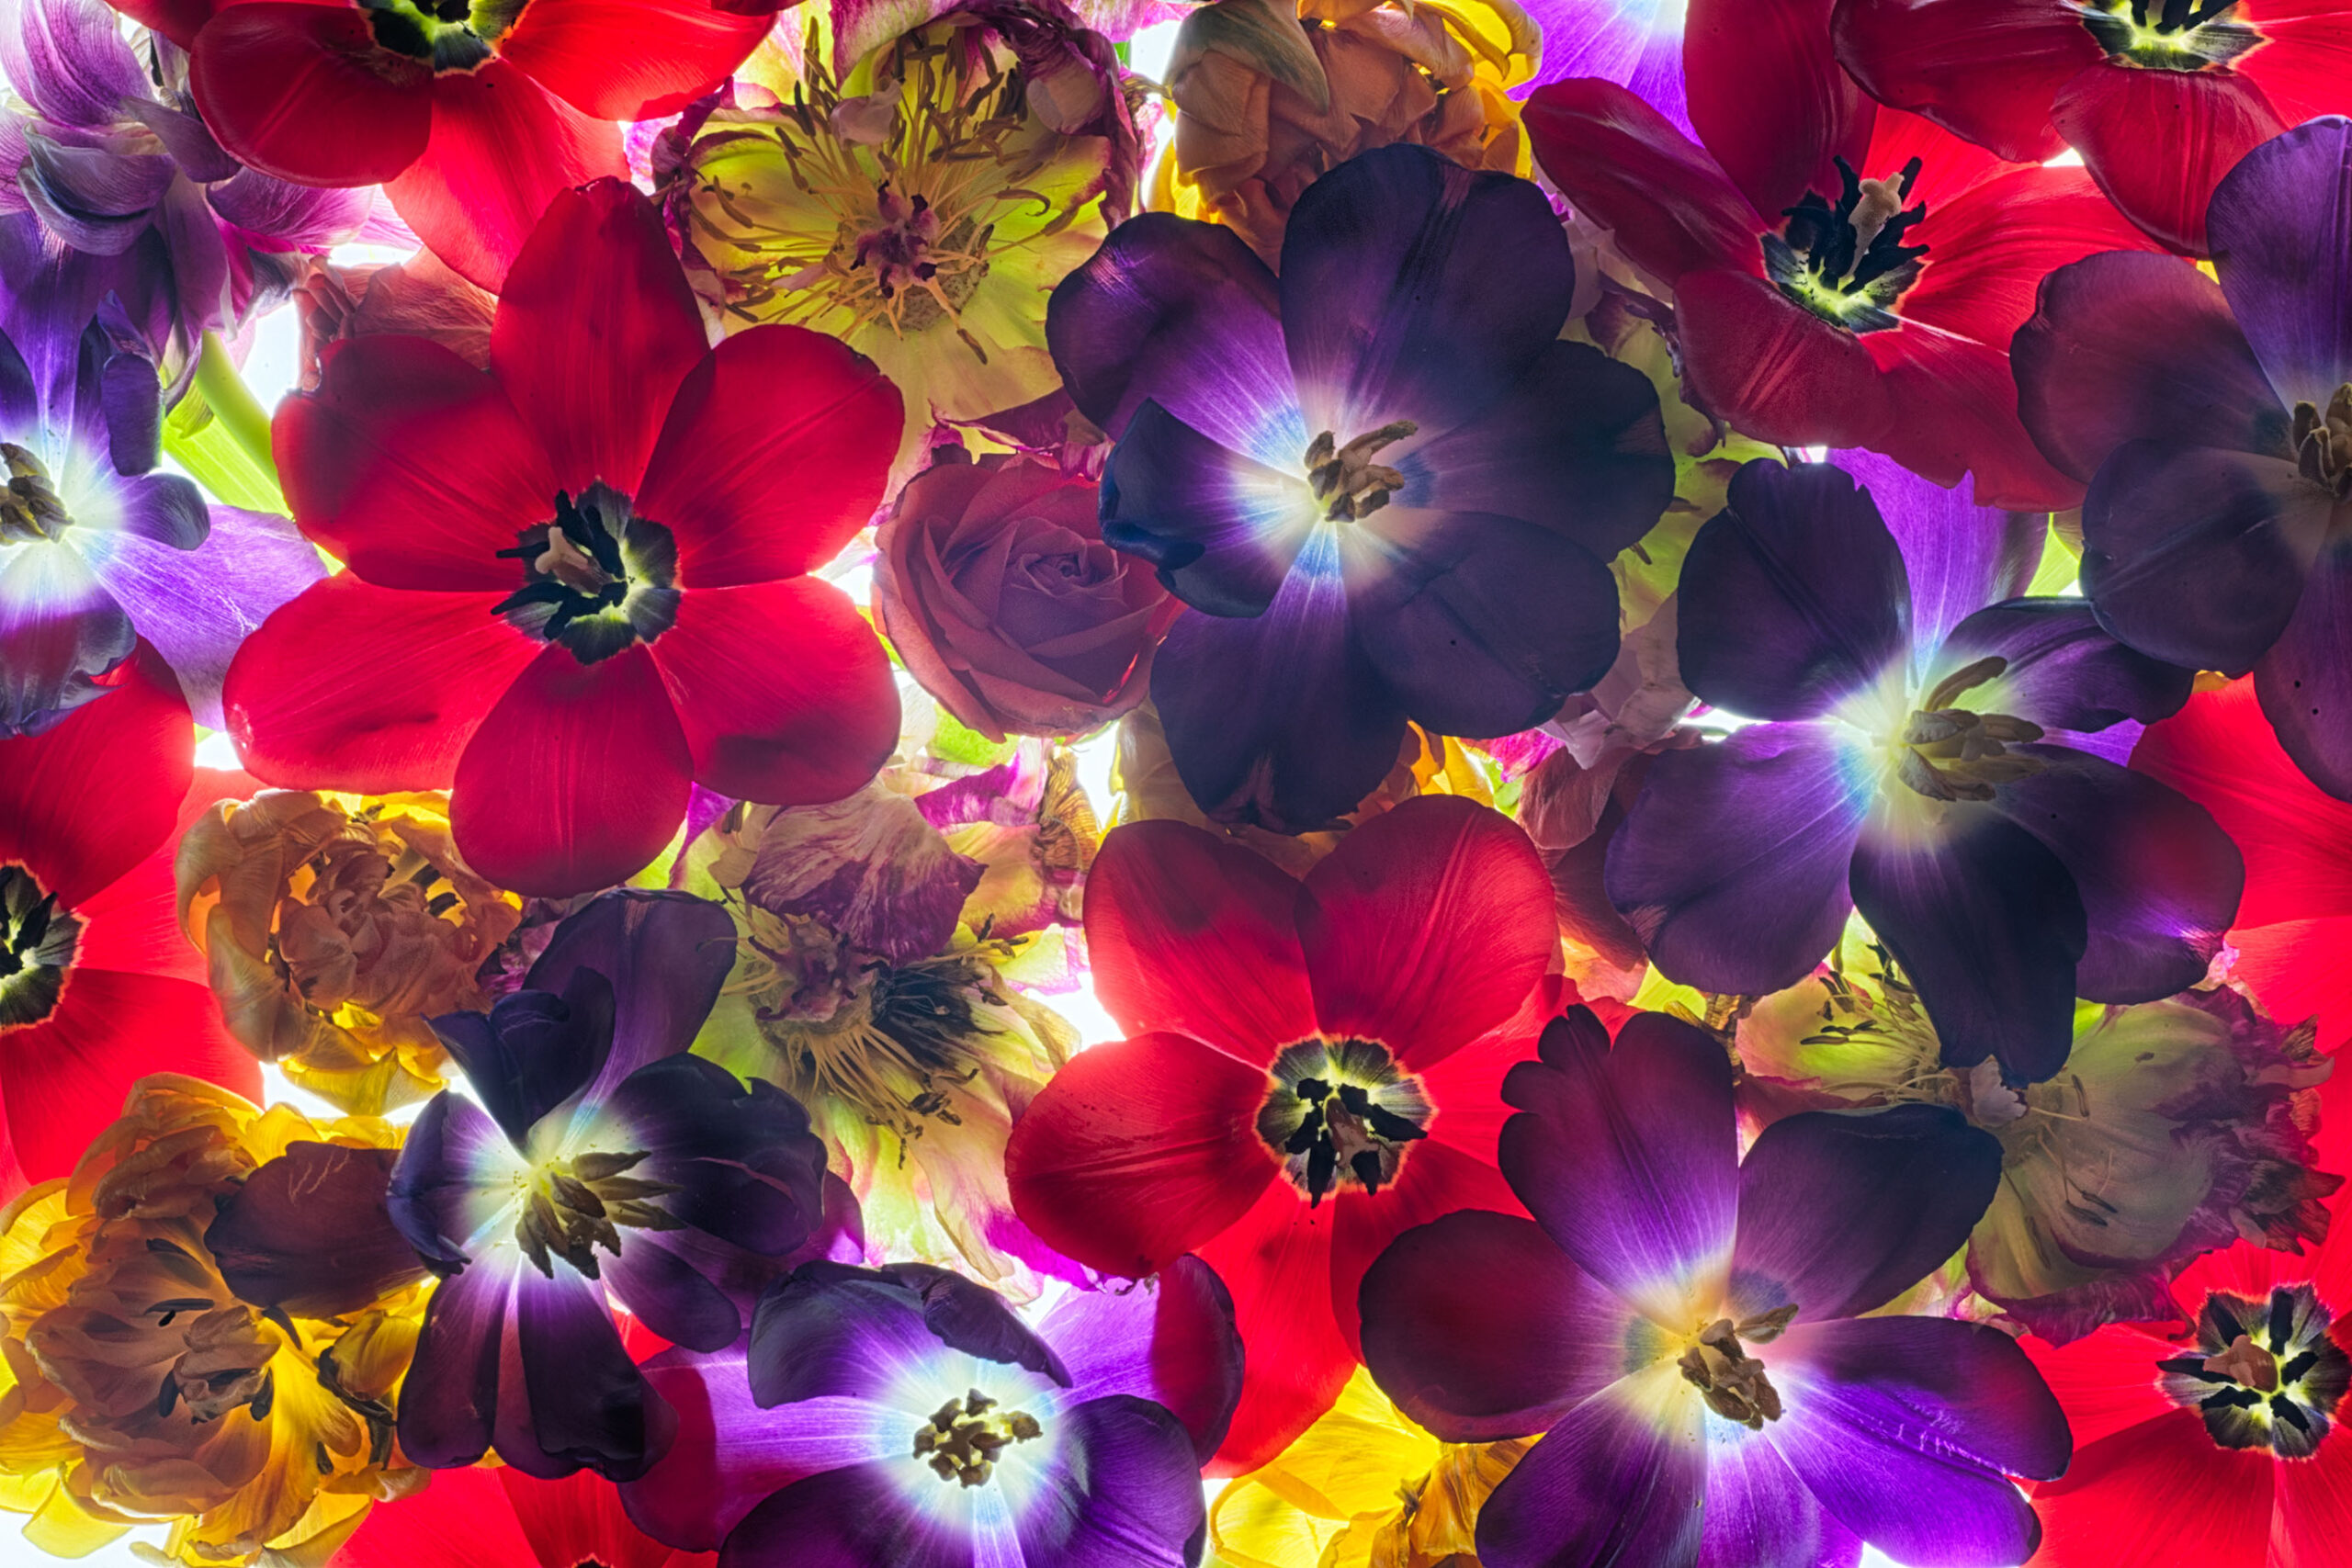
Rhapsody in Tulip is my last 2023 image in the Artfully Random series. As I look back, this image speaks to me with its sense of color and rhythm: a…
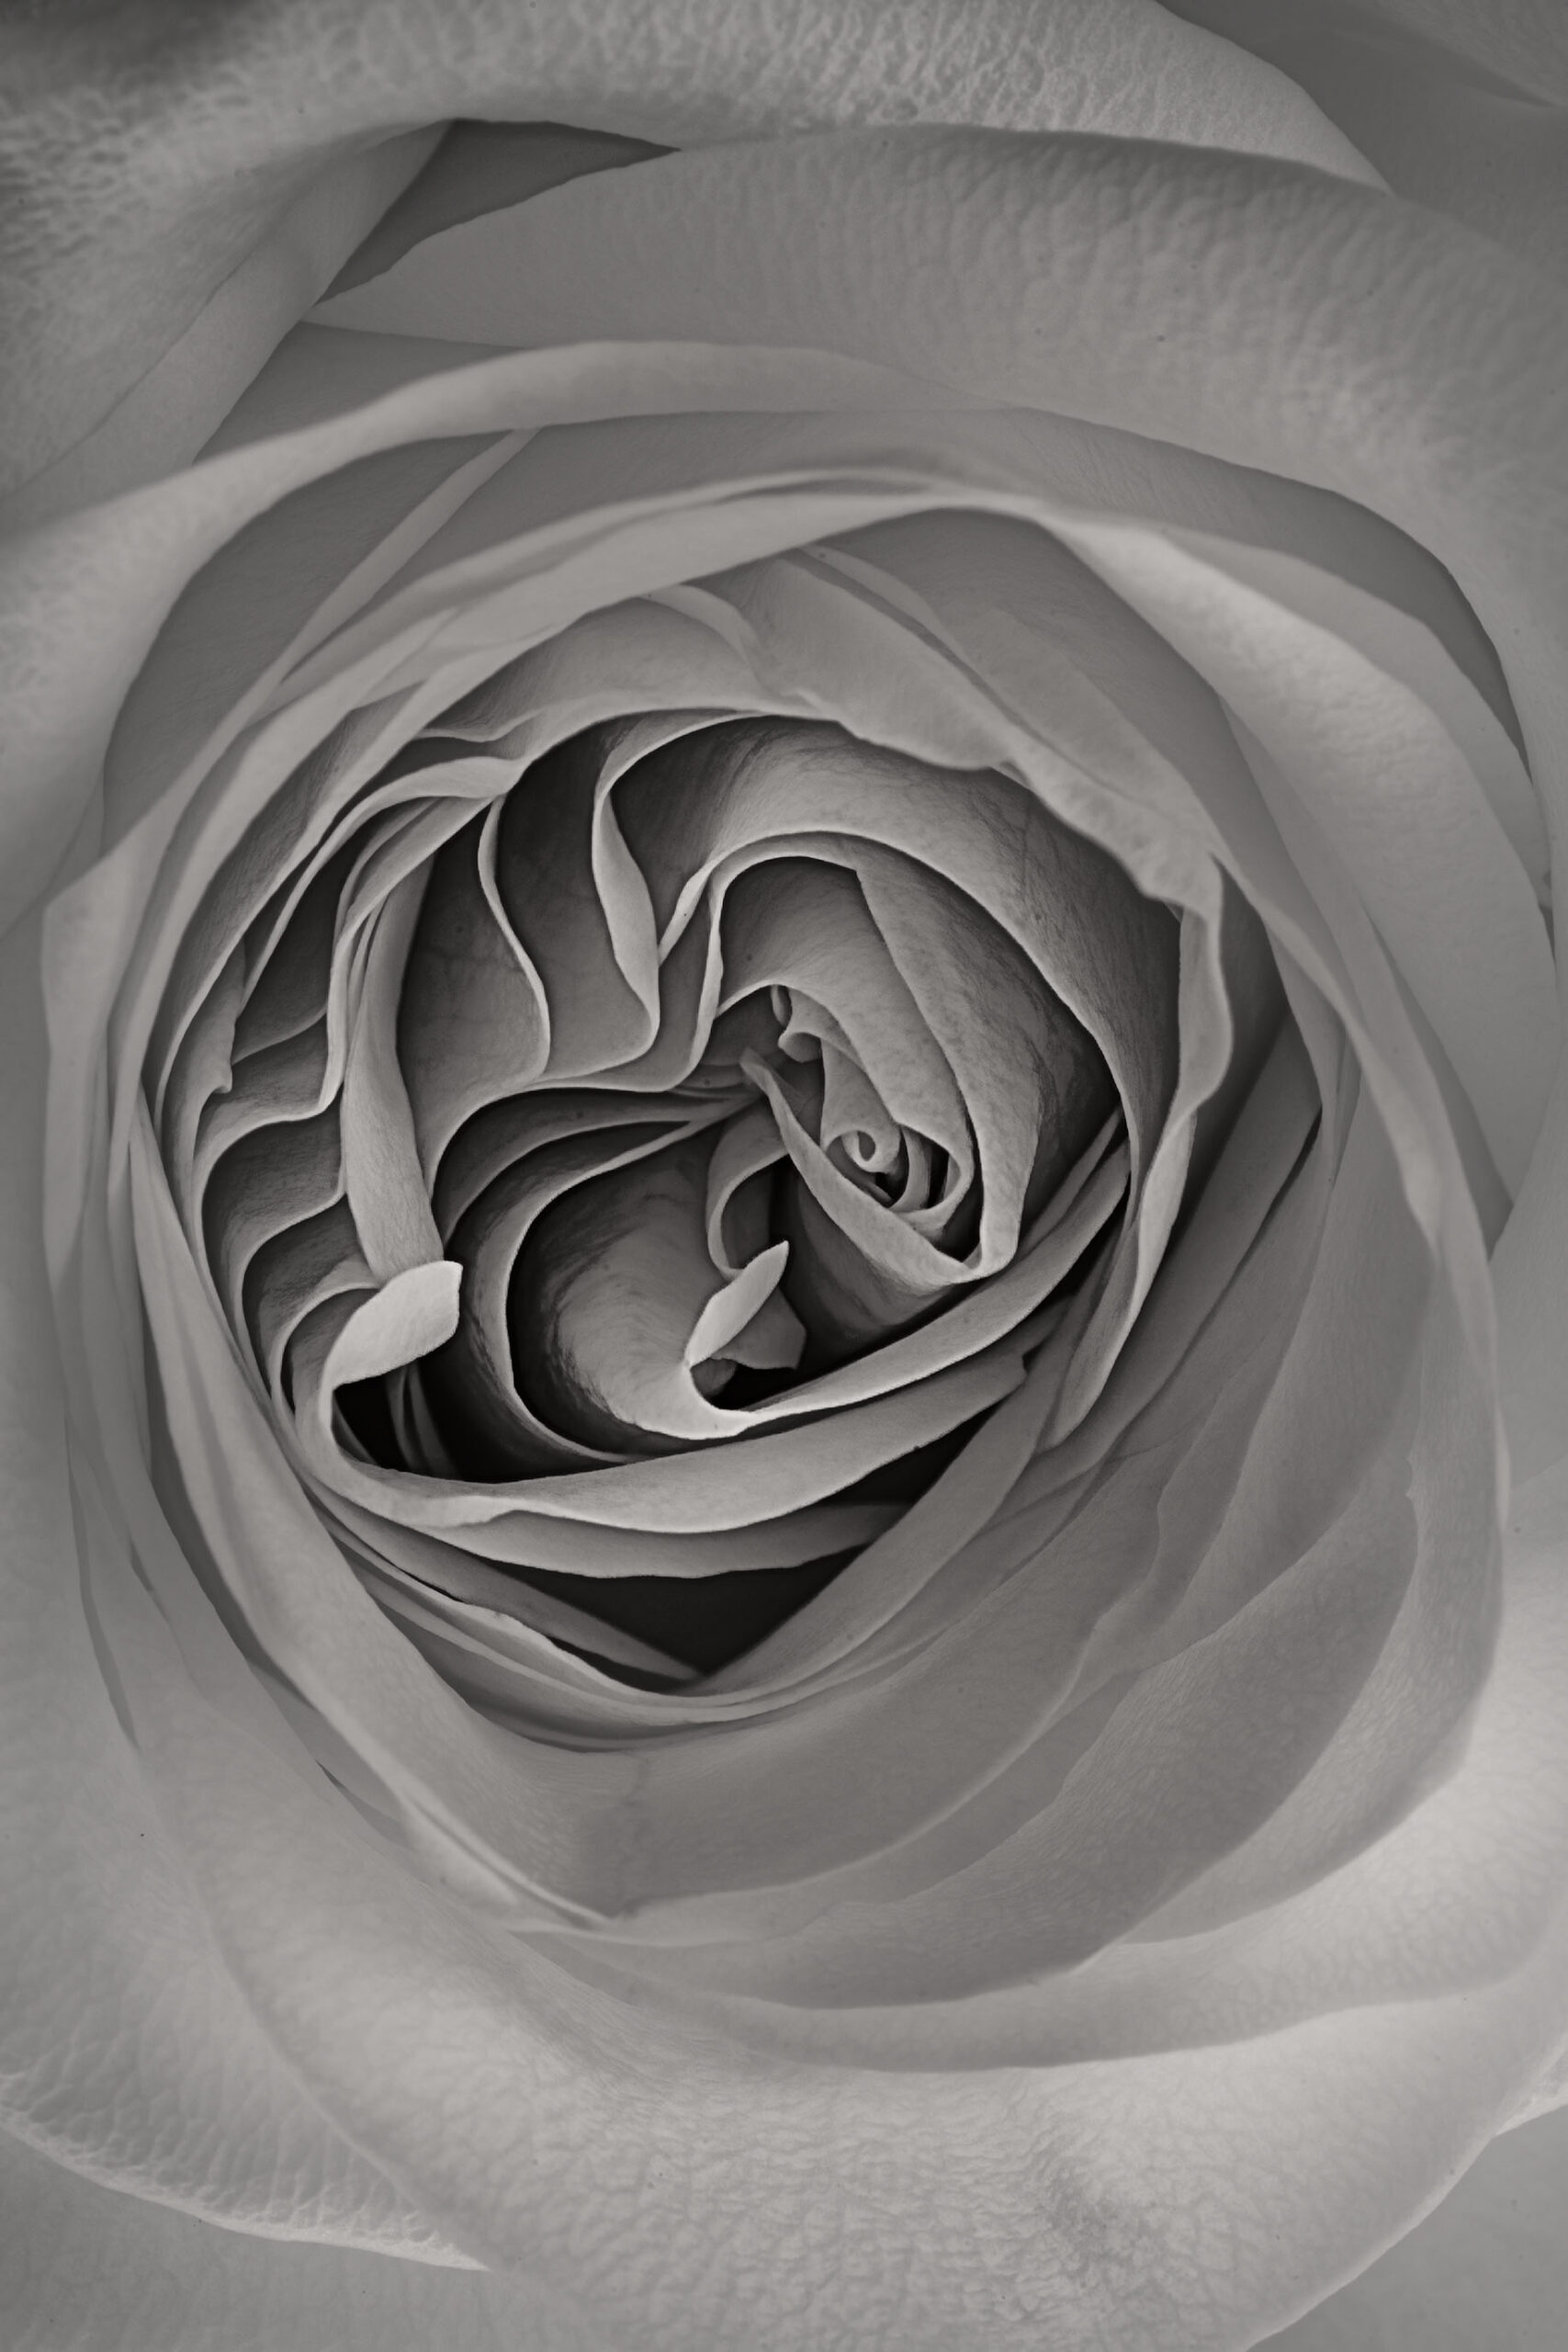
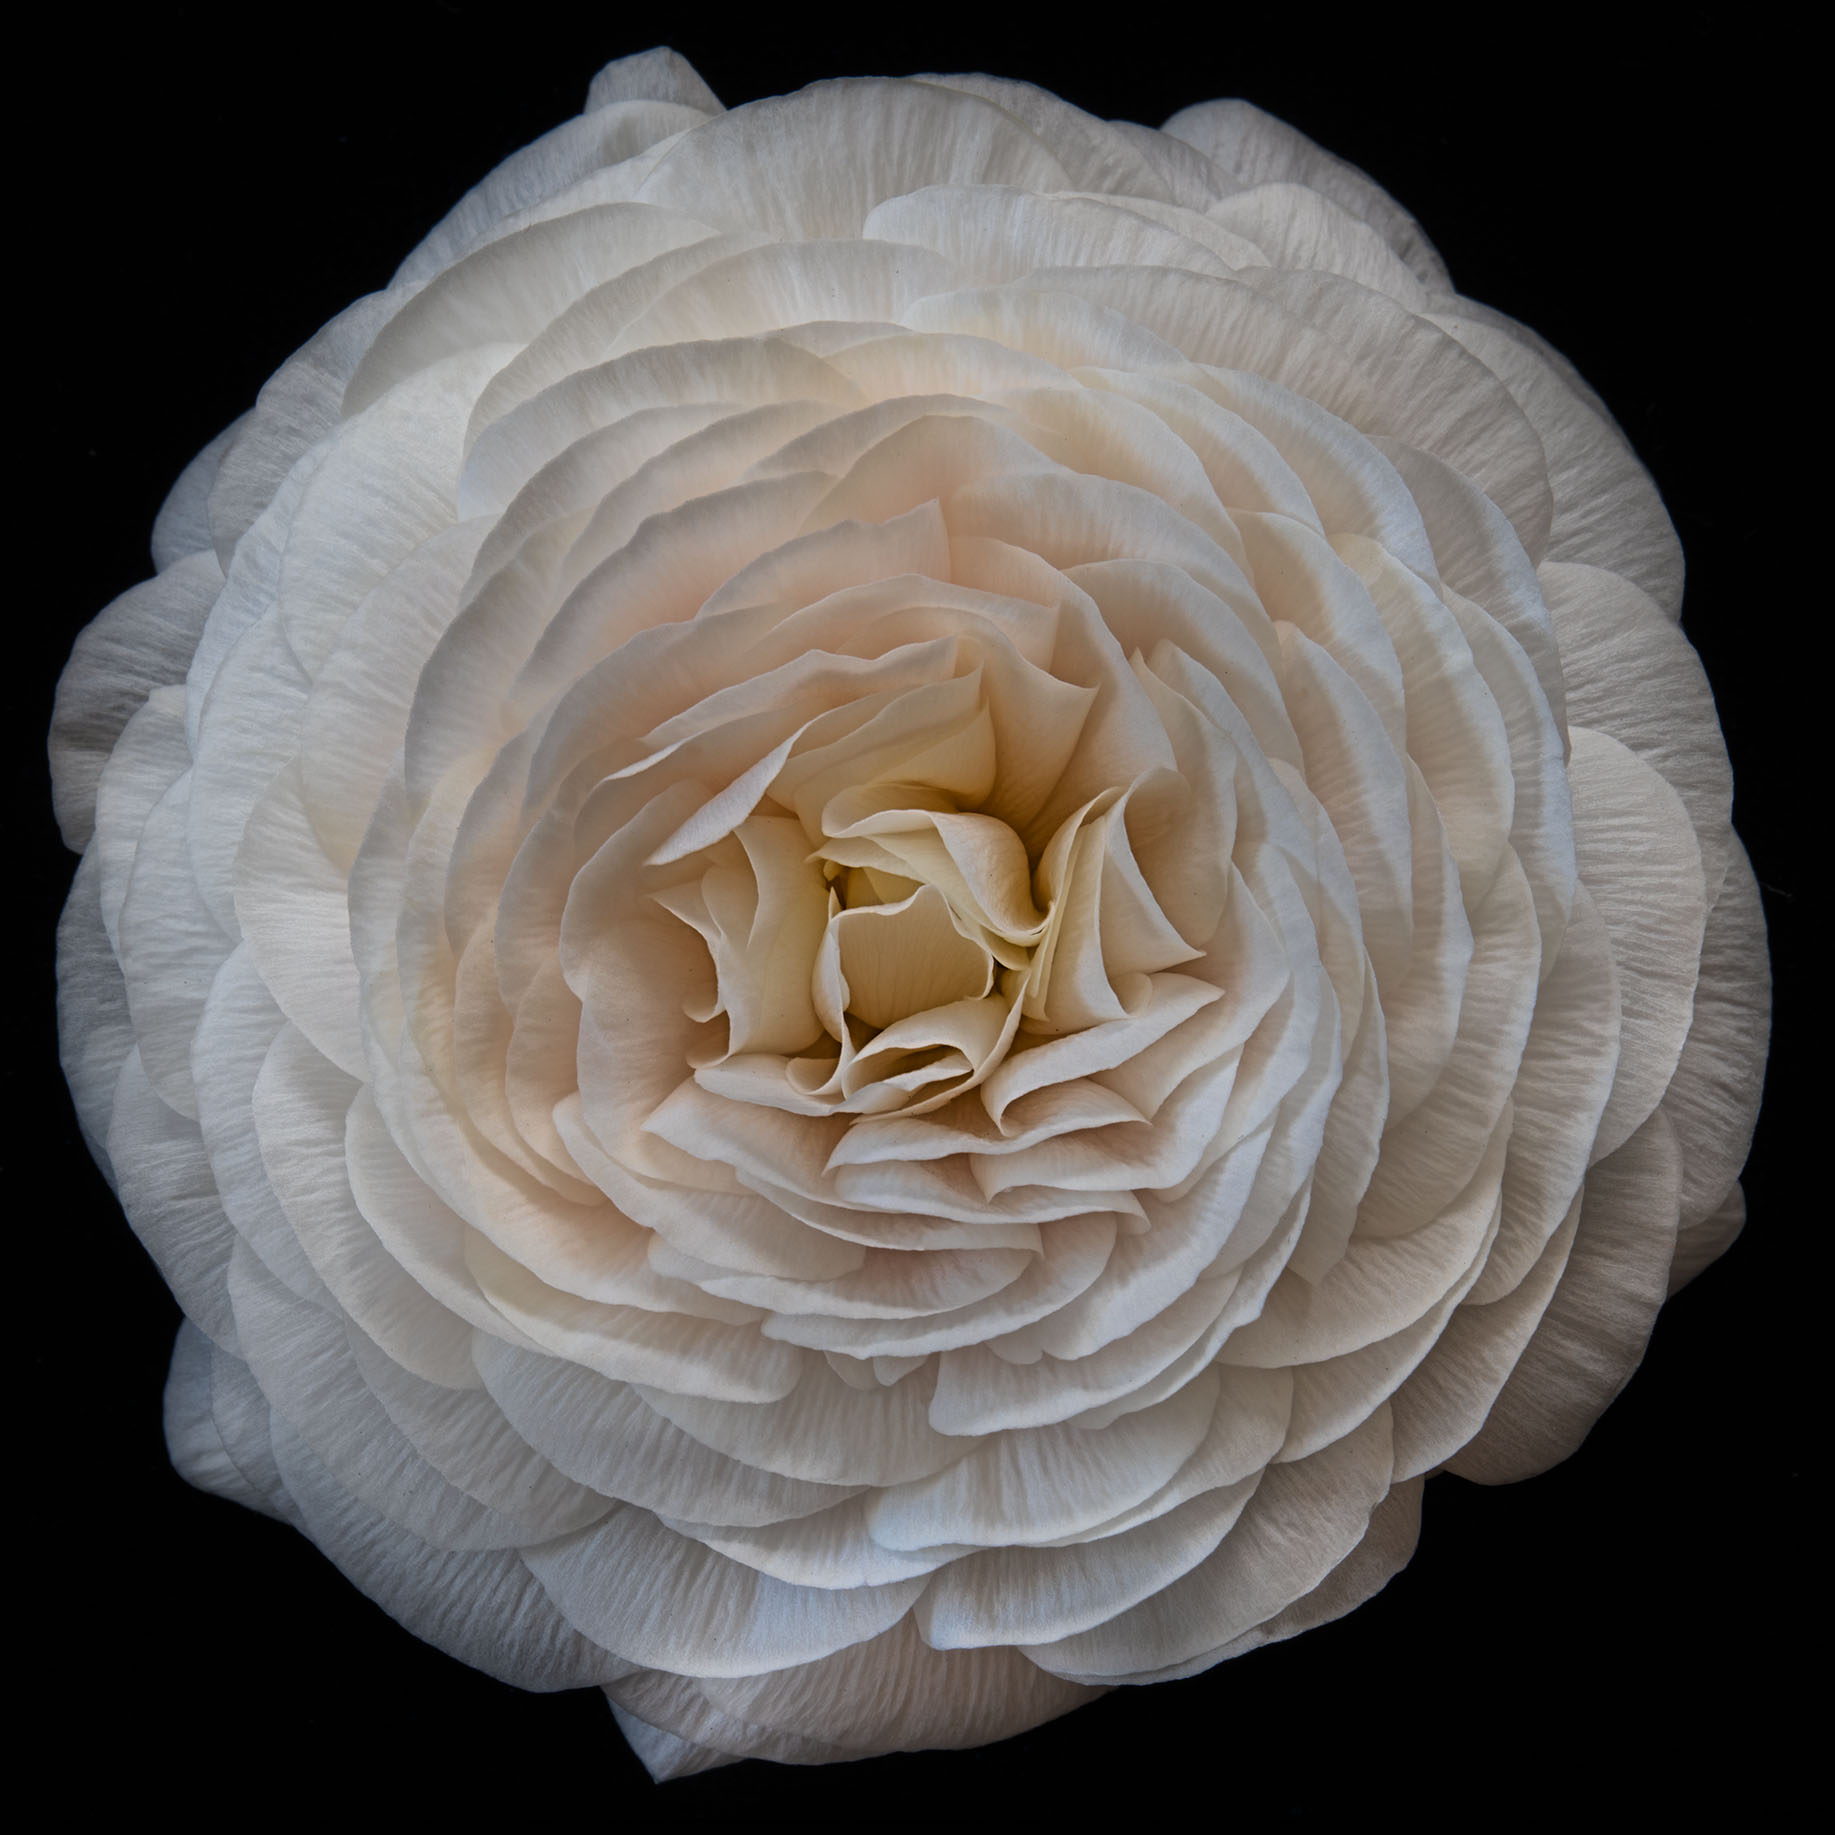
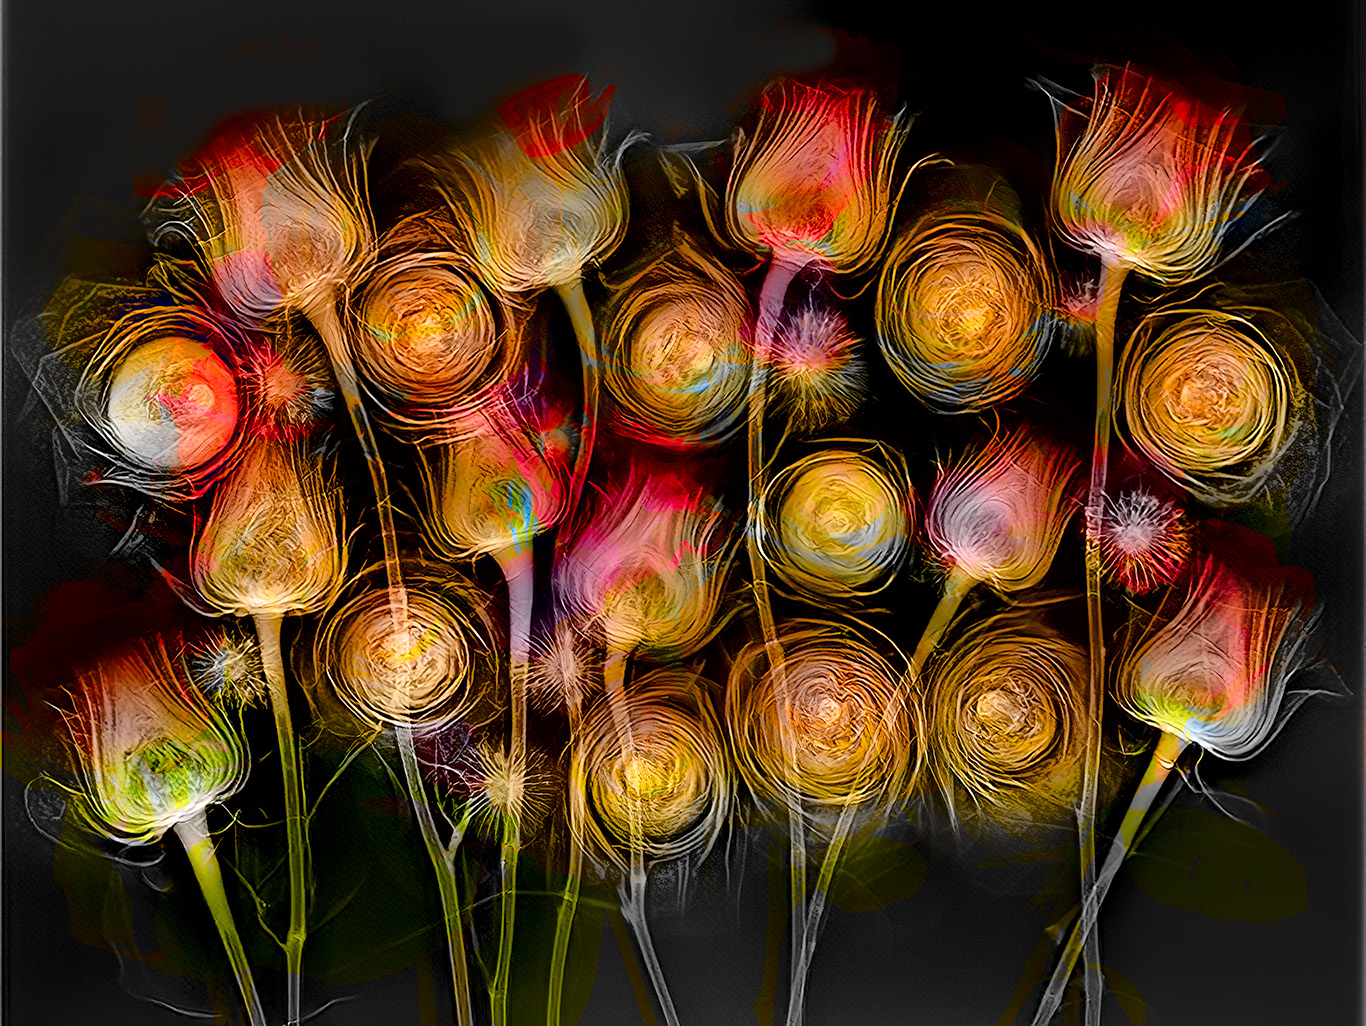
A bouquet of luscious white roses came home one day. The interior curves of these roses attracted me with their grace and serenity, and I decided to photograph them close-up…
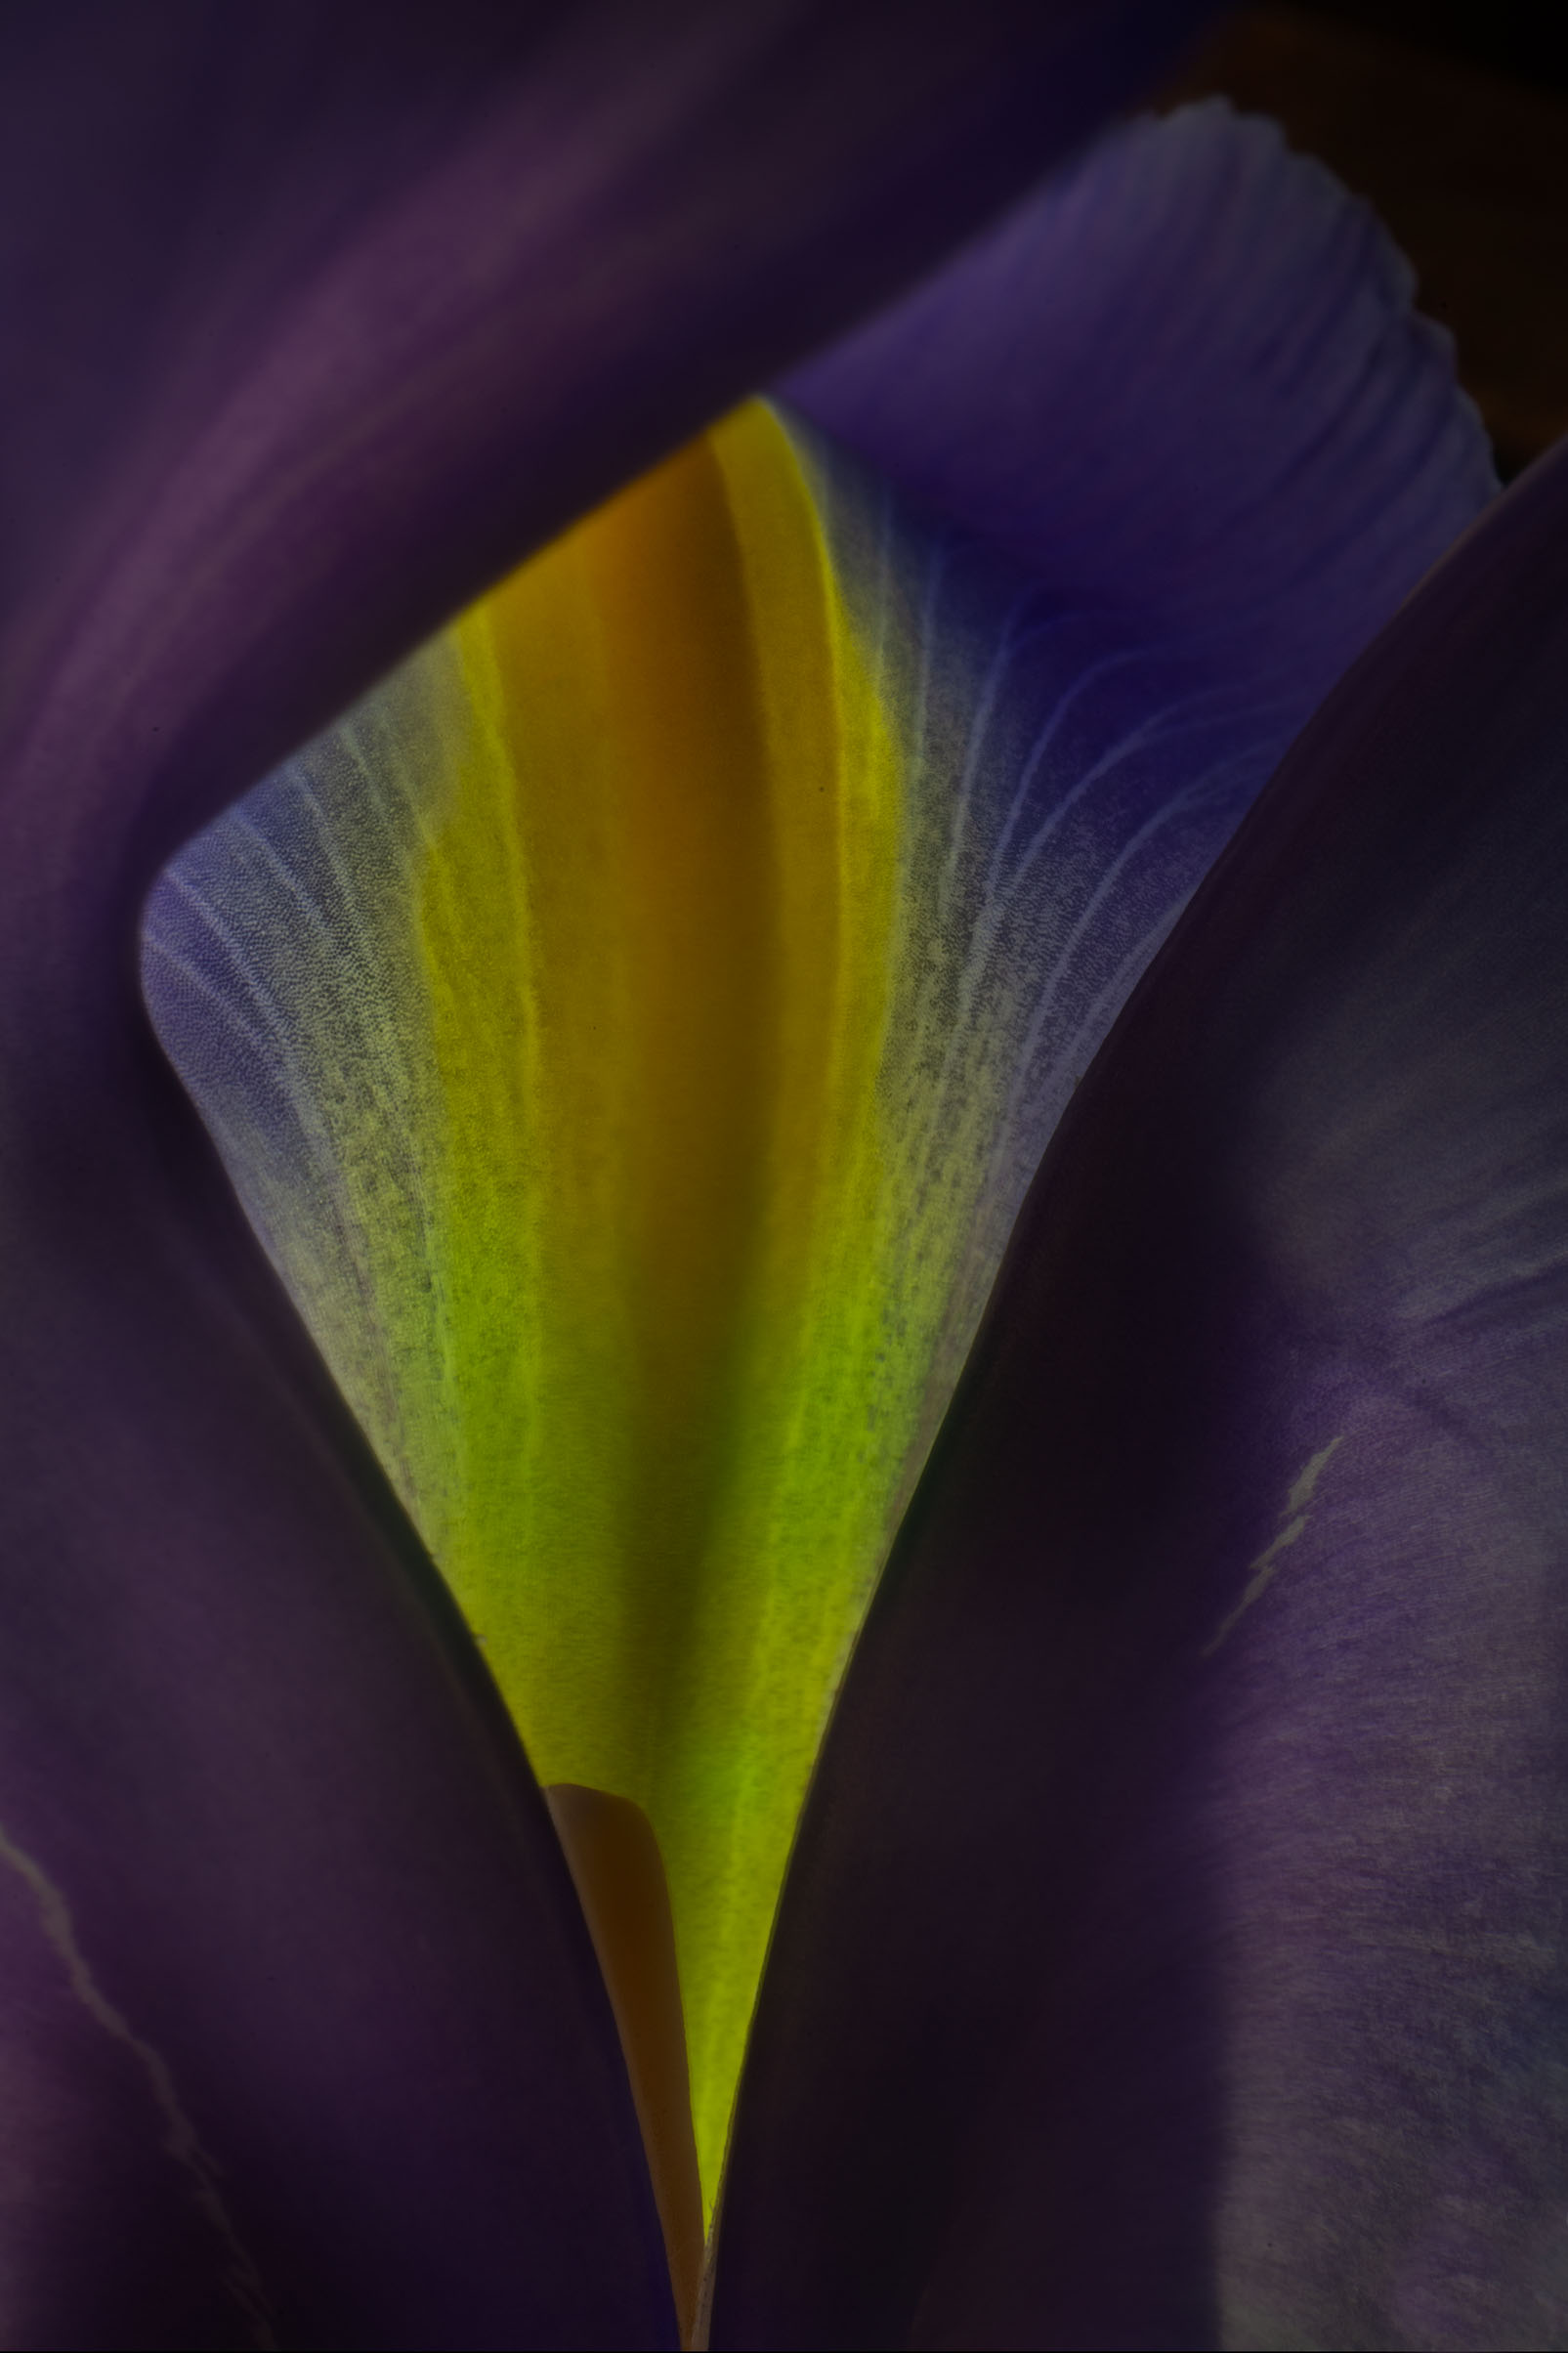
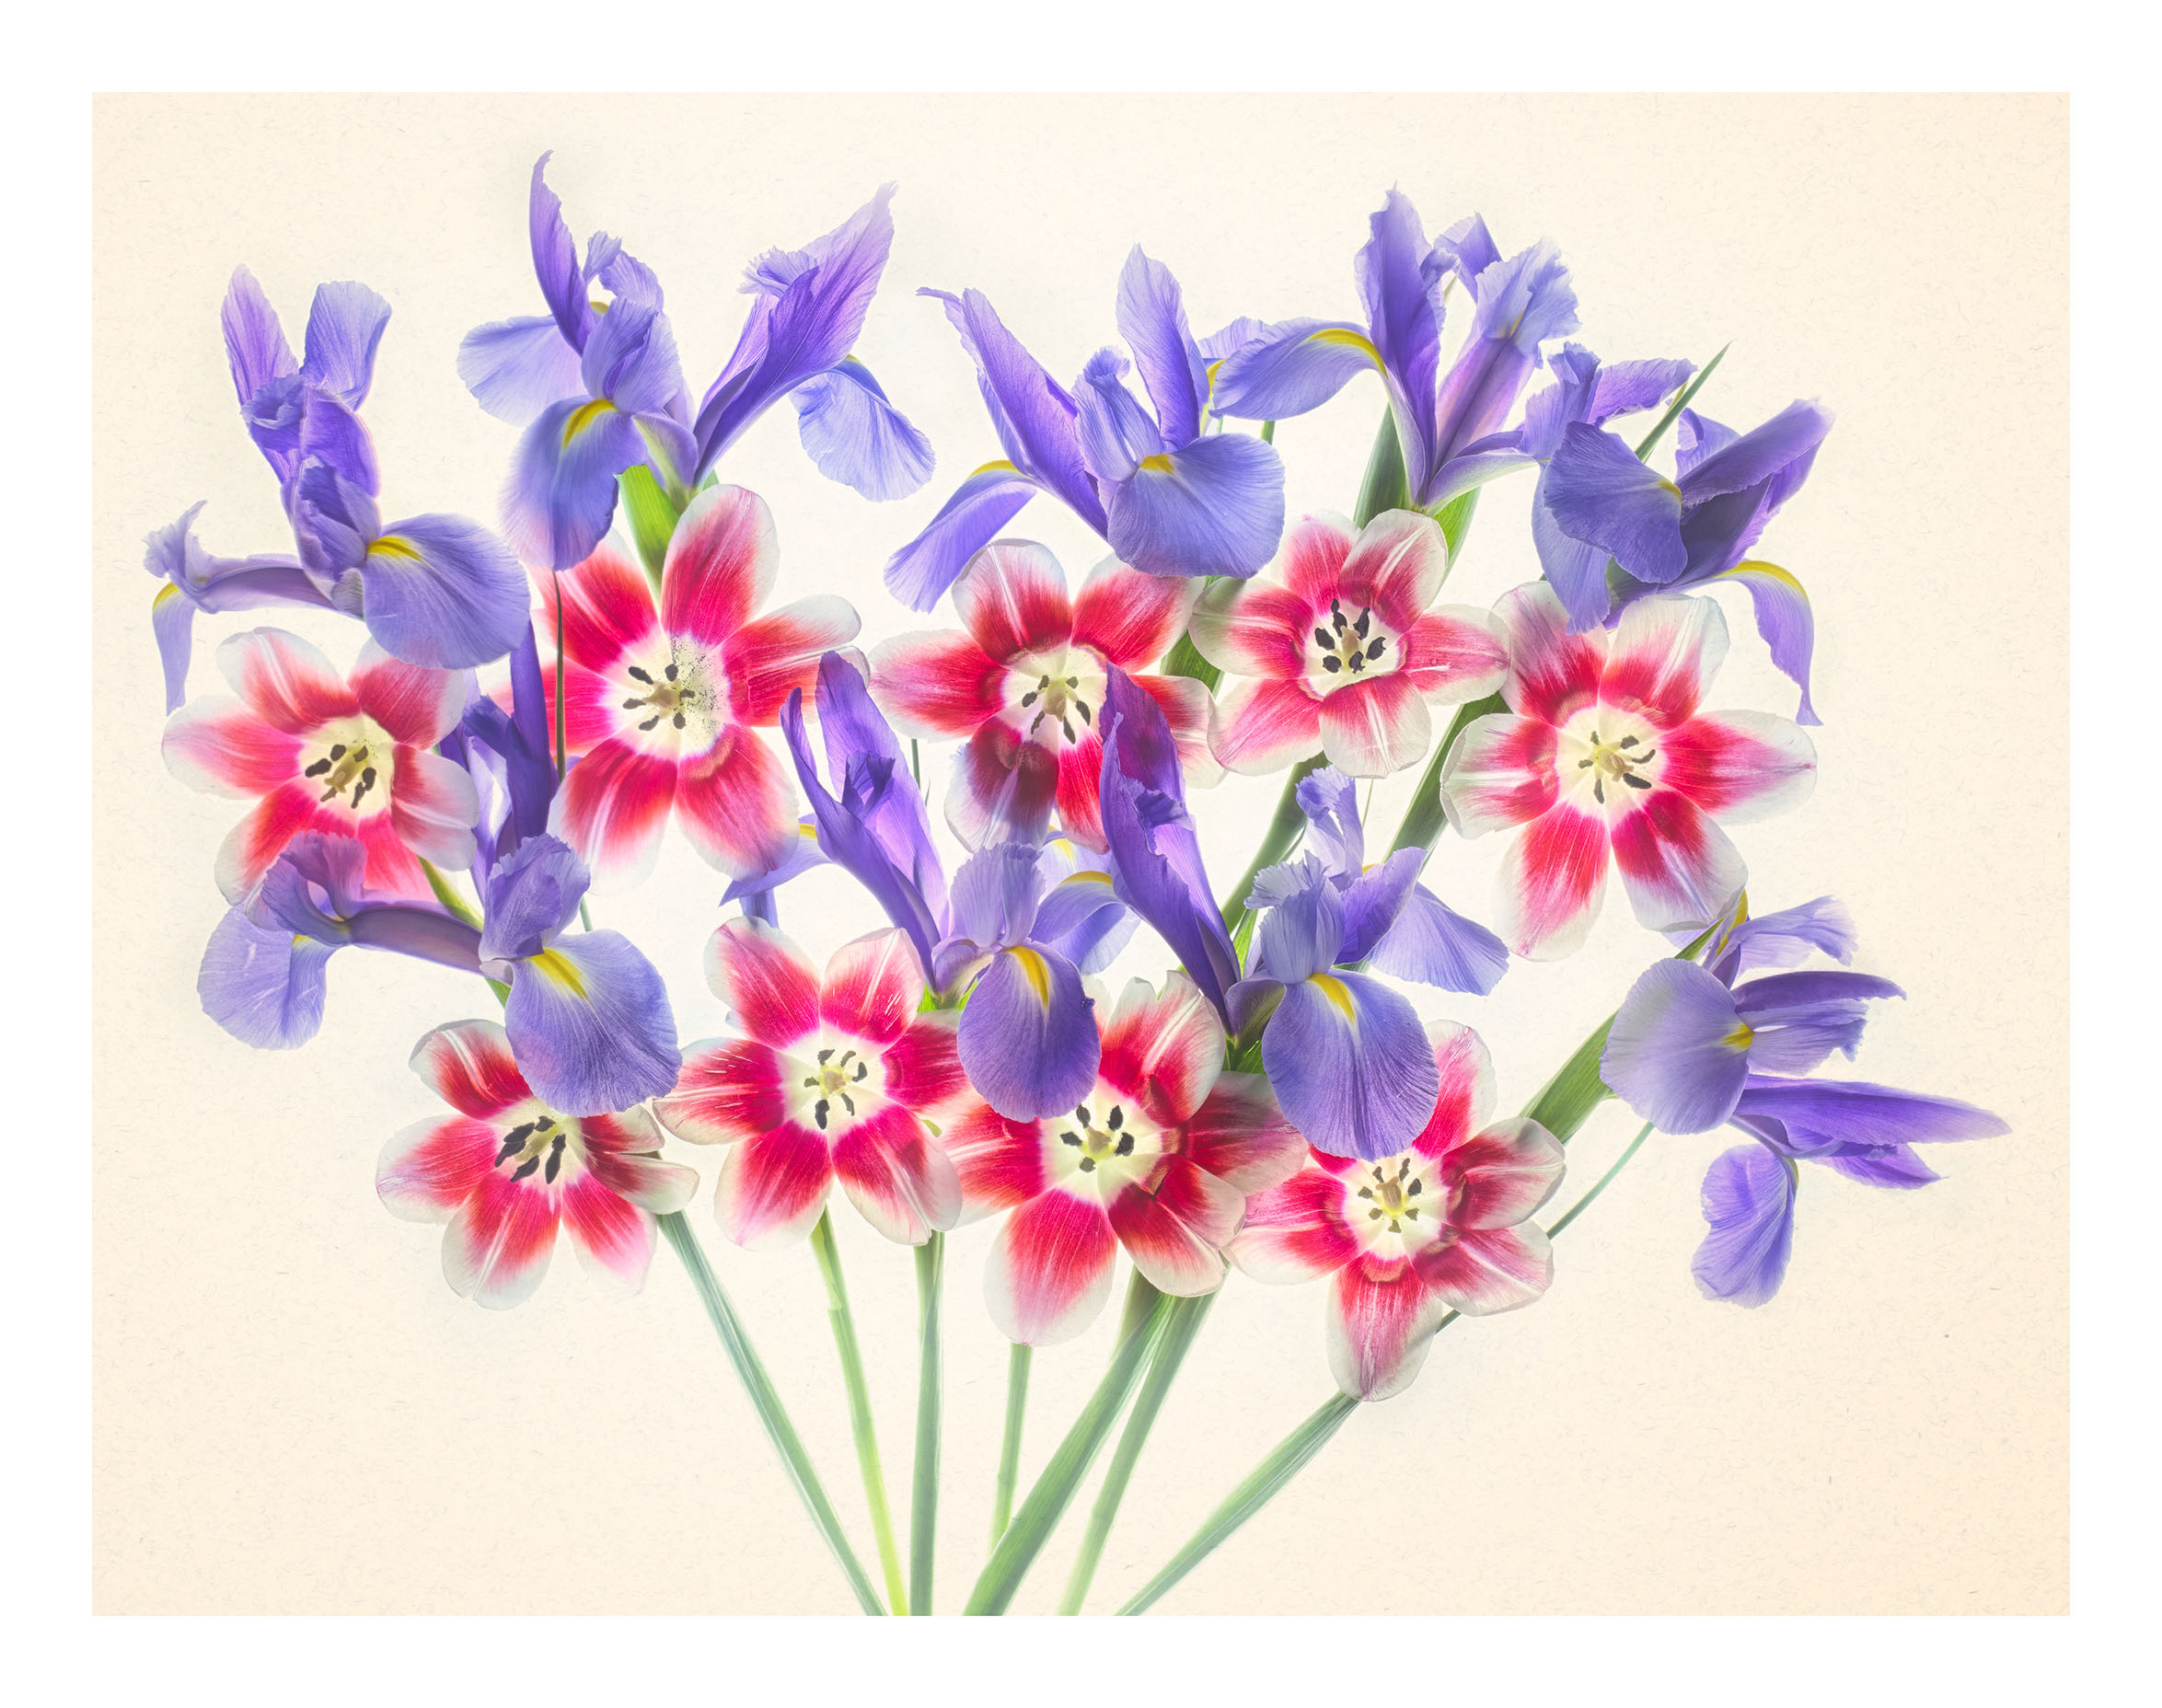
I have been photographing Irises close-up and personal. Irises are wonderful flowers, and I come back to them quite a bit. With these images, I used a simple setup with…