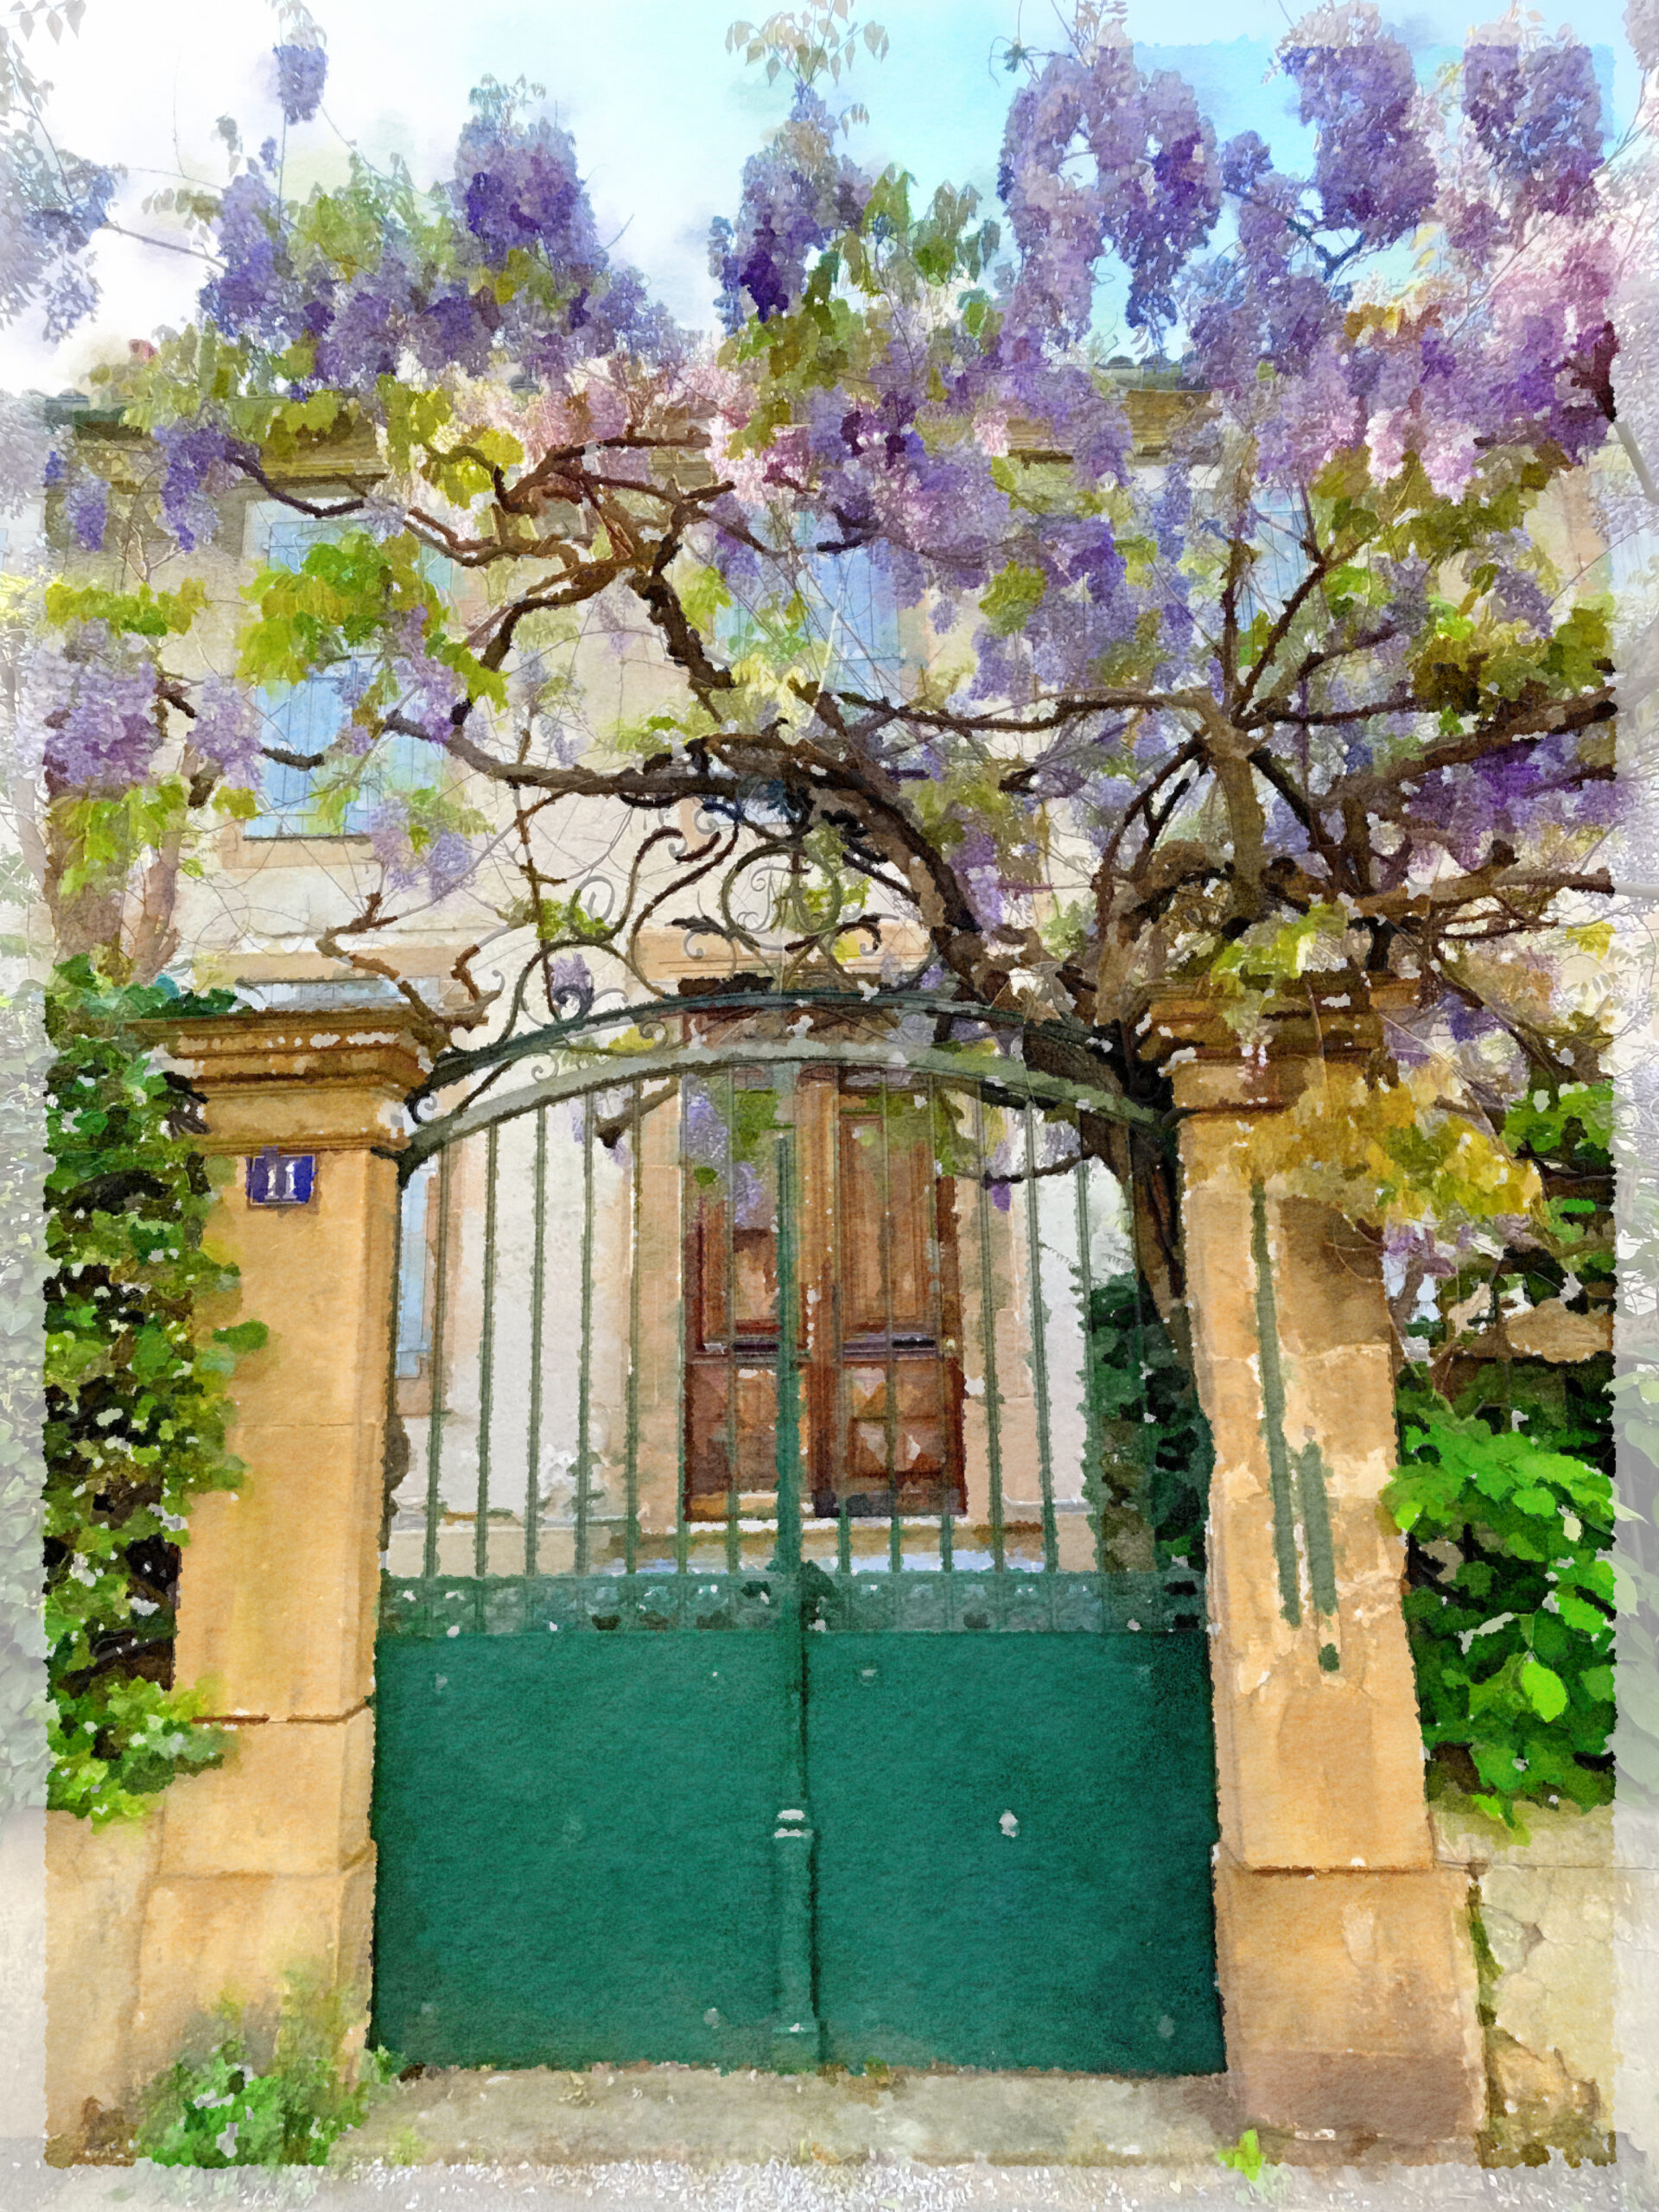
French Wisteria
There is something about the wisteria in the French spring that seems particularly stylish. Not that there is anything wrong with our wisteria at home. In fact, my garden has…
0 Comments
April 22, 2024
There is something about the wisteria in the French spring that seems particularly stylish. Not that there is anything wrong with our wisteria at home. In fact, my garden has…
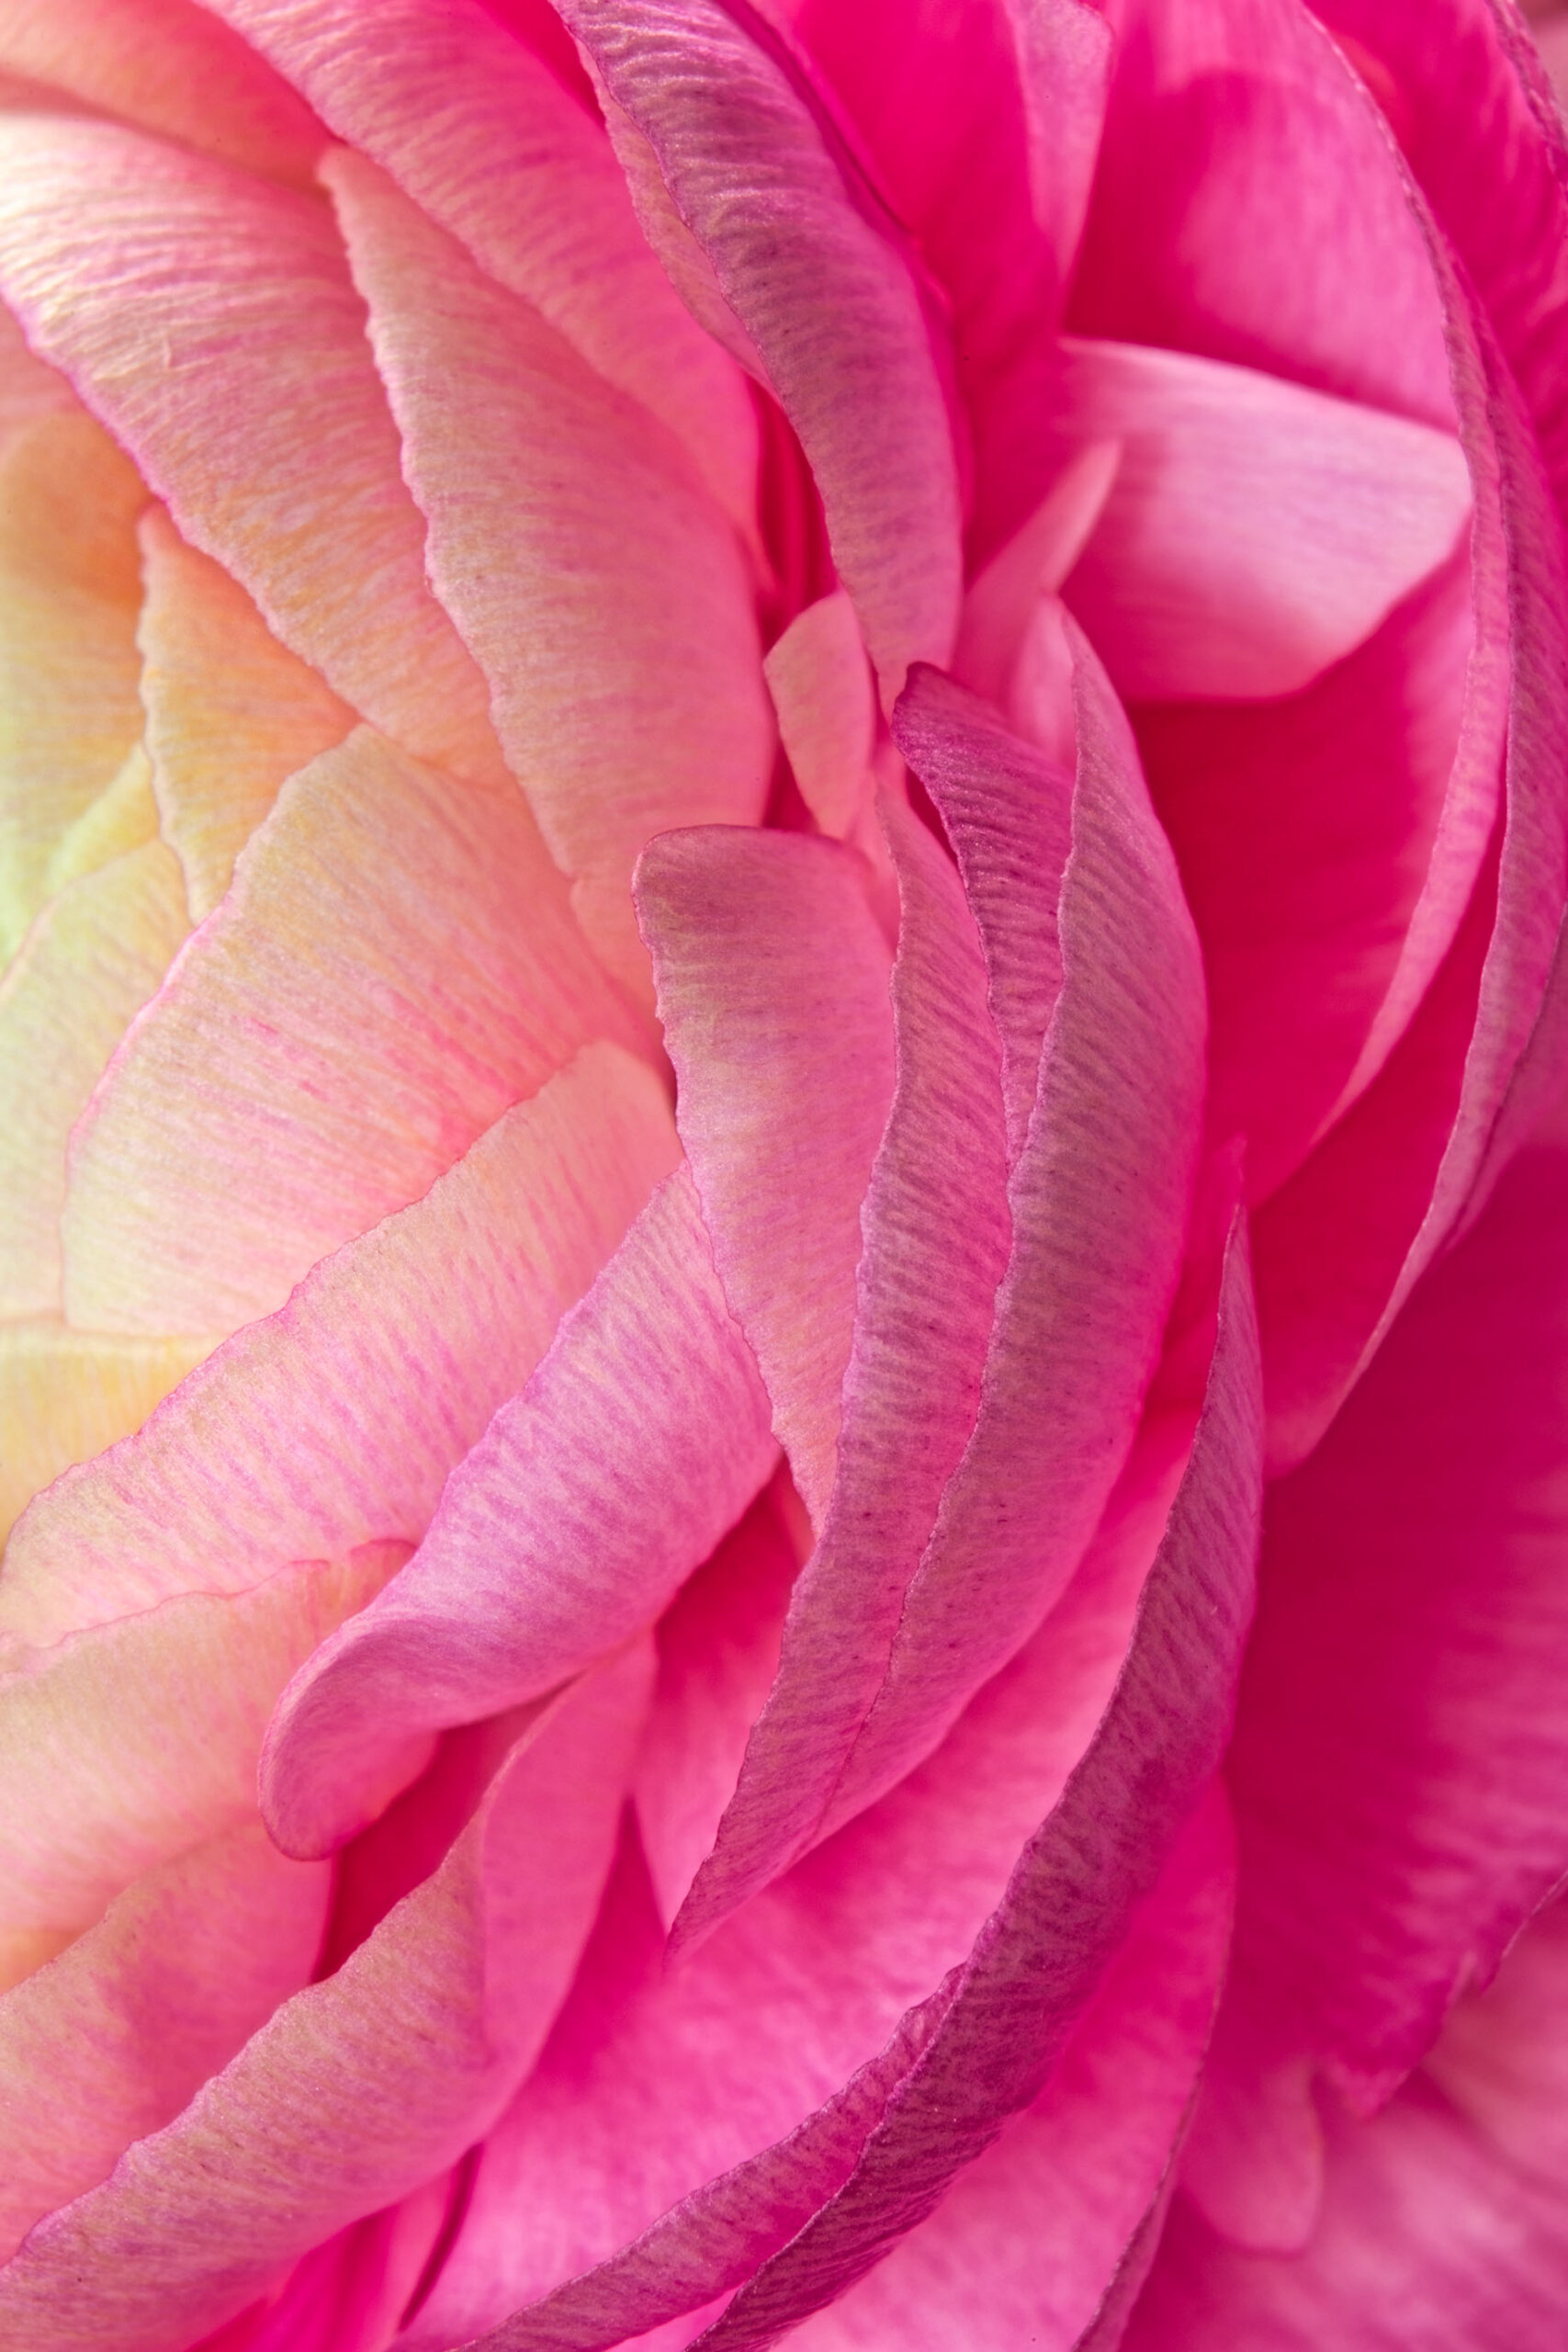
In the garden we now have a variety of ranunculus in bloom. These are a joy to photograph because every ranunculus is different. Just like people, no two are alike.…
This is the time of year when my garden starts to come alive. Each day brings delight and new surprises, from the flocks of freesias and iris in the front…
Well, flowers are magical. So is nature, and so are people. Of course, with light comes darkness, and without the contrast we would not grasp the magic of the moment…
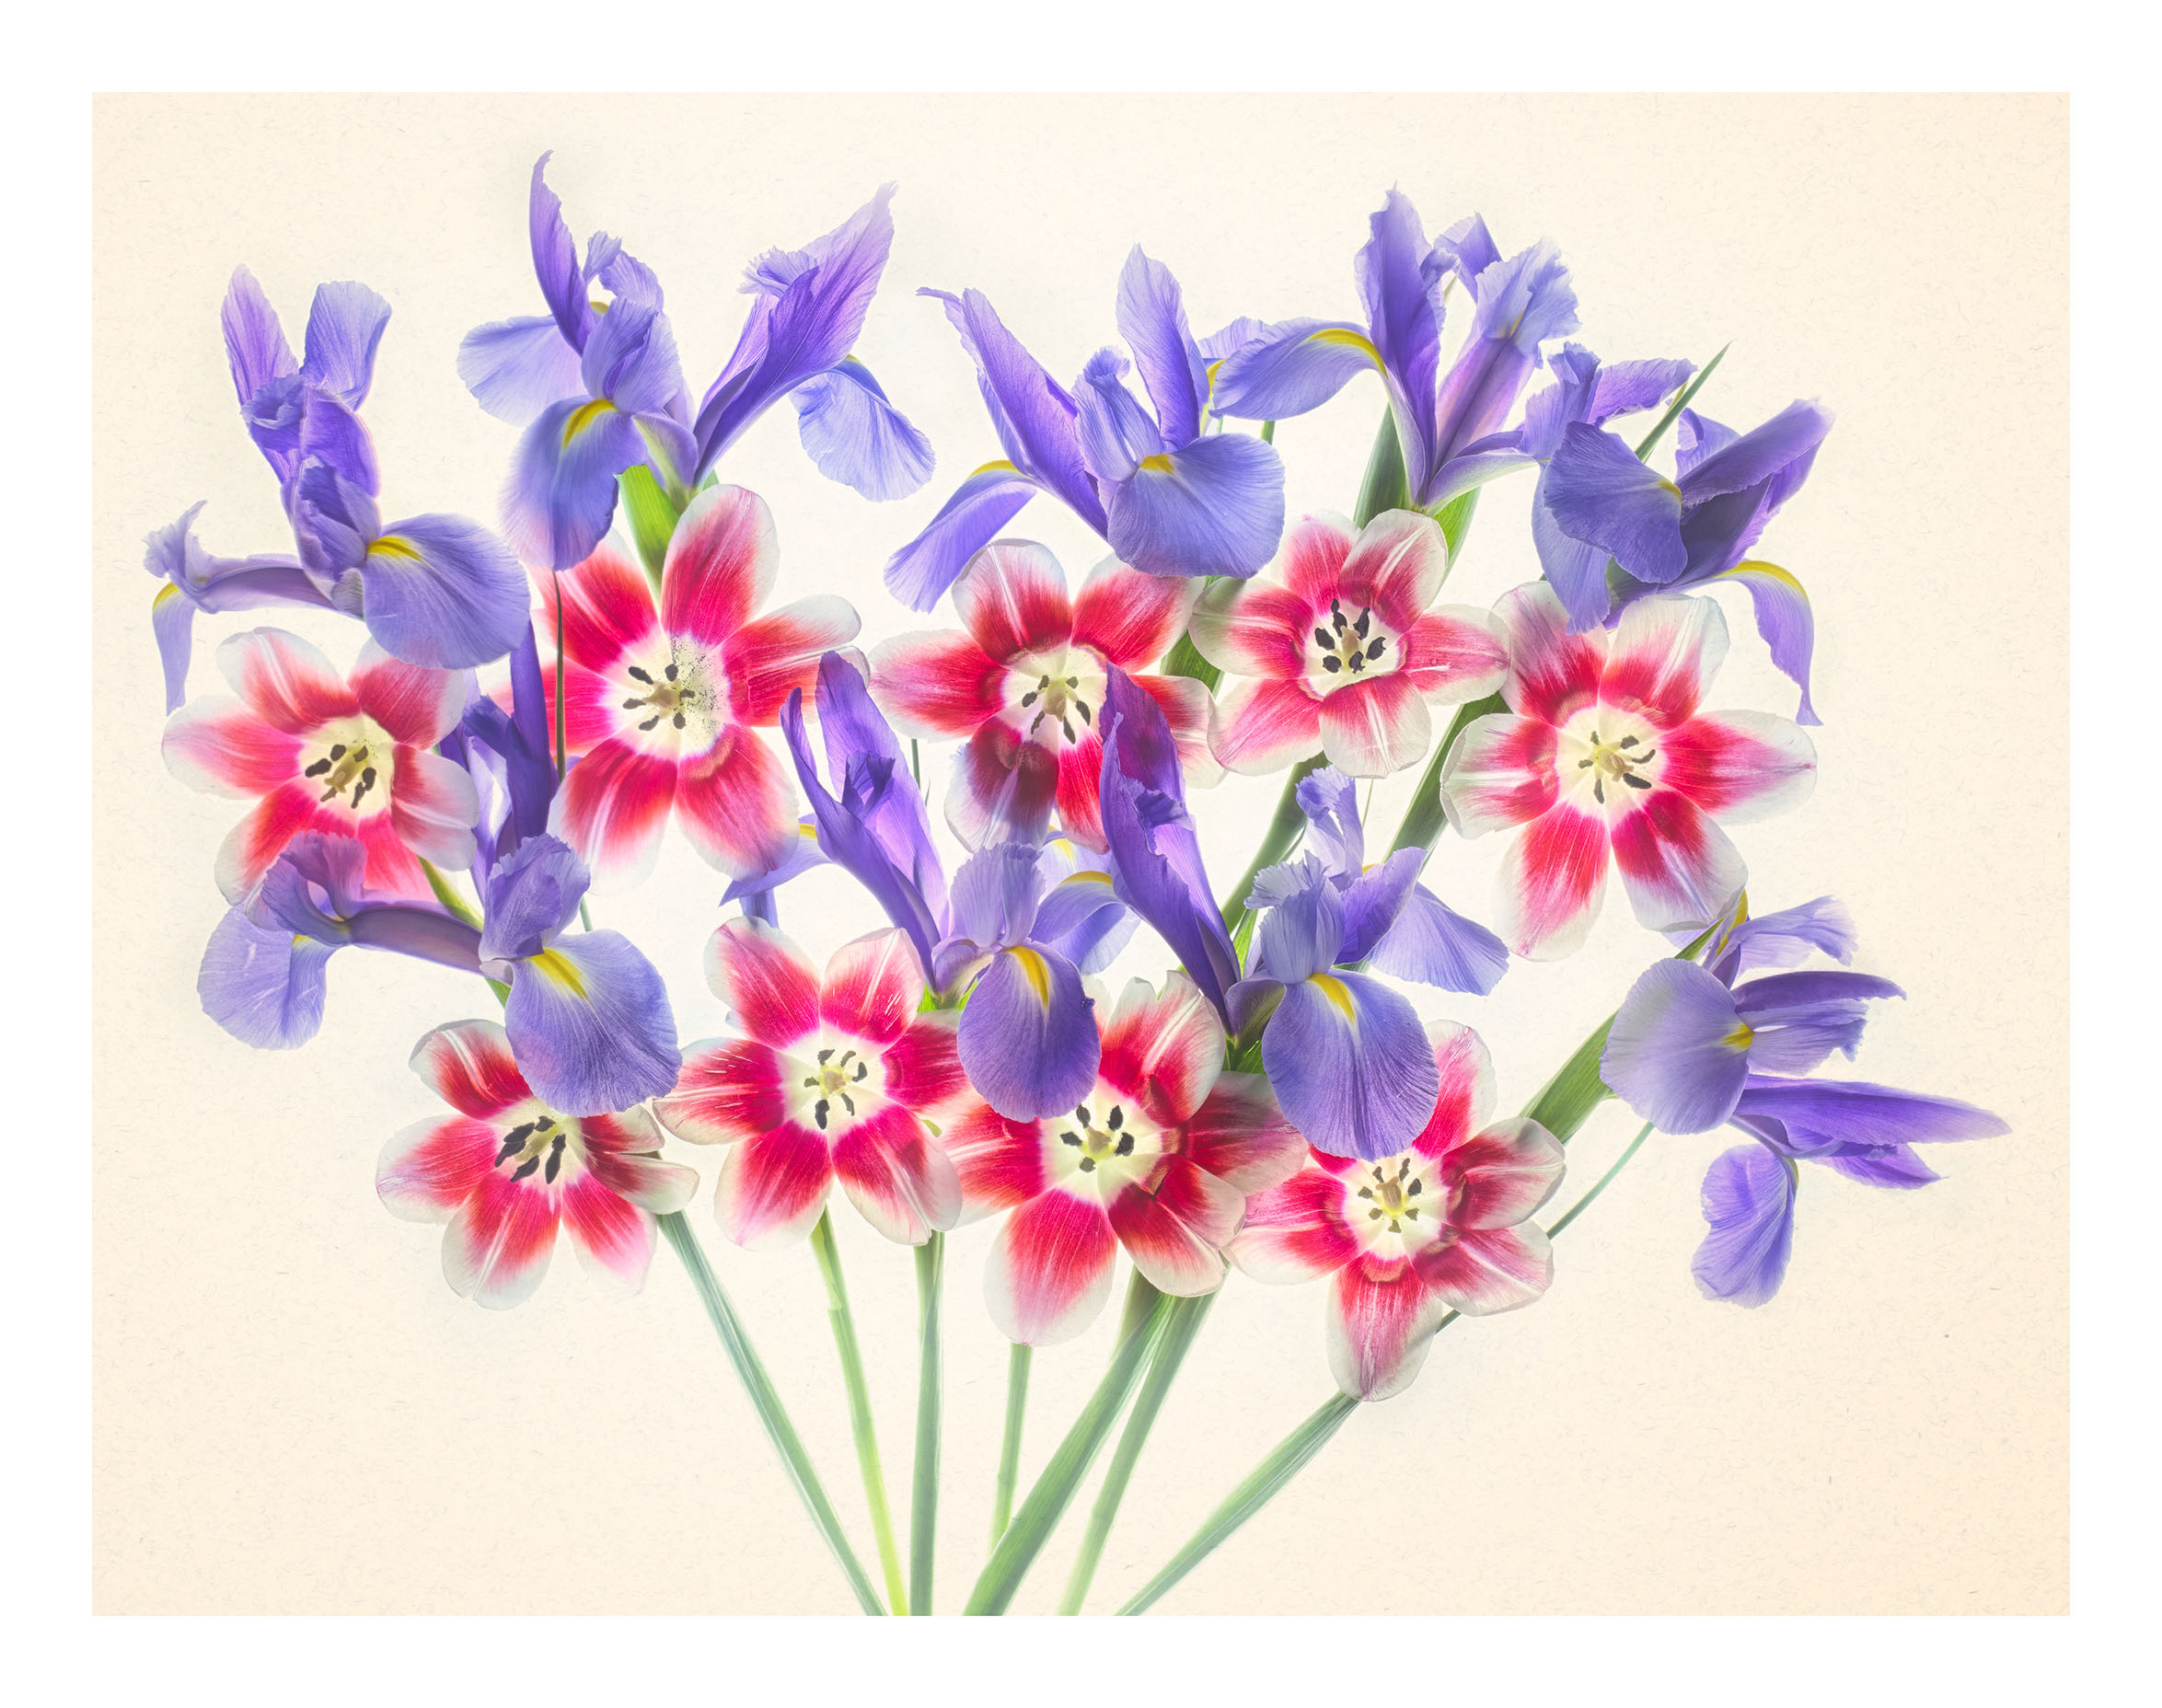
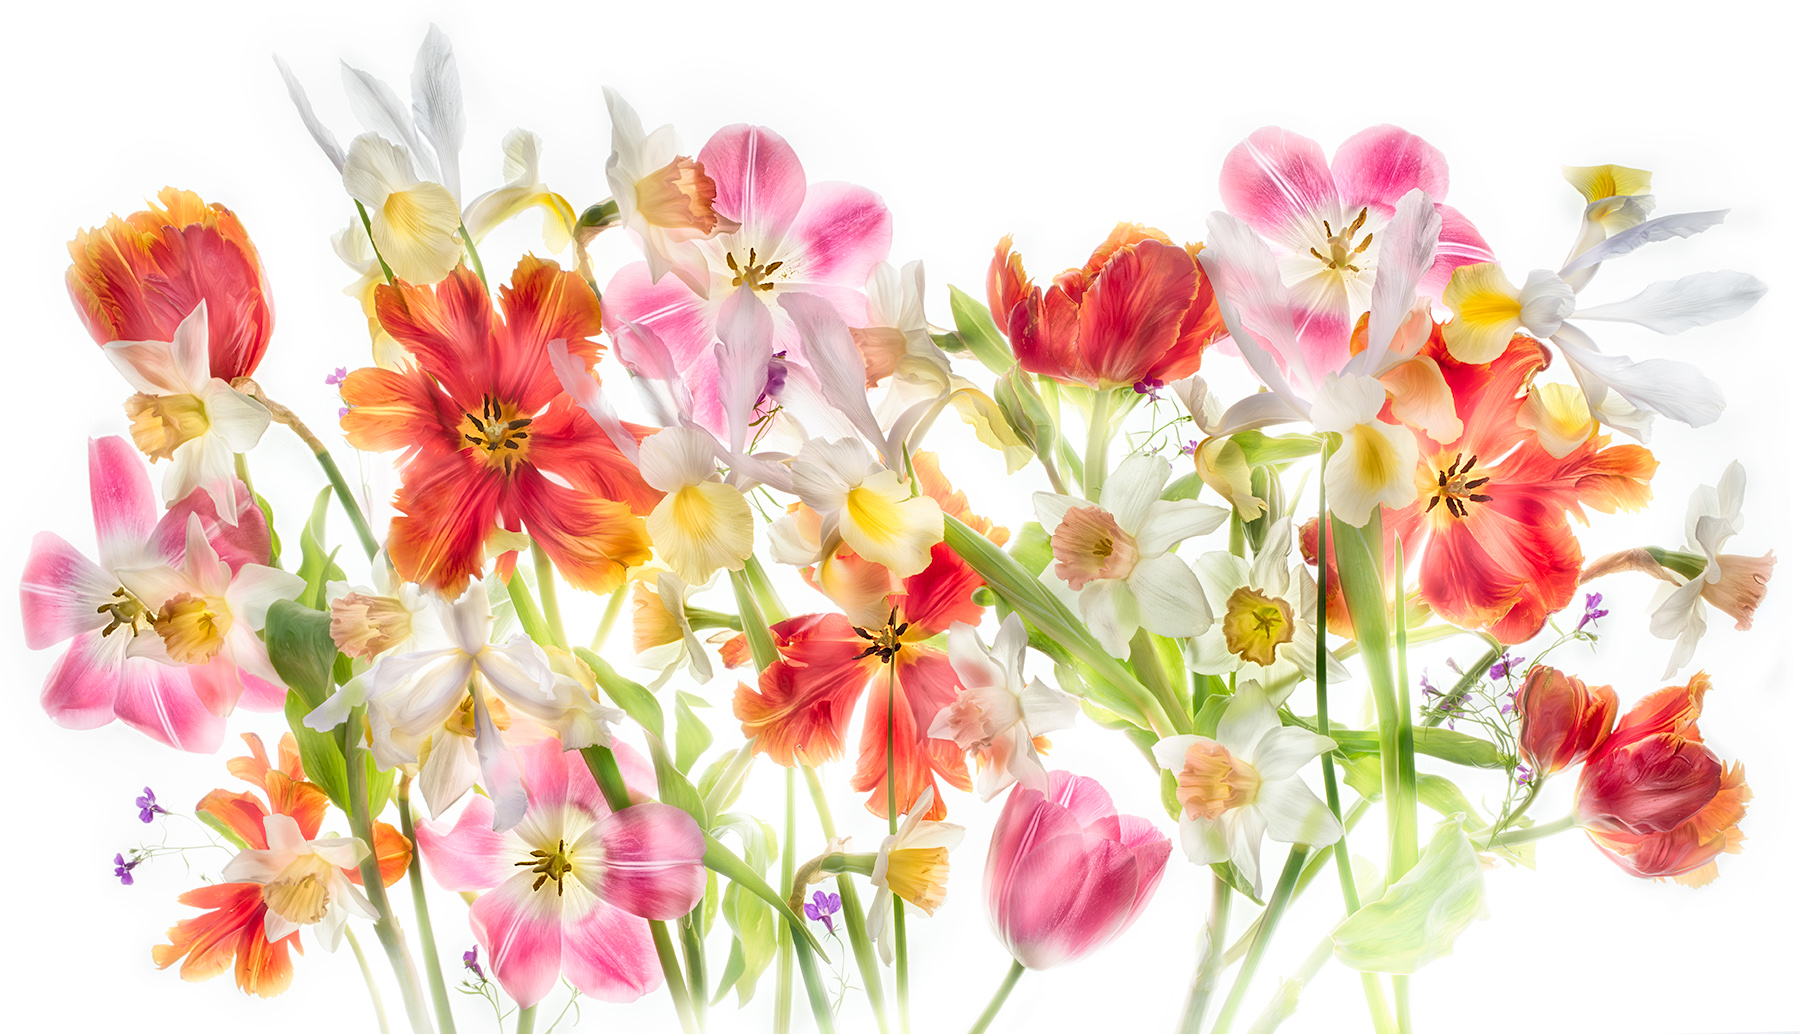
Sometimes a limited palette of colors can actually seem more colorful than a full spectrum of rainbow colors. As a case in point, consider these two compositions, limited to a…
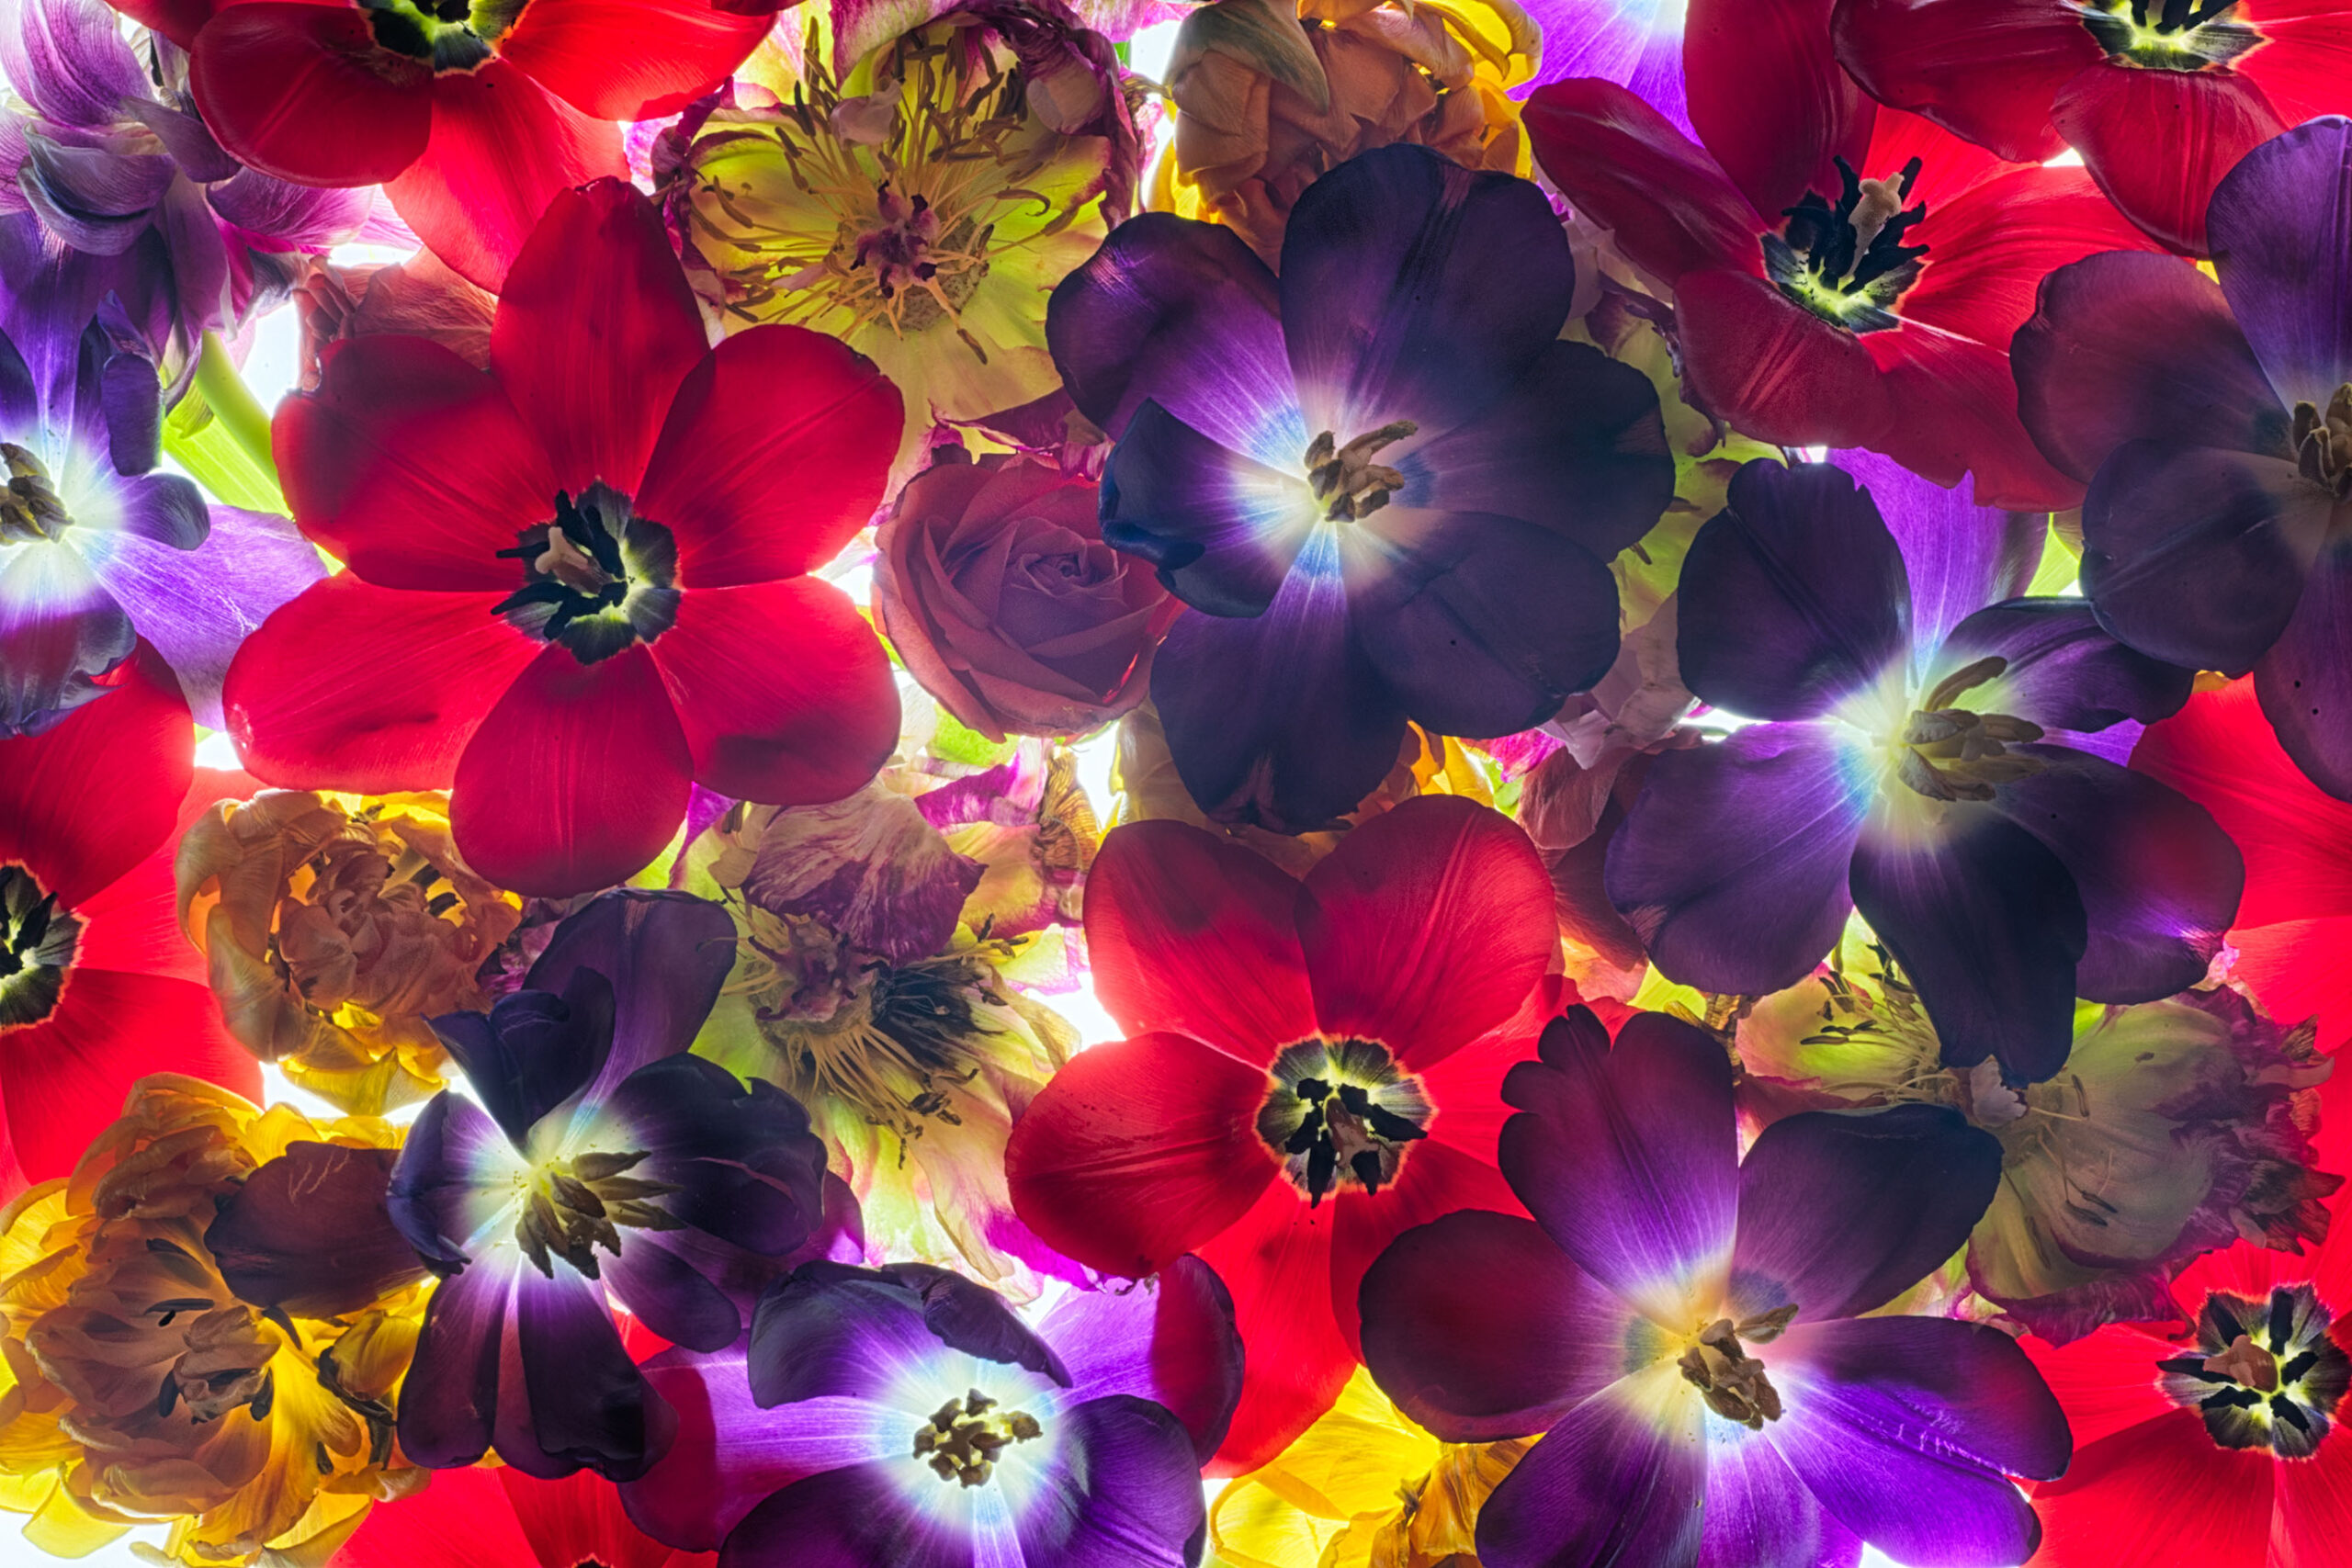
Rhapsody in Tulip is my last 2023 image in the Artfully Random series. As I look back, this image speaks to me with its sense of color and rhythm: a…
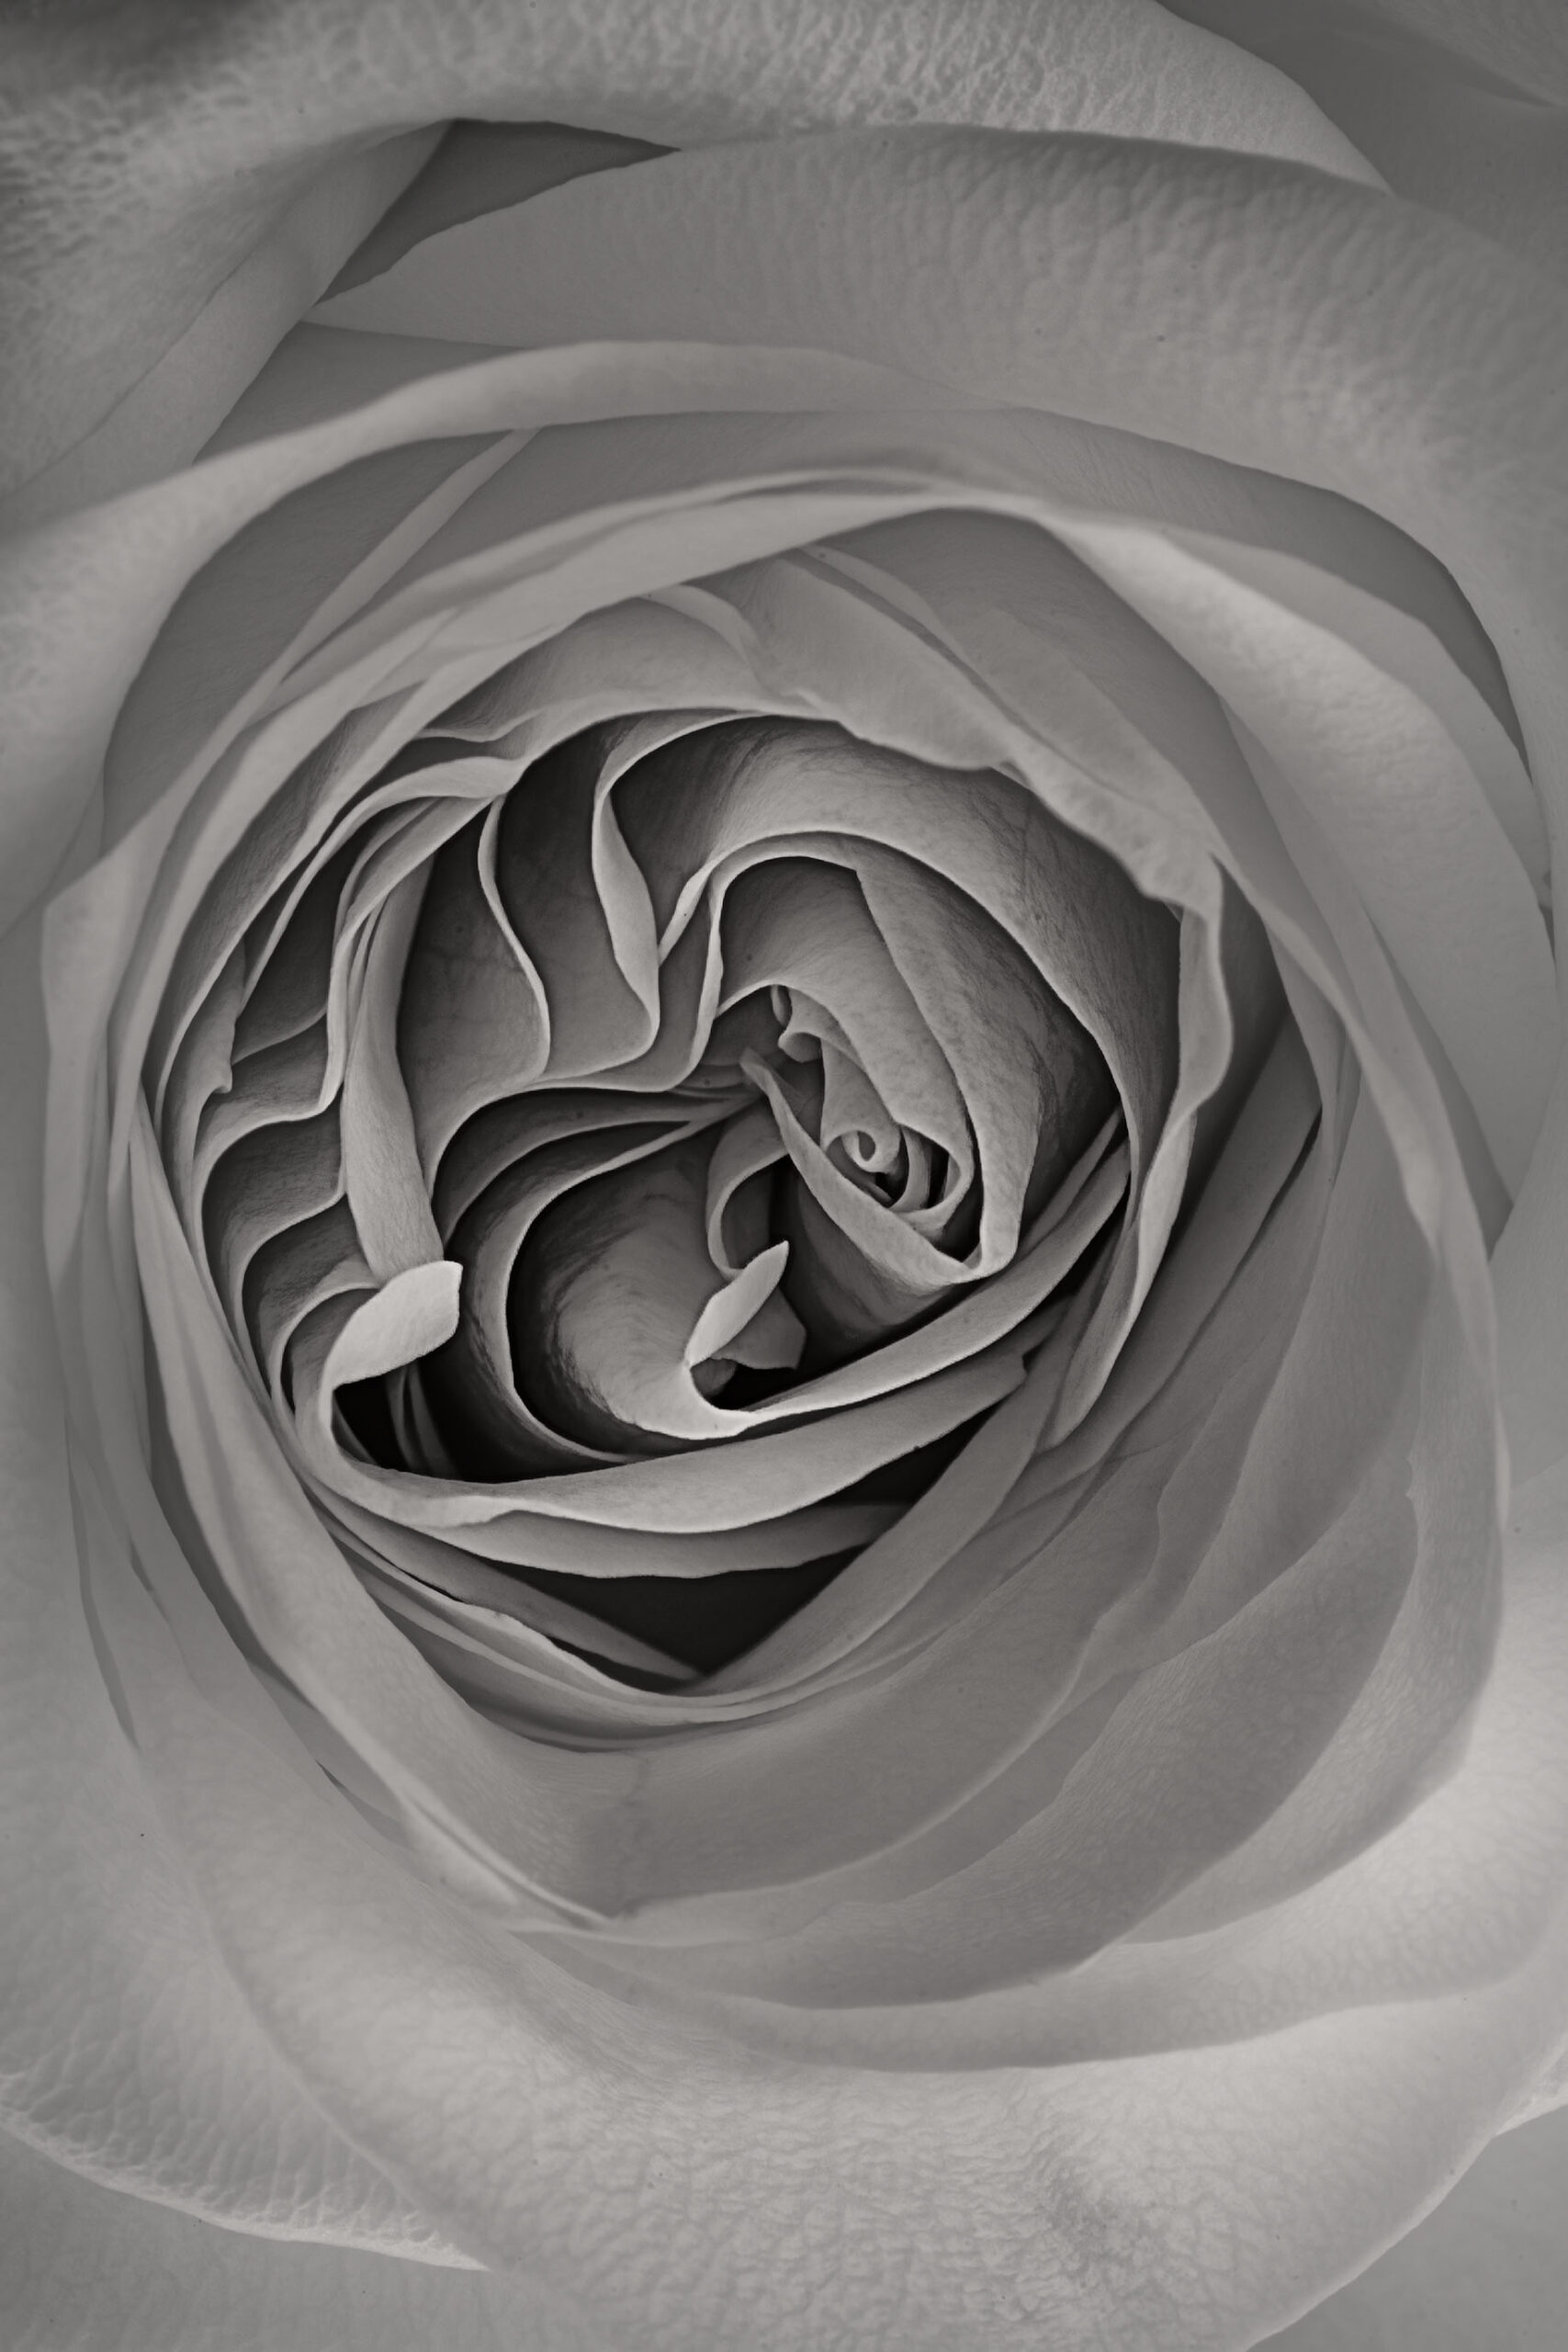
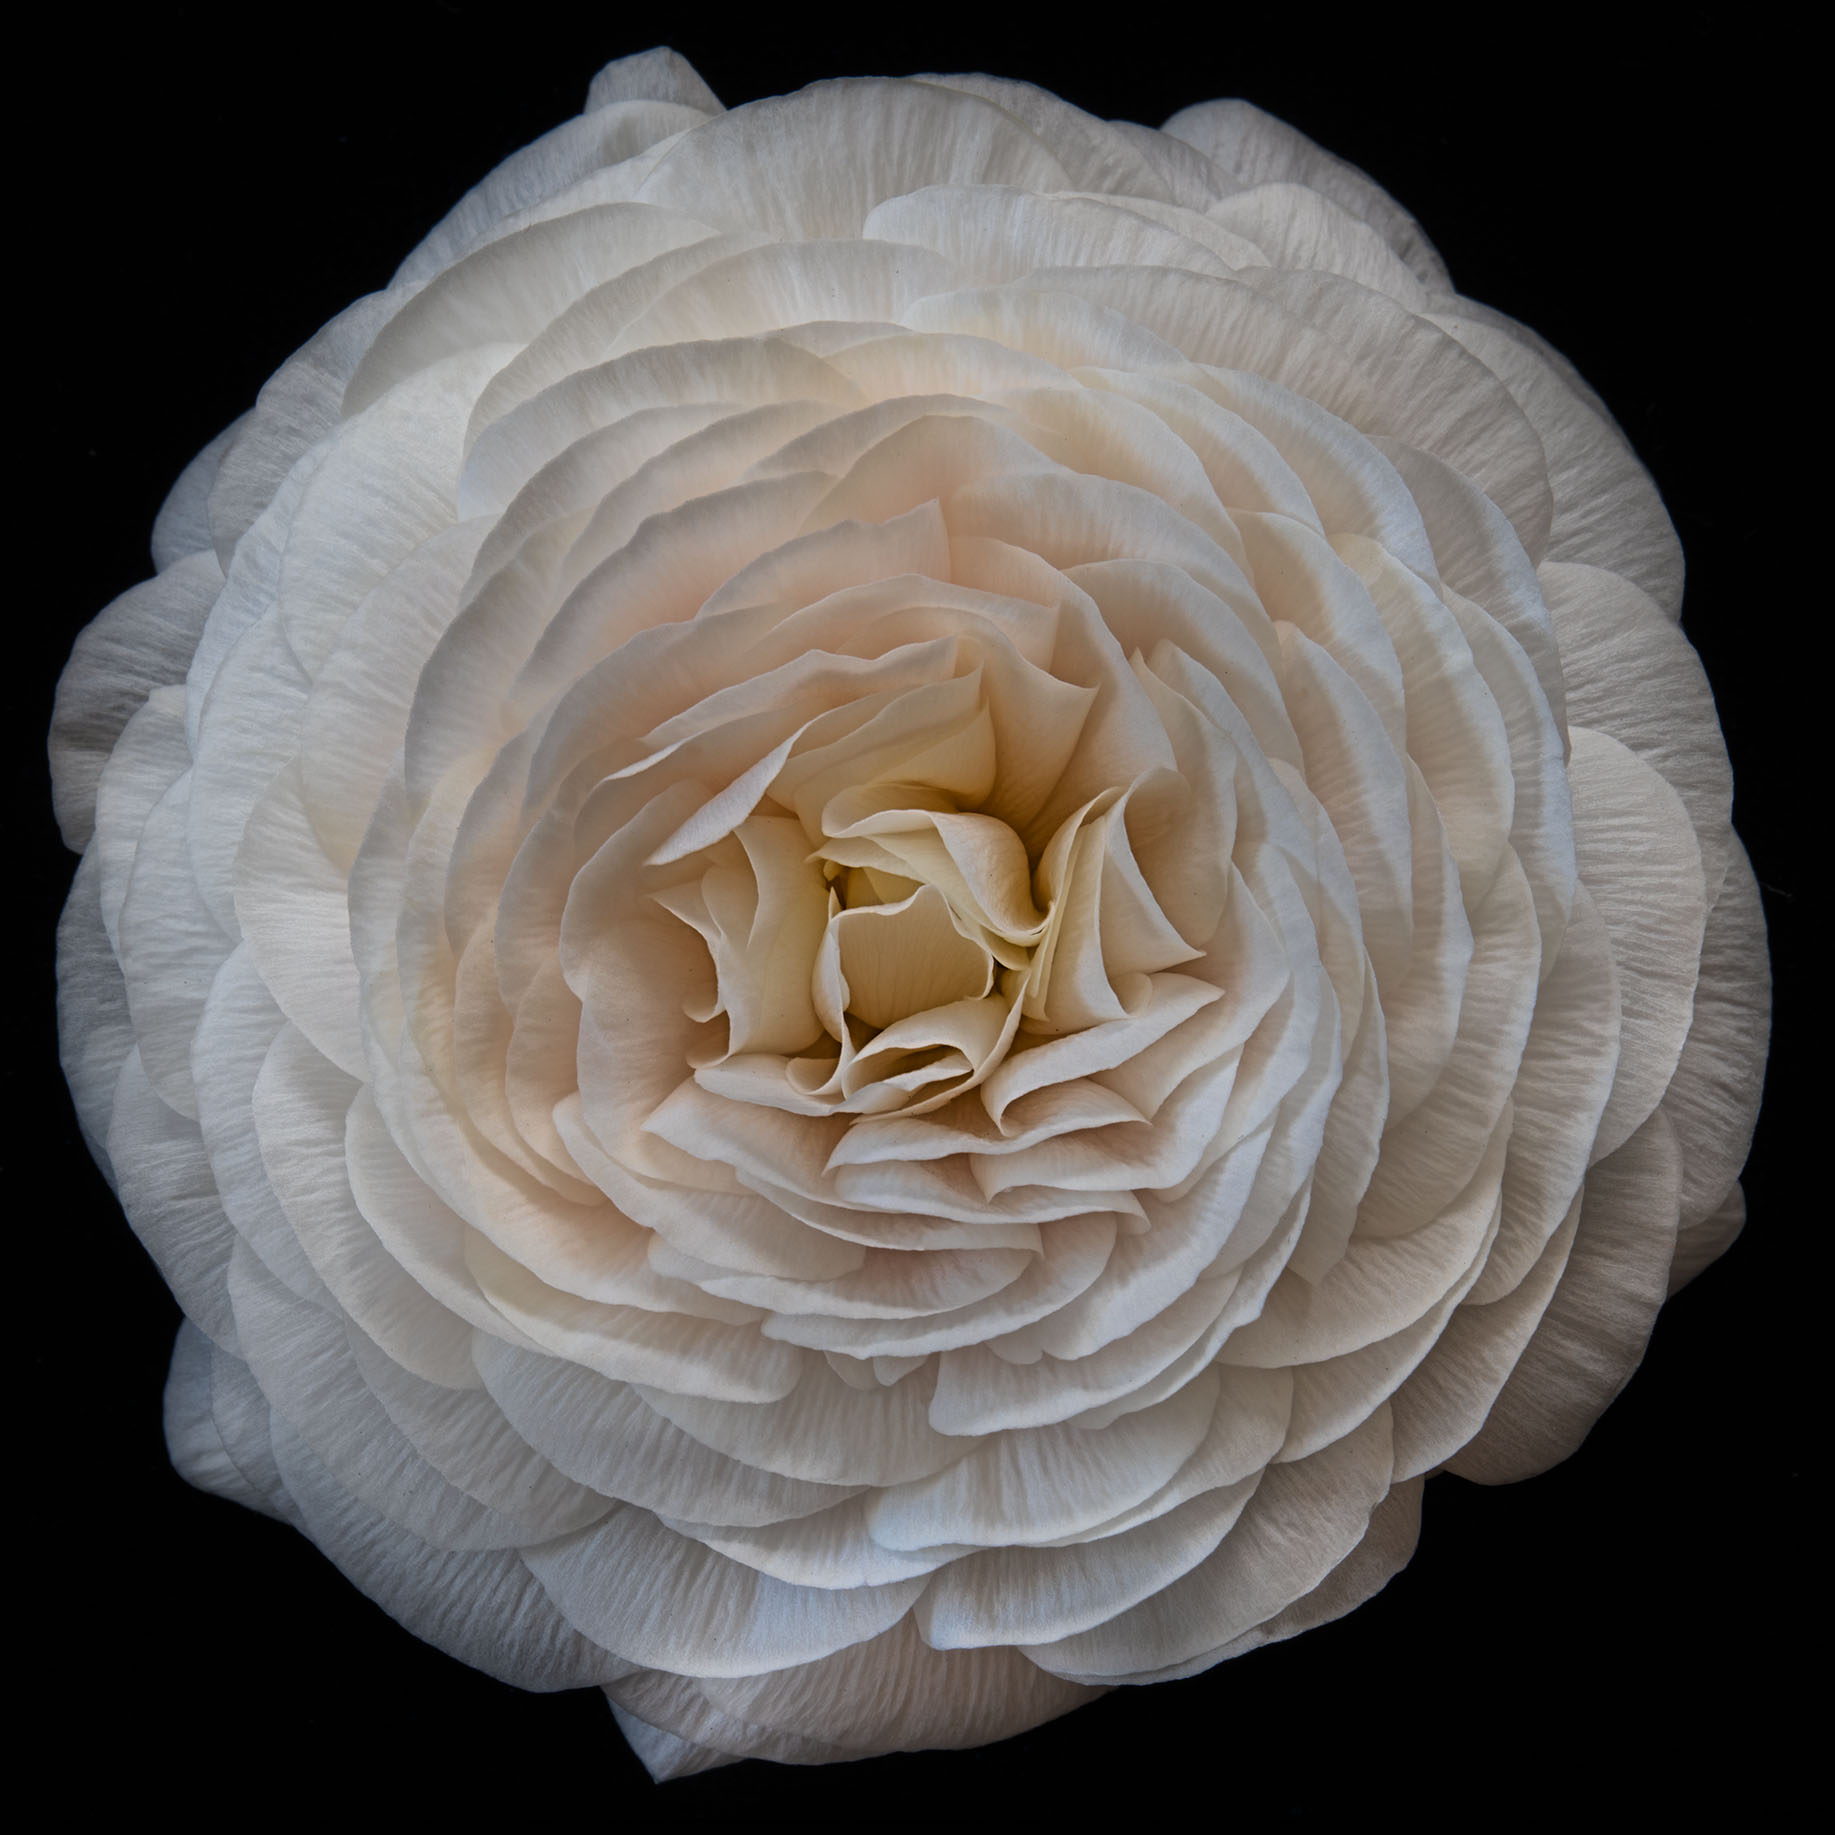
A bouquet of luscious white roses came home one day. The interior curves of these roses attracted me with their grace and serenity, and I decided to photograph them close-up…
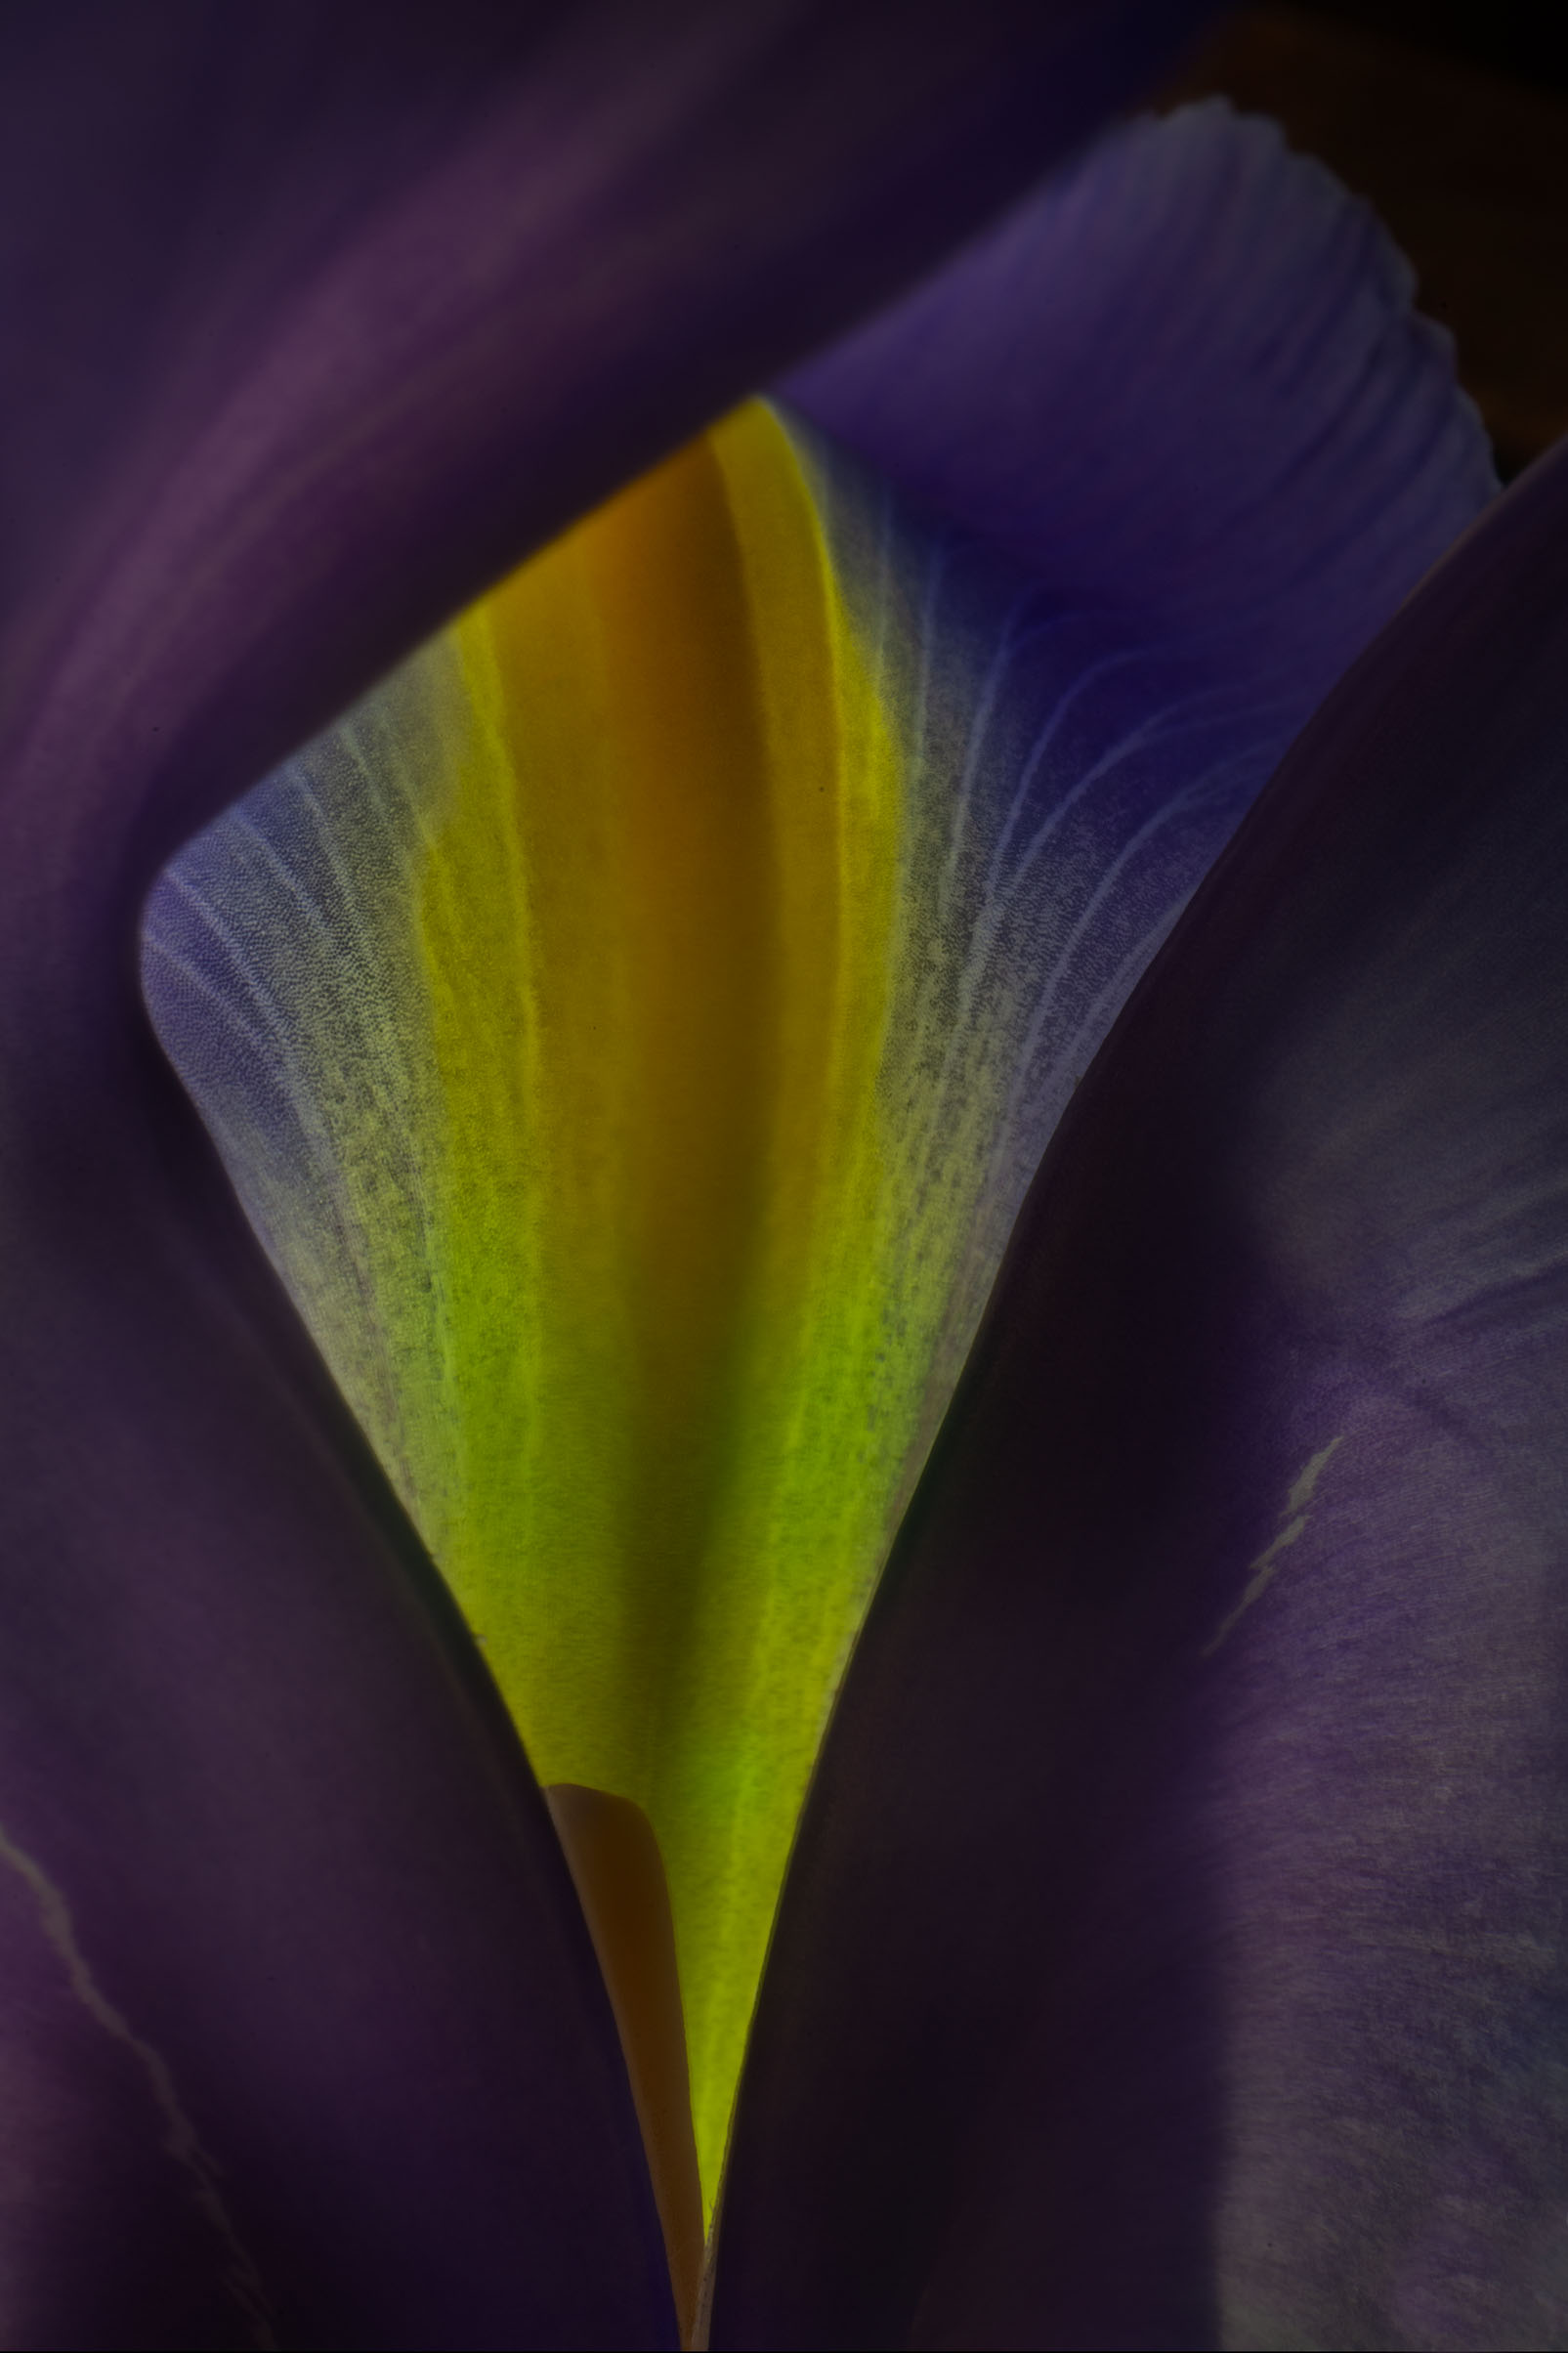
I have been photographing Irises close-up and personal. Irises are wonderful flowers, and I come back to them quite a bit. With these images, I used a simple setup with…
I've written about looking through my viewfinder with a macro lens on the camera and navigating a new country. The topography and contours of this "country" are unknown, and it…

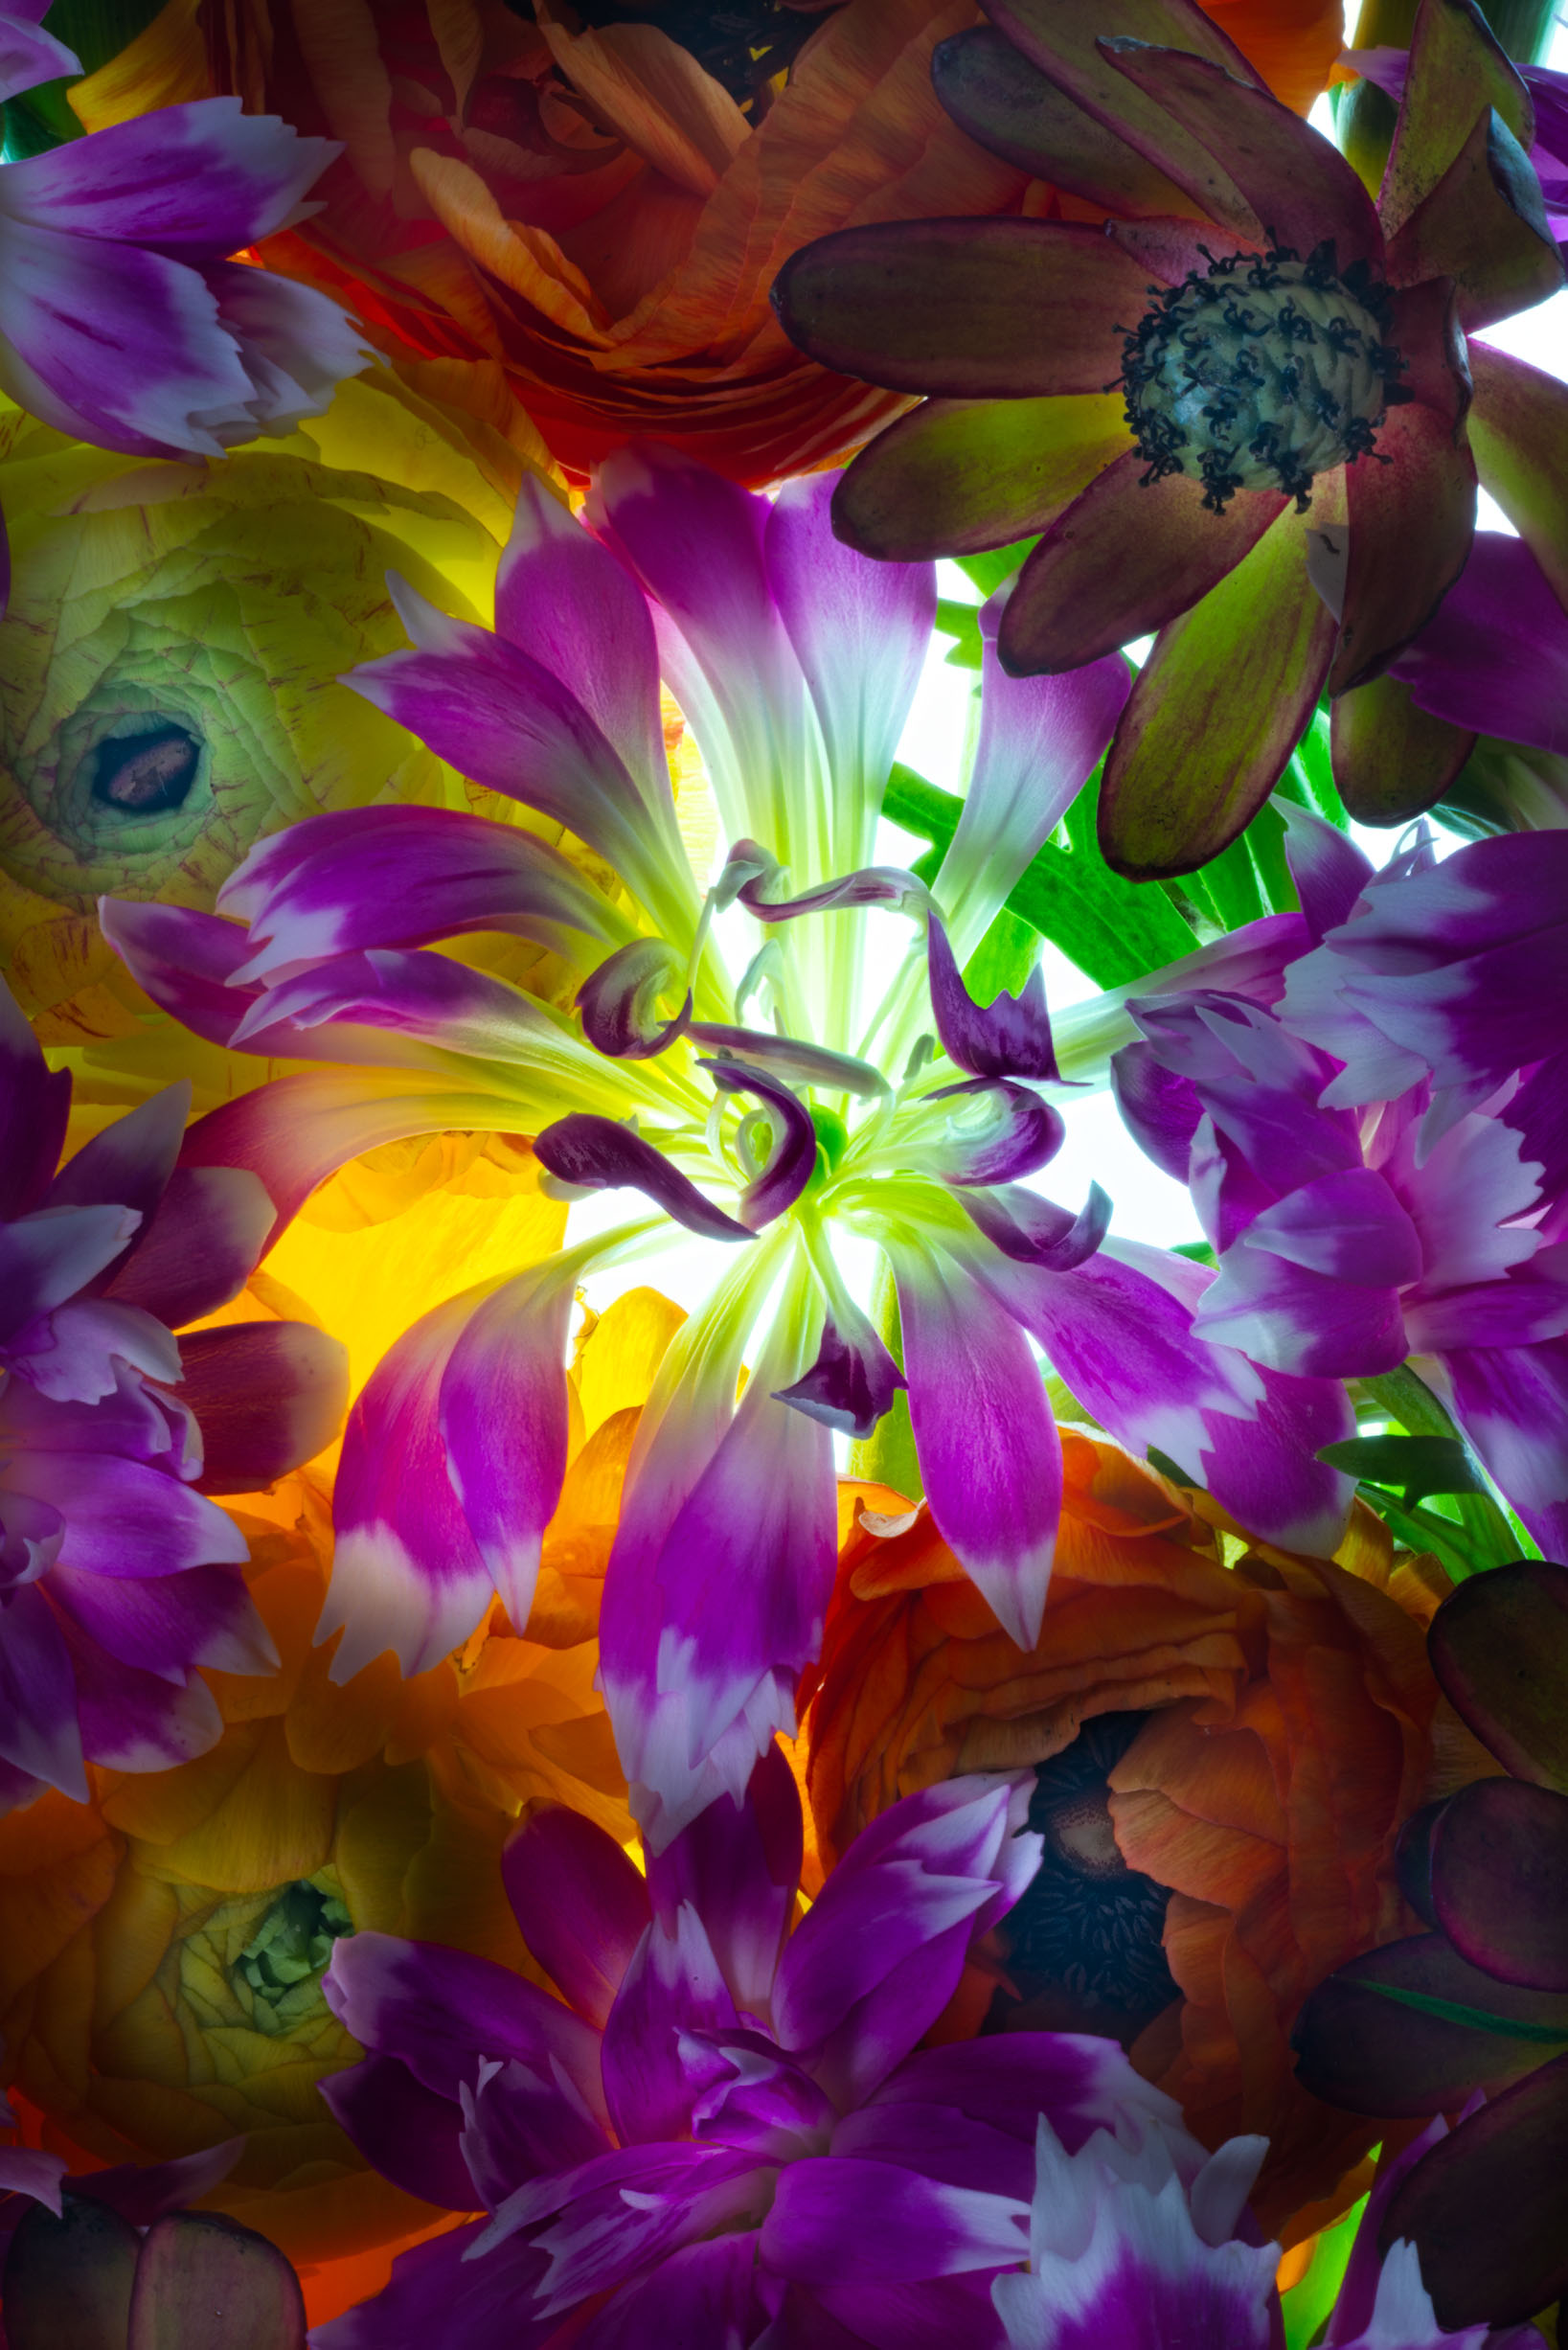
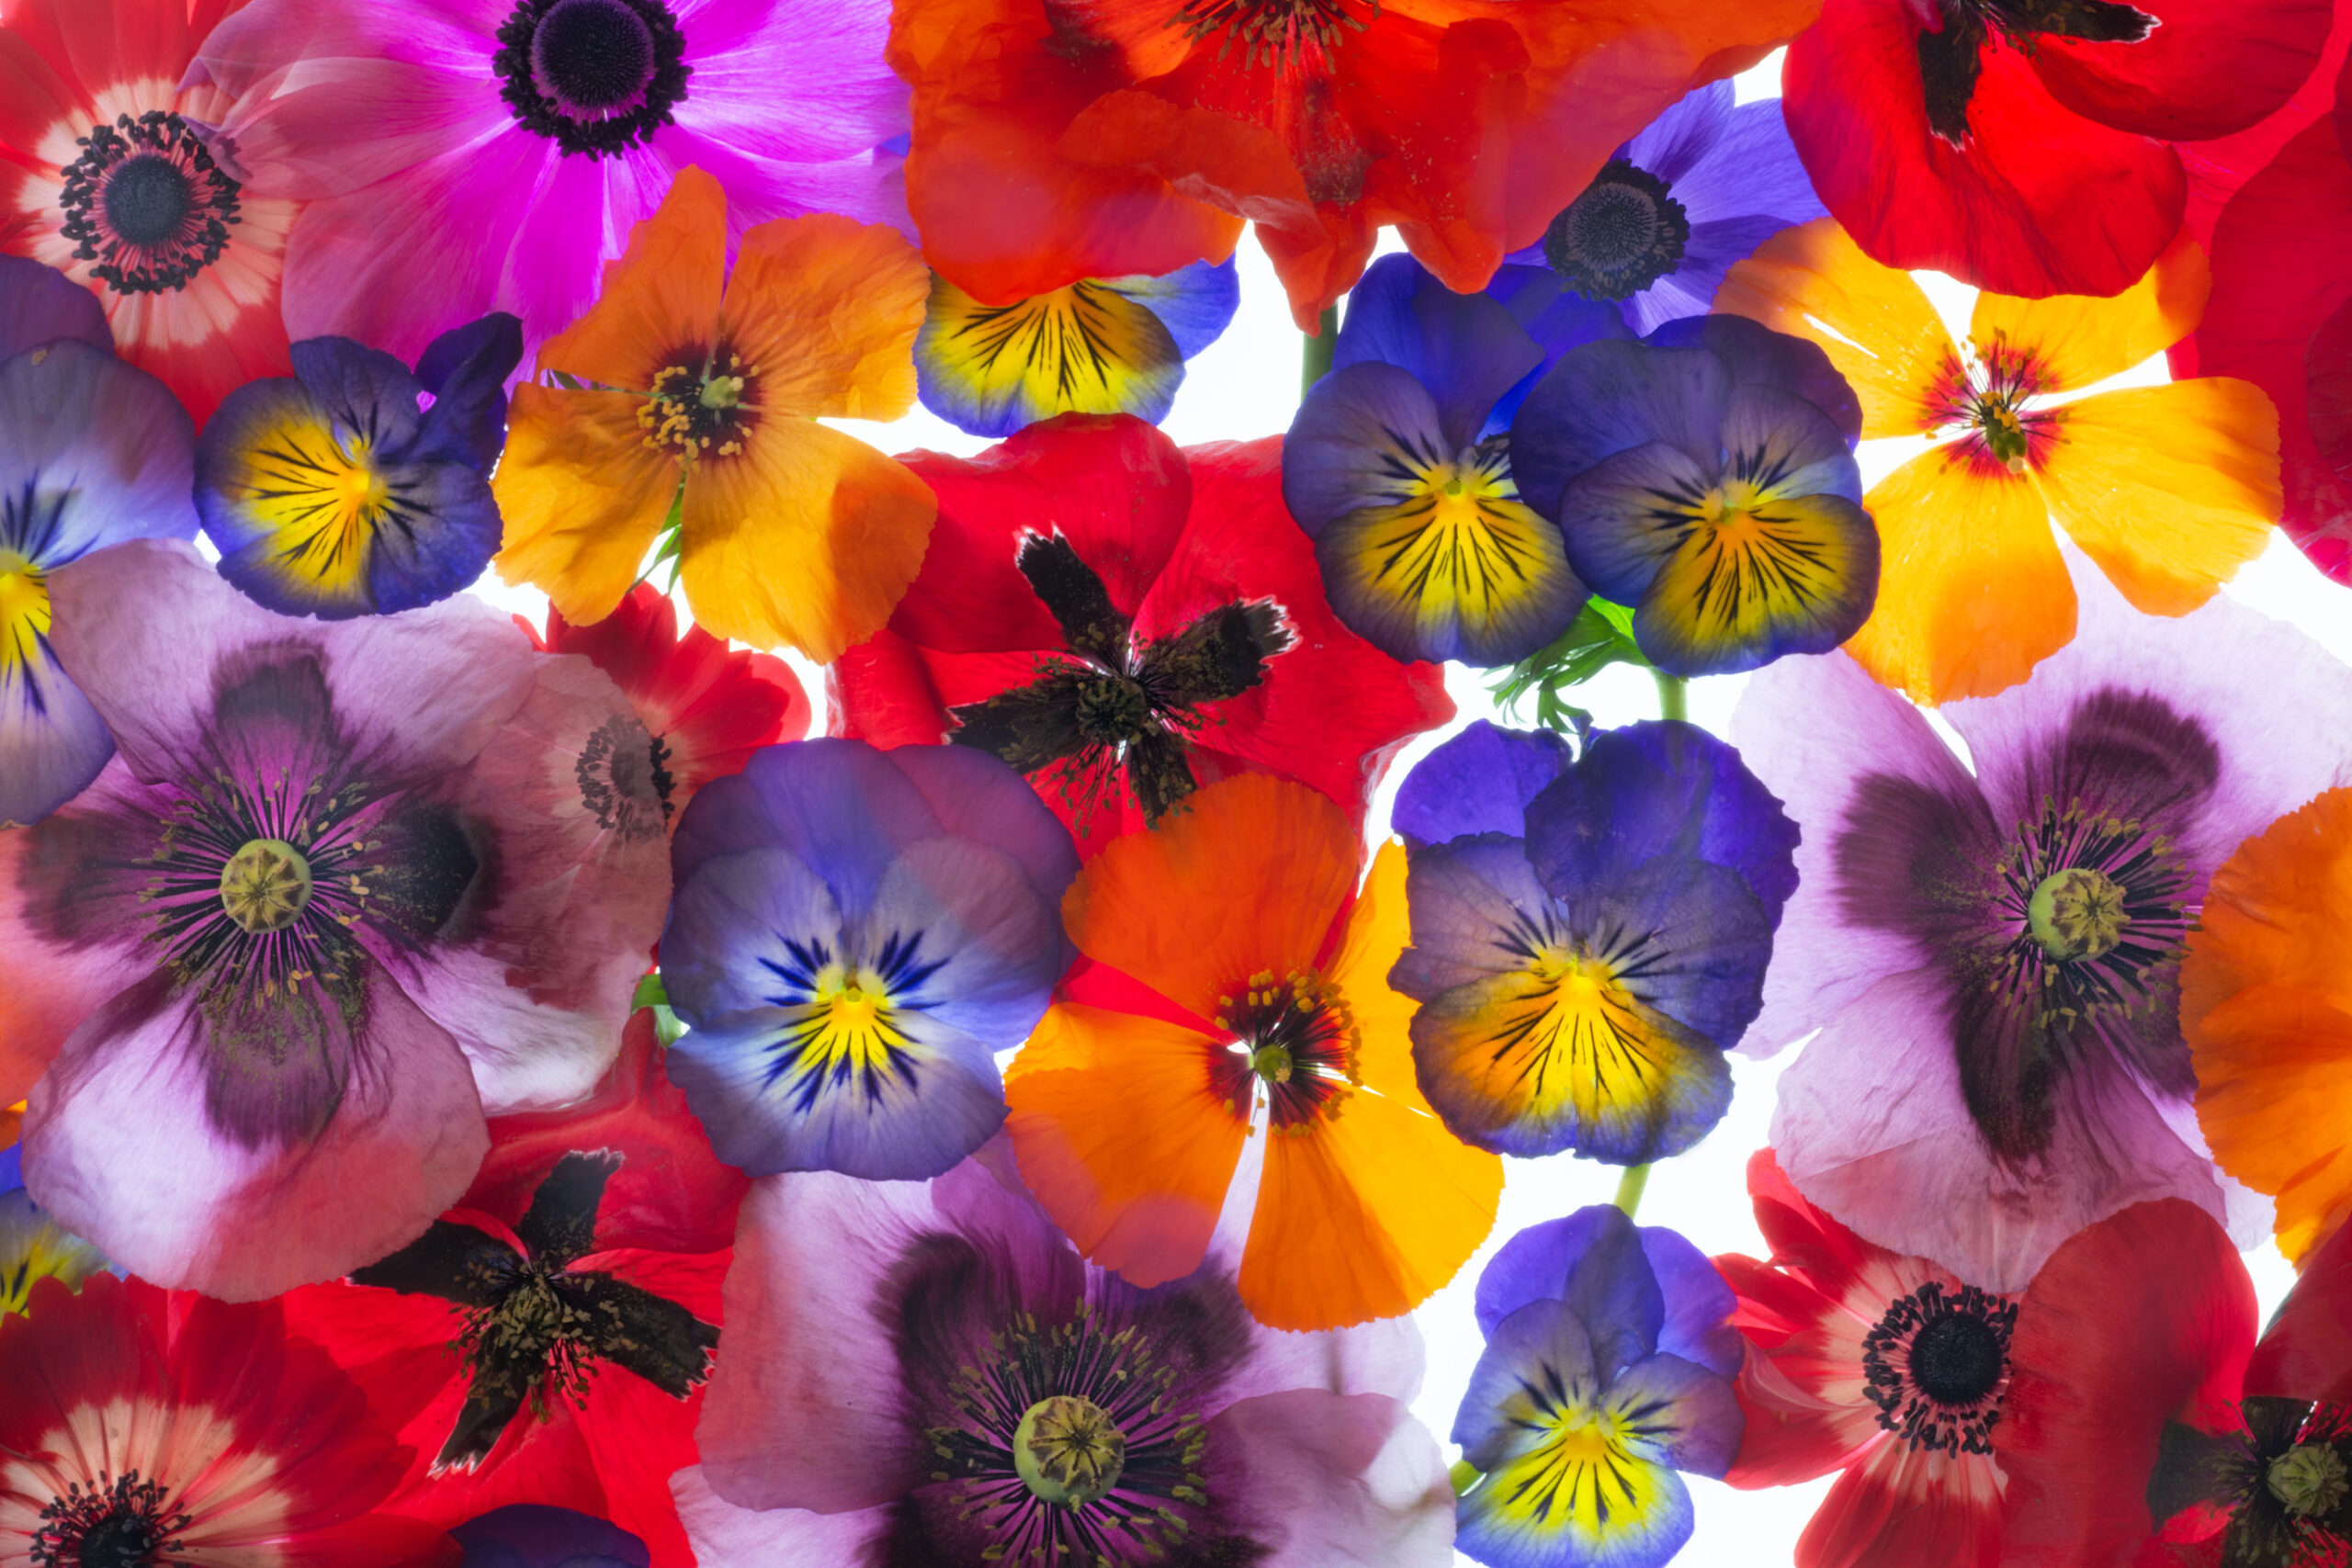
Yesterday I spent most of my day building a mandala from flower petals on my light box. I used petals from alstroemeria, chrysanthemum, gerbera, some lobelia from the garden, and…
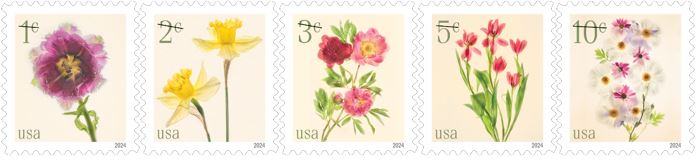
I am proud to have five of my images reproduced in 2024 as United States postage stamps. As you can see, these are "miscellaneous" low denomination stamps, with values of…

I have been photographing some stunning white peonies. For this flower, the internal cluster is in a pretty unusual formation. Part of the idea of photographing this flower on the…
A client ordered a large print of my Pale Garden image. With the first test print, Phyllis and I could see that Pale Garden needed to be retouched. If you look closely at the…
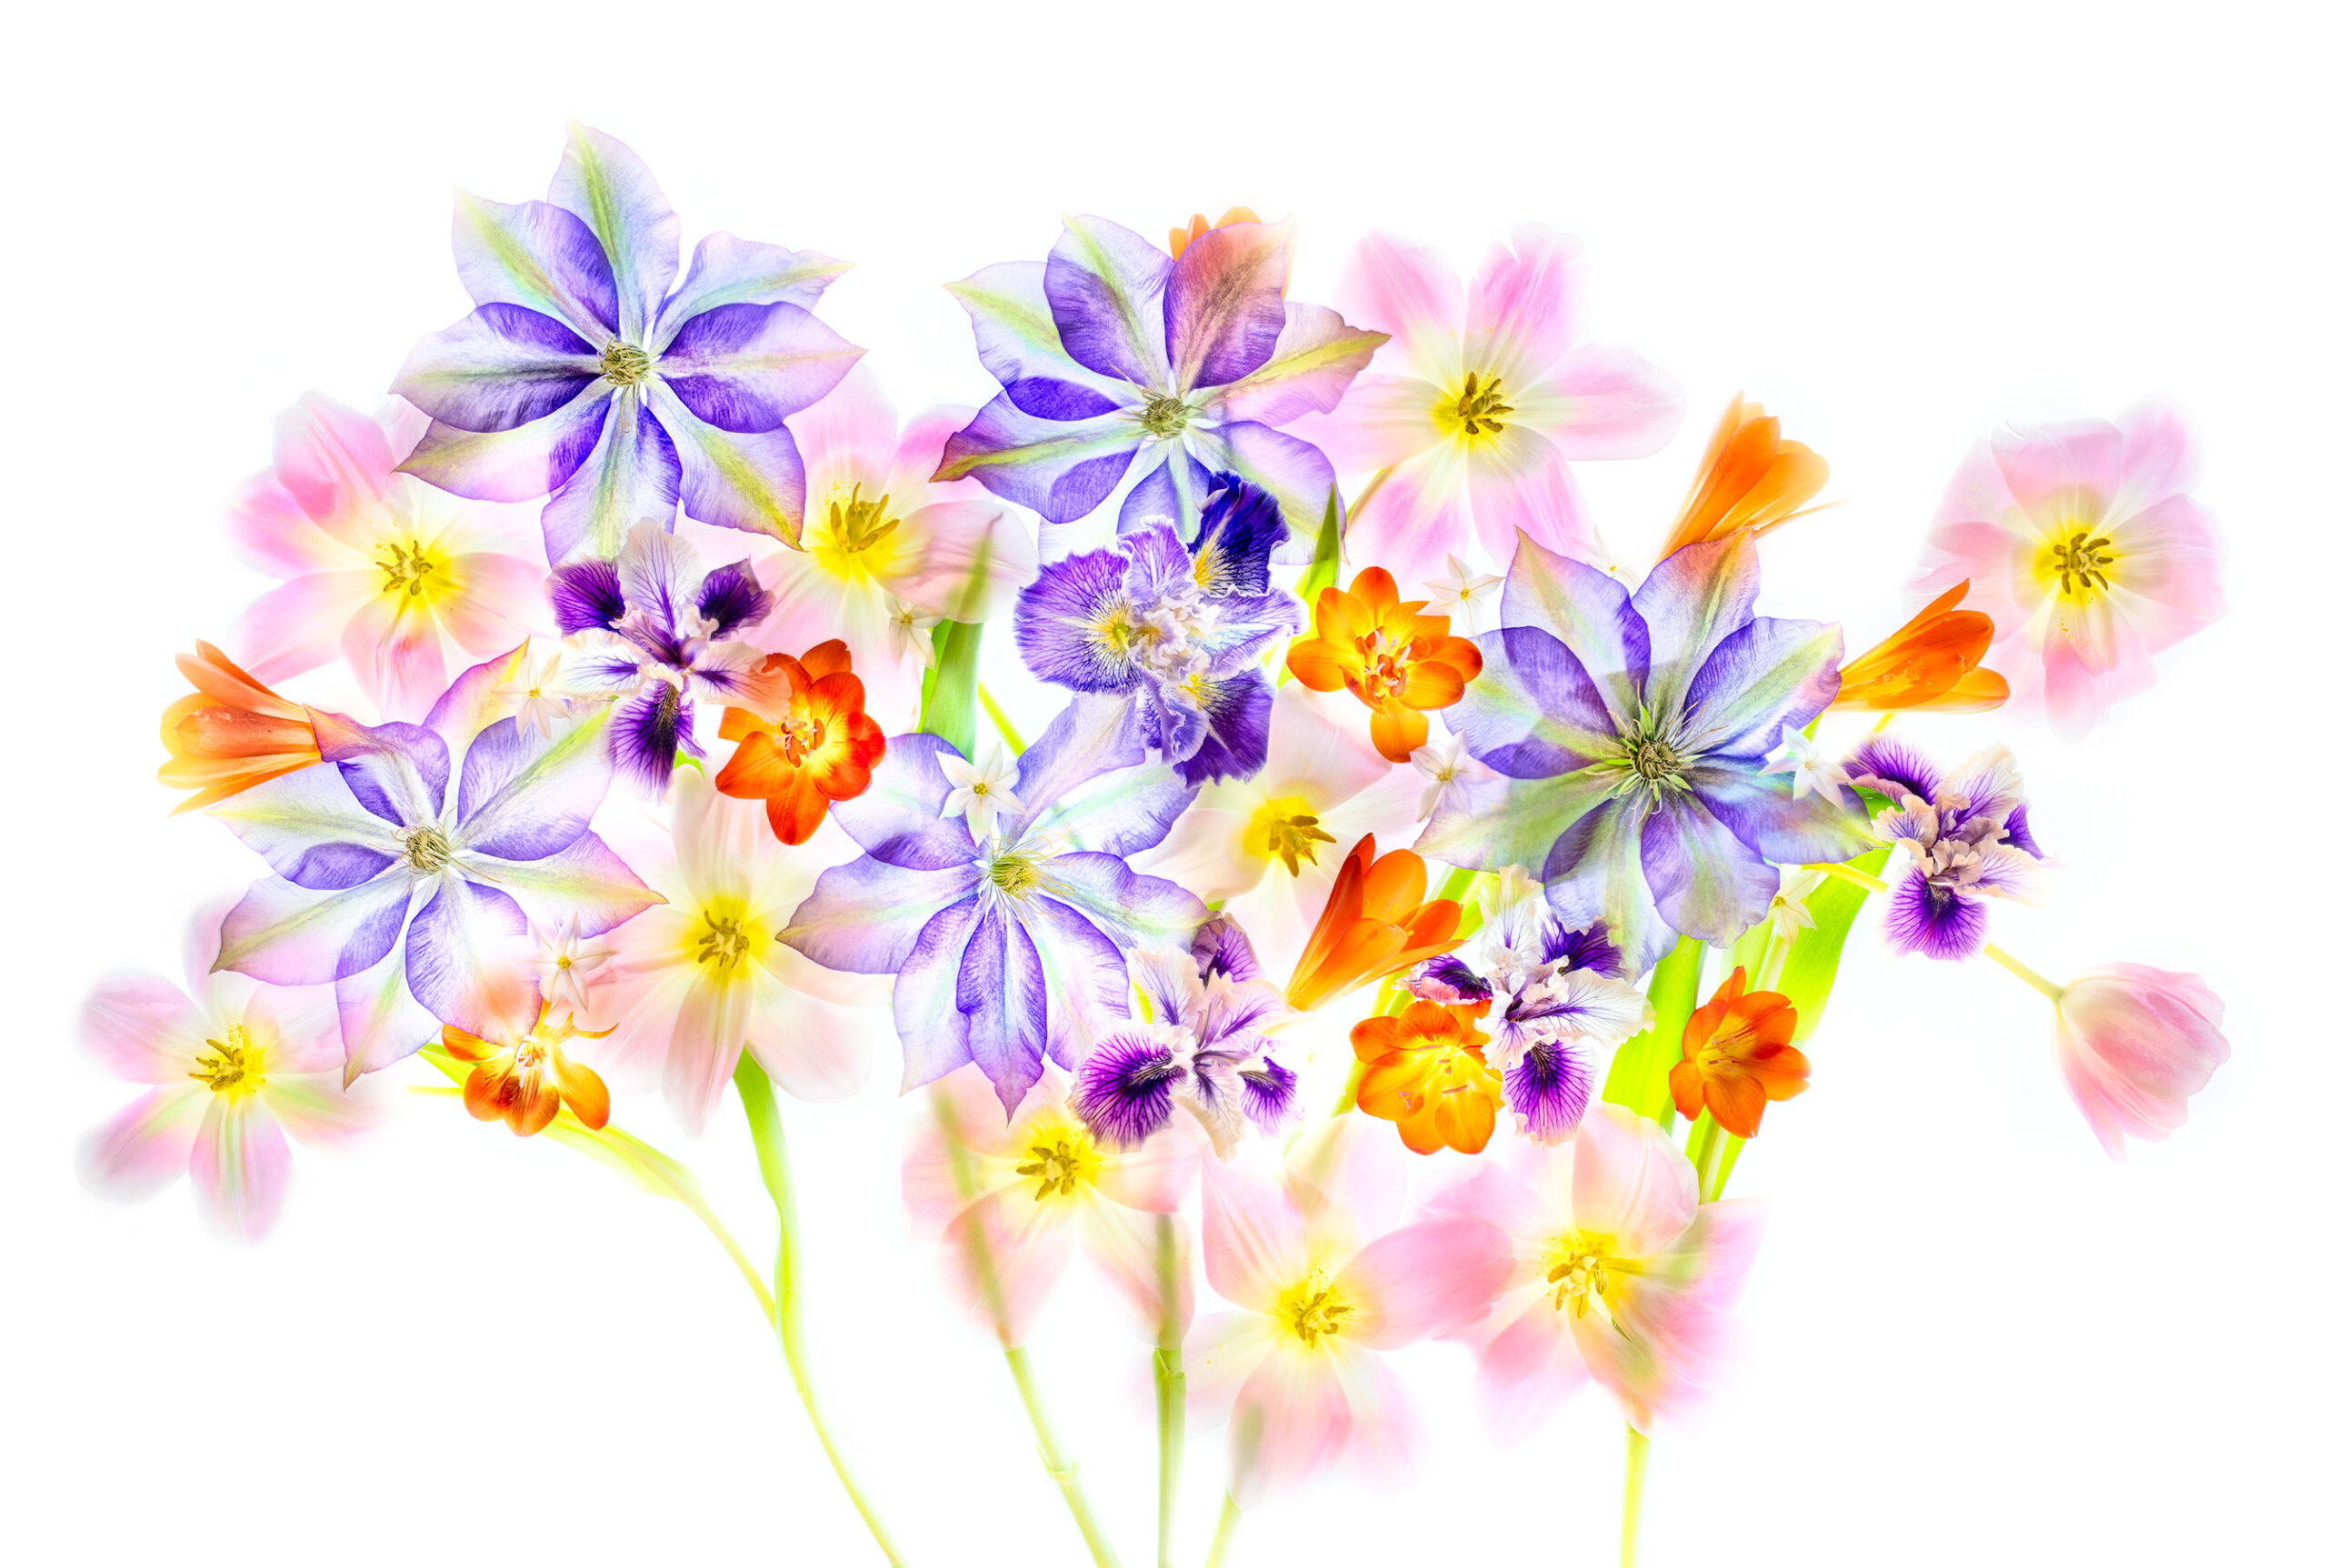
I've stumbled into a new series of flower images. These images have in common the appearance of "artful randomness." They are supposed to seem casual and minimally arranged. But the…
Translucent Flora: Photographs by Harold Davis is an exhibition at the San Francisco Botanical Garden Helen Crocker Russell Library of Horticulture, June – September 2023 Join us for the Artists’…
Having a number of teenagers and twenty-somethings in the house exposes me to some (understandable) pessimism about life, society, and the future. These are indeed strange times. We---and our kids---have…
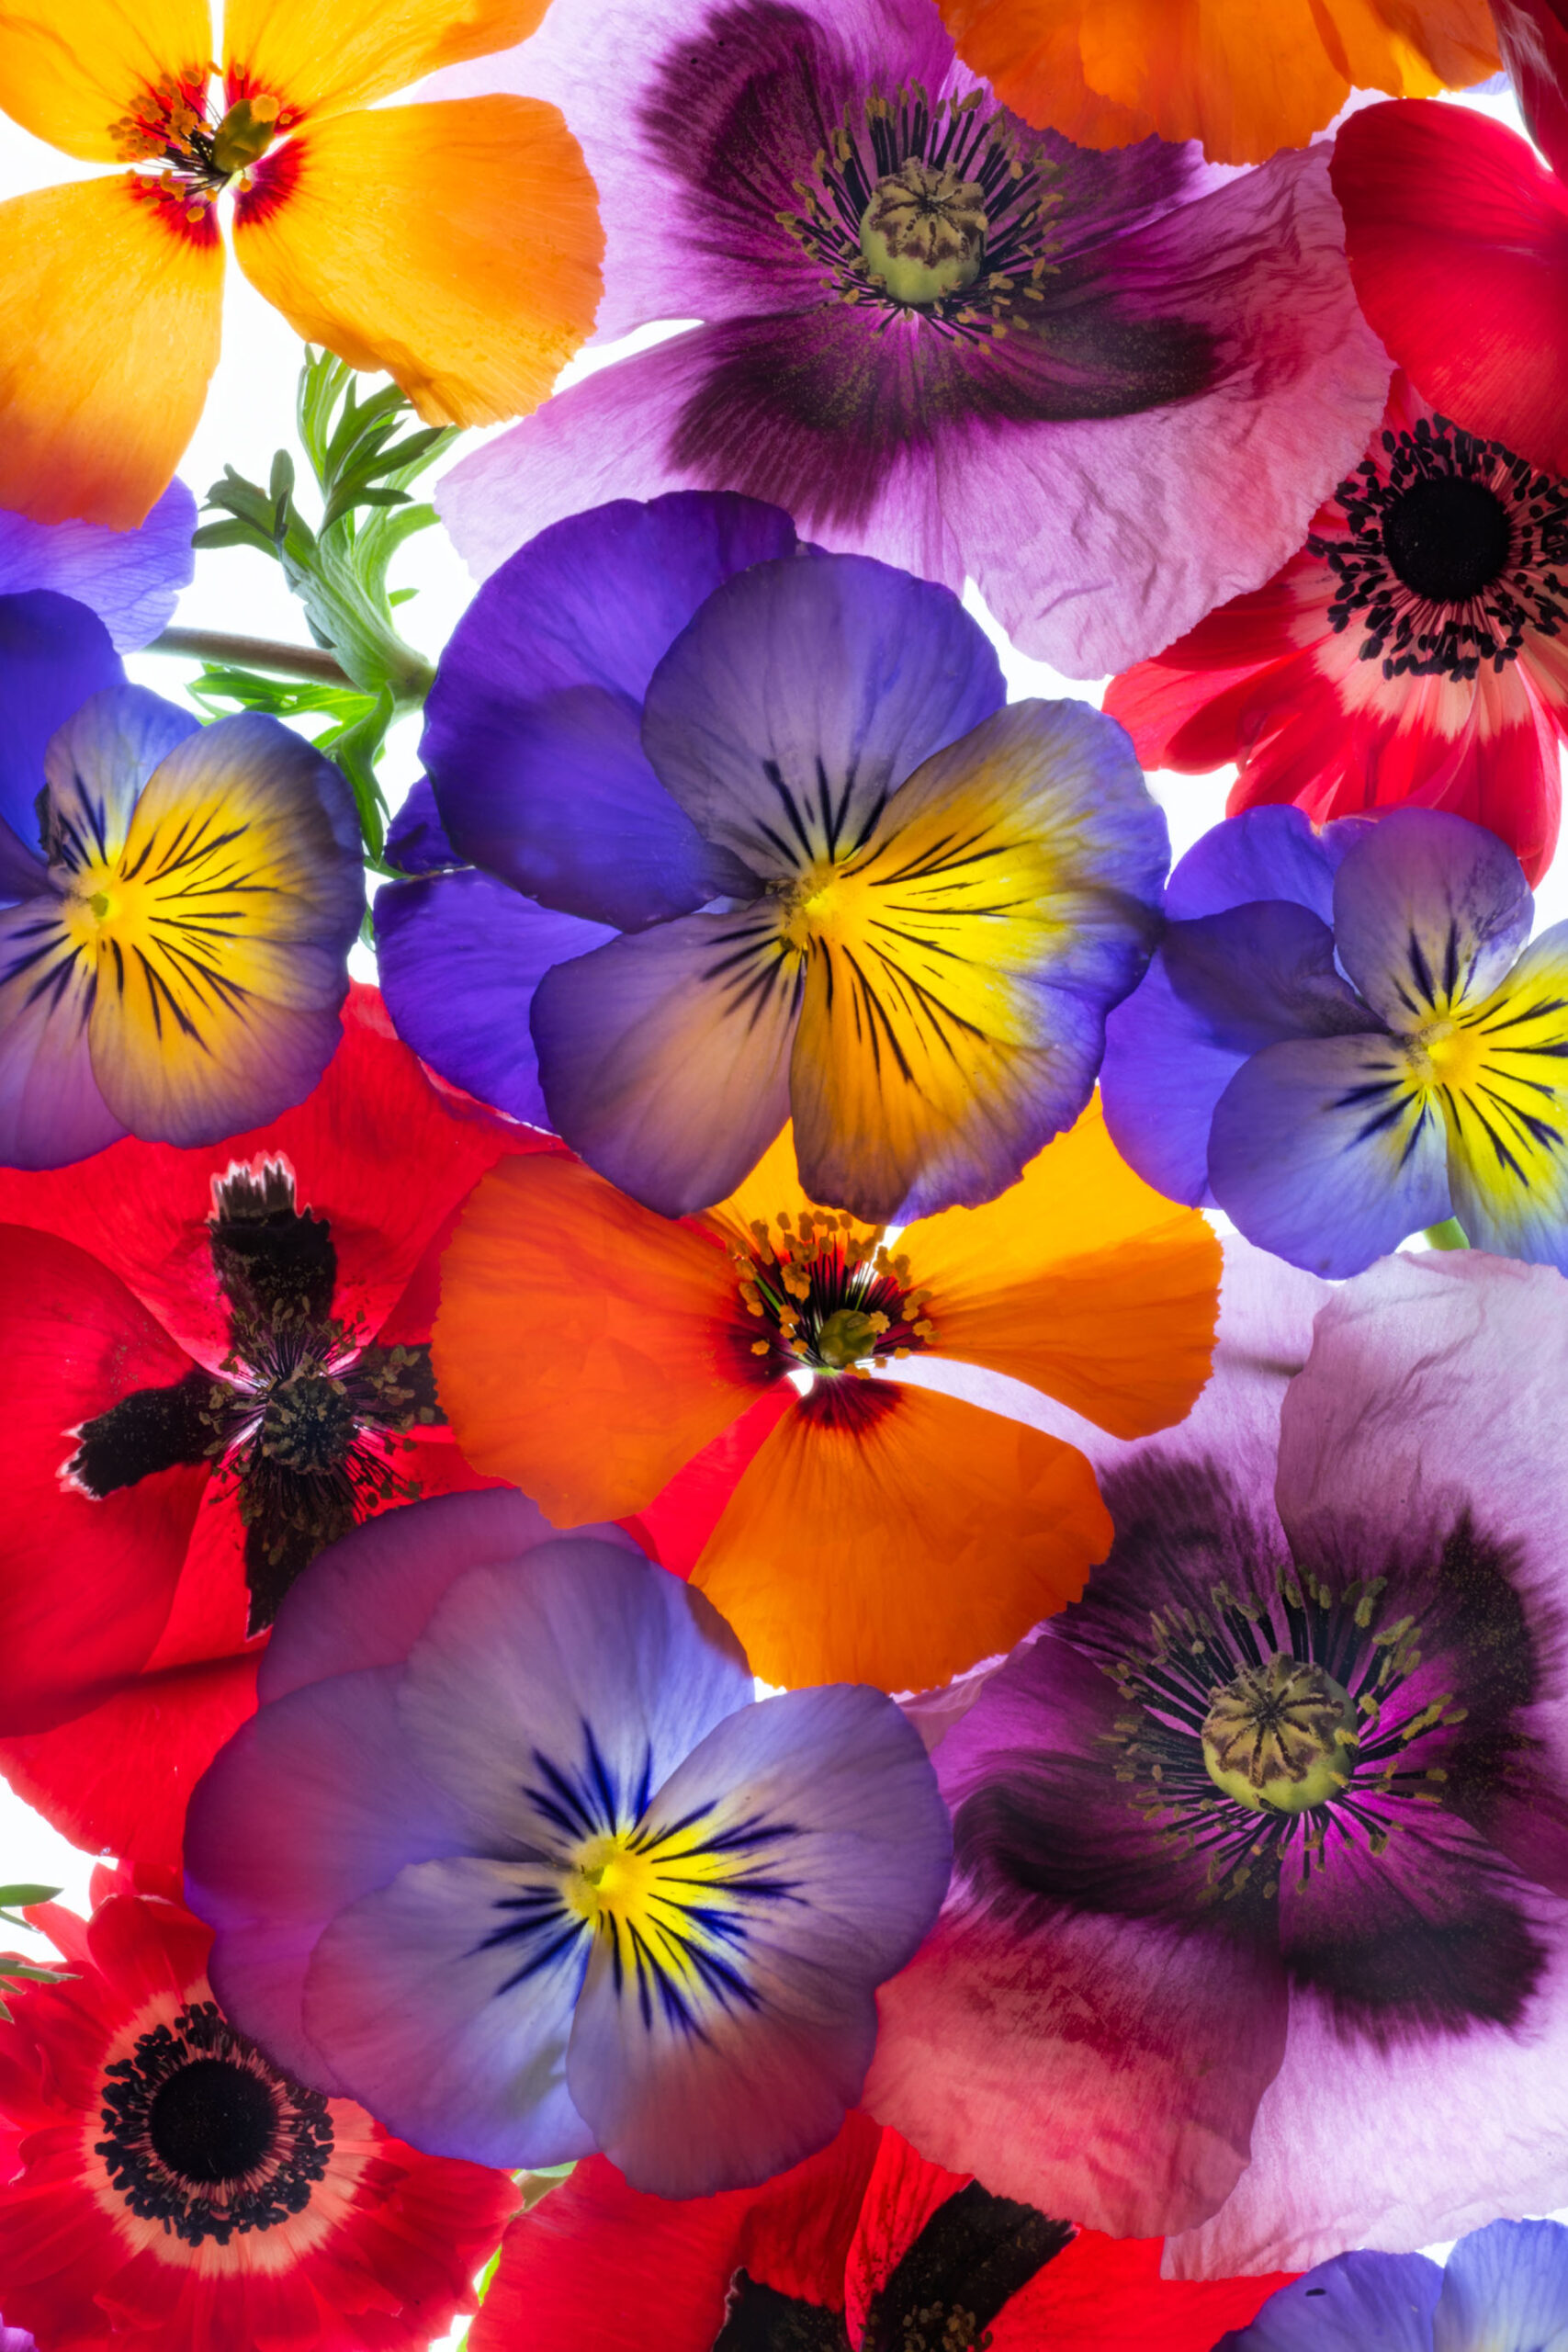
How wonderful to be photographing flowers from my garden at this time of year when the world comes to life and all the colors glow and are so glorious!
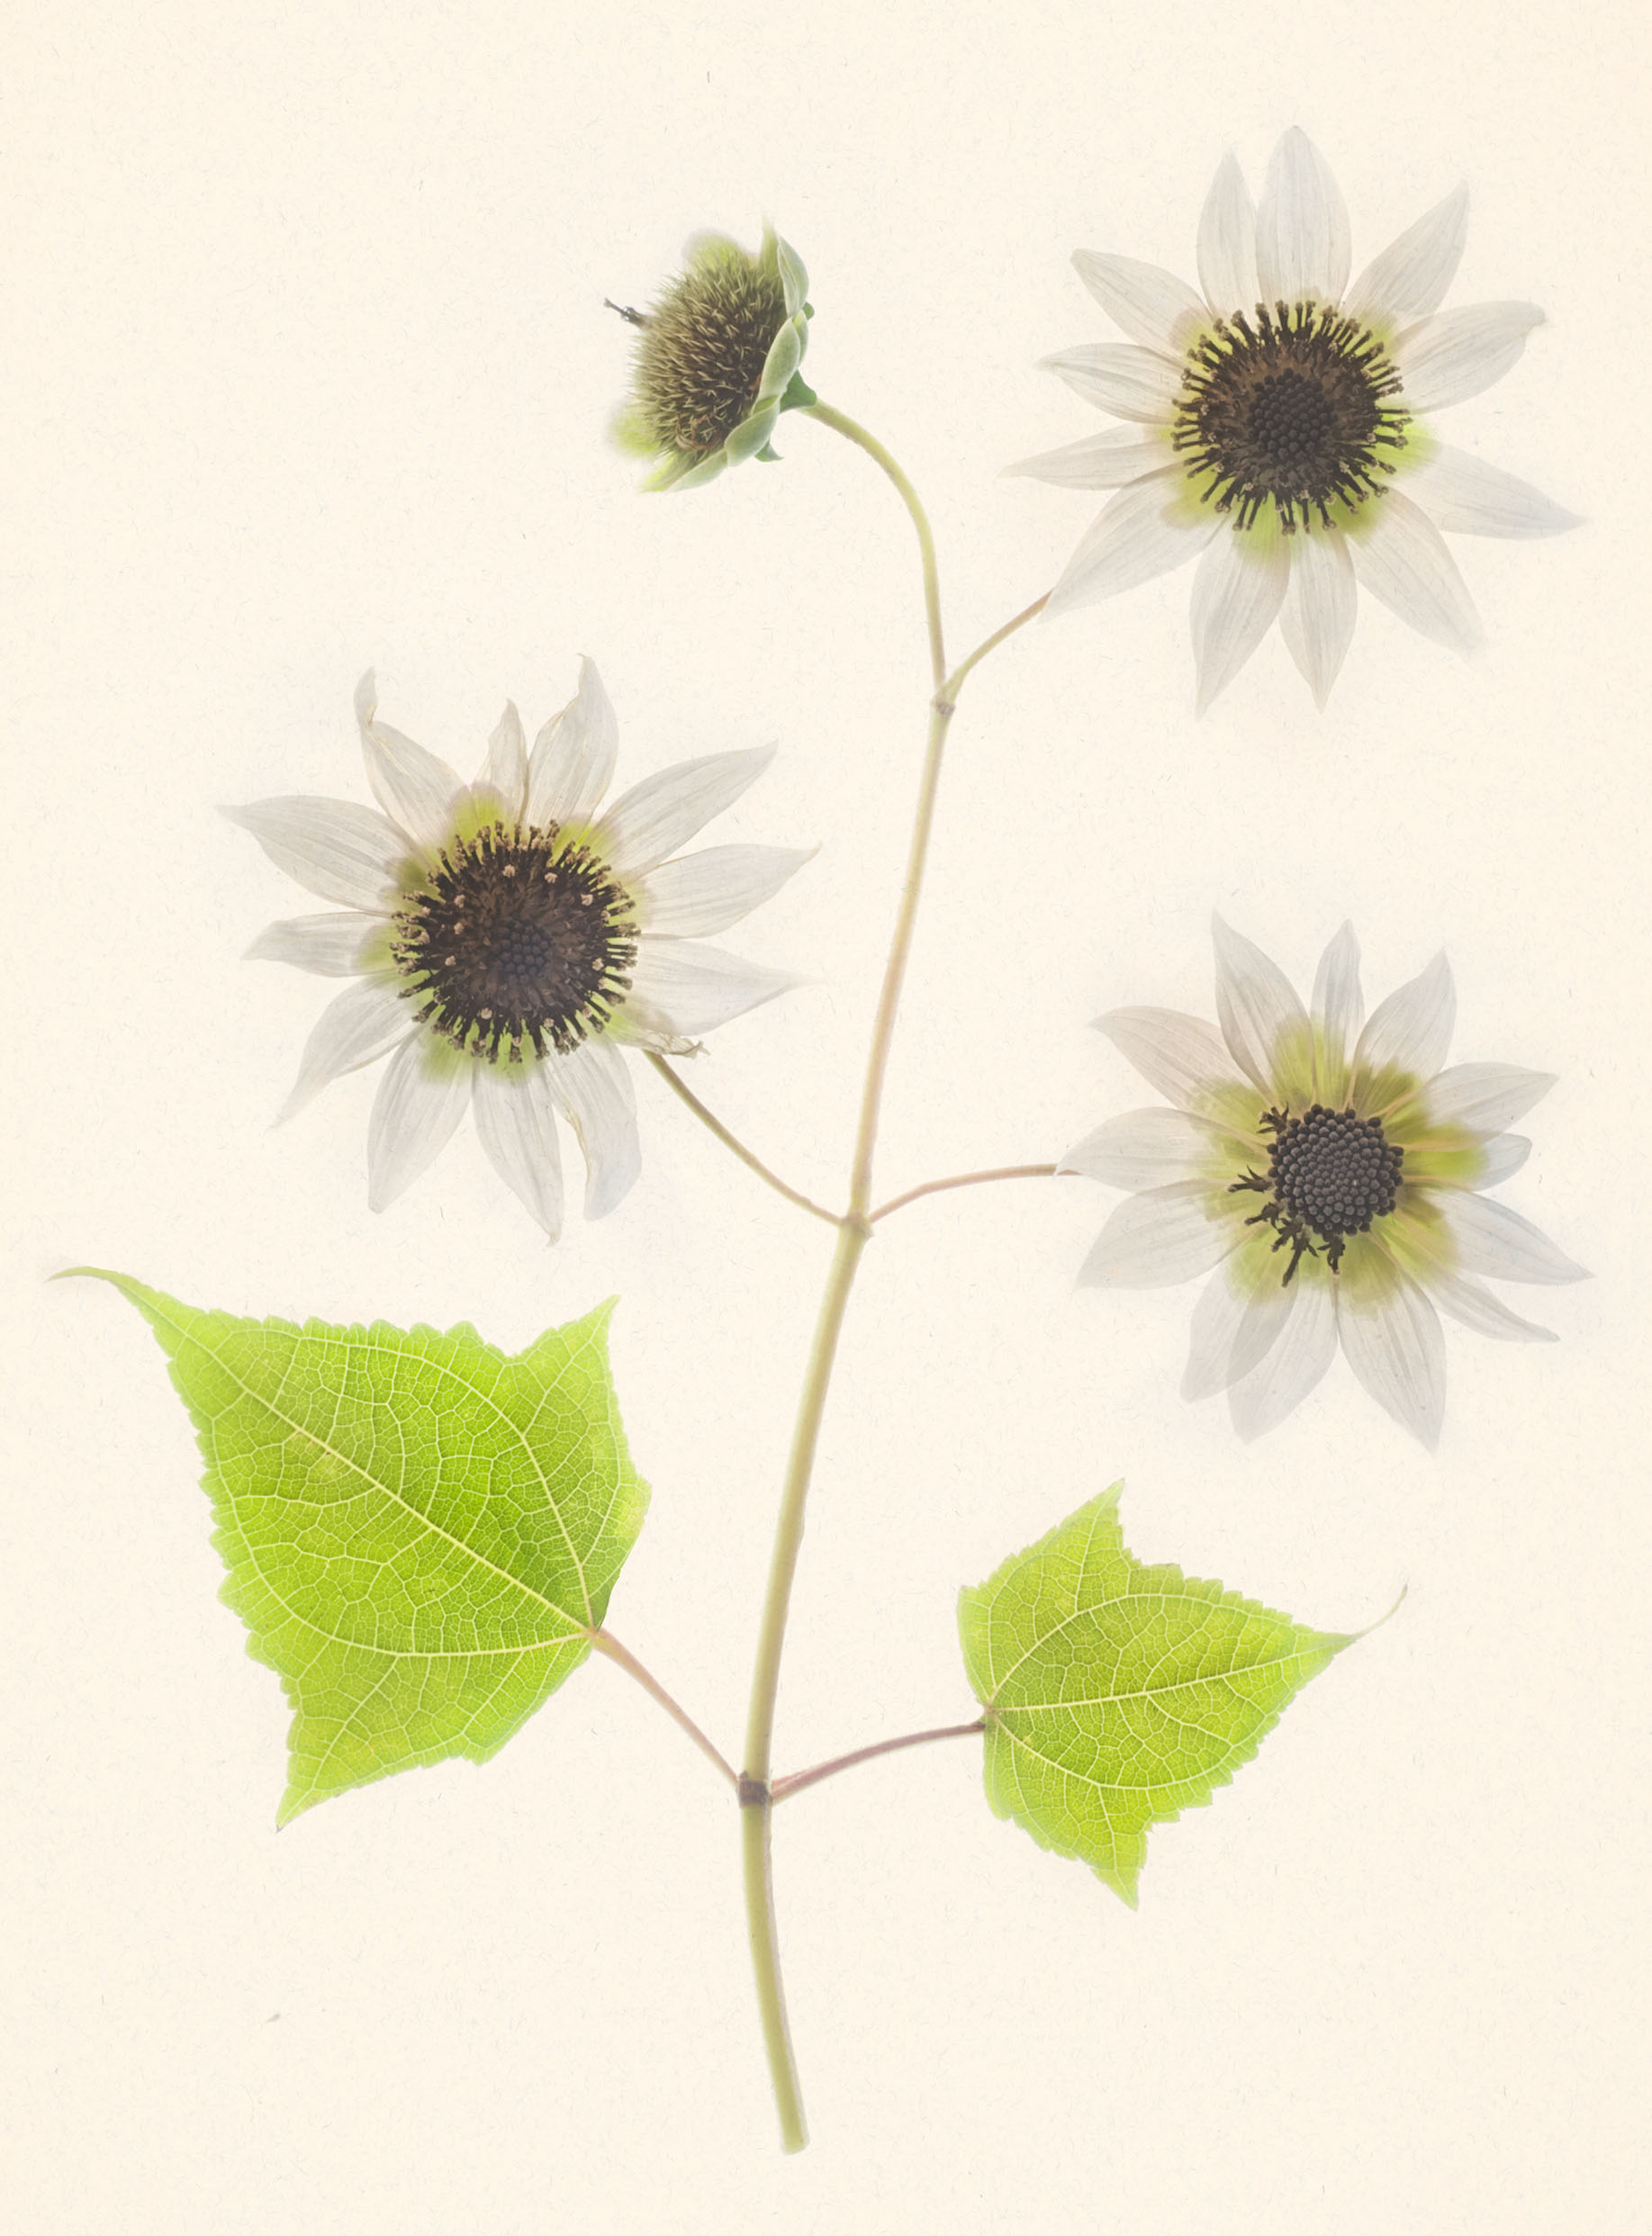
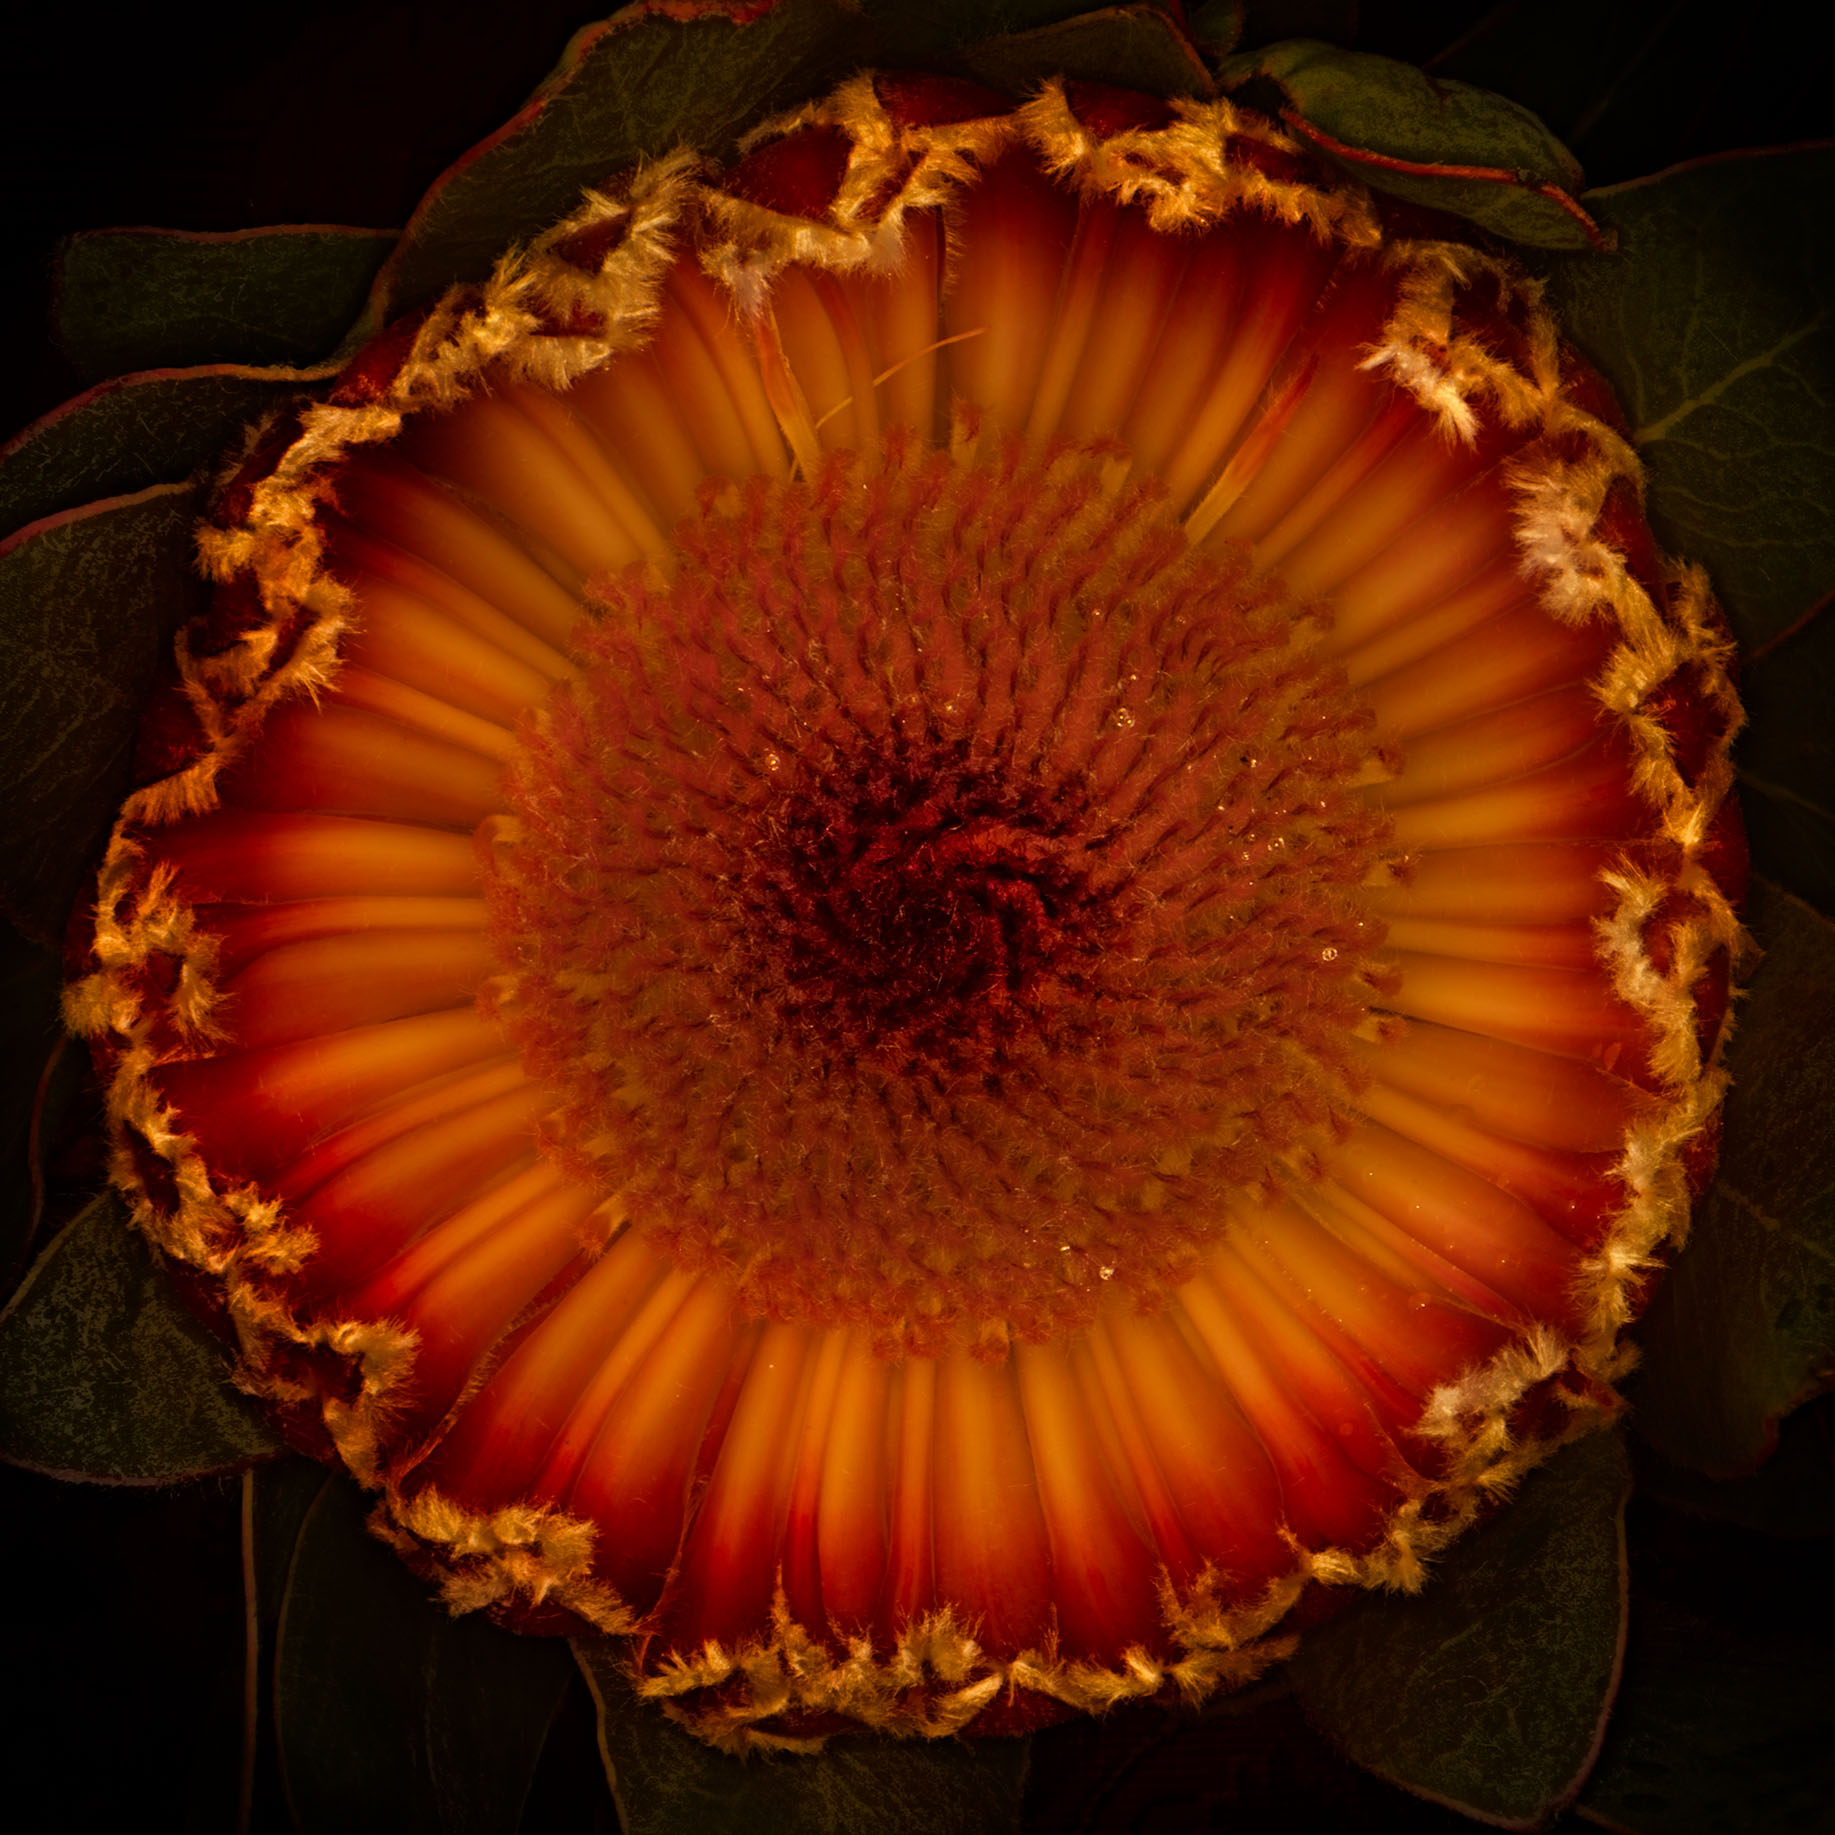
This Rojasianthe superba, sometimes called "White Sunflower Tree," was growing in the entry garden of San Francisco Botanical Garden, where (with permission) I cut this specimen. The seeds of Rojasianthe…