When you use Photoshop, nothing is more important than the ability to make selections. As a simple example, when you want to make a composite by moving a person from one background onto another, you need a way to select the person—in other words, to tell Photoshop which pixels you want to move. Besides this kind of large-scale selection, selection is used on a much smaller scale in Photoshop to control the areas you want to change in an image, and for a variety of other reasons.
Since you need to be able to select in Photoshop, Photoshop provides a number of nifty selection tools. These include a Magic Wand Tool, and the ability to select on the basis of color range. But it is a sad fact of life for Photoshop addicts like me that we spend much of our life on time consuming and tedious hand selections. The task is made even more difficult by the issue of edge treatment. The edges of a selection should usually be blended using a gradient effect, or your selection will appear jagged and unnatural.
It’s not intuitively obvious, but making a selection in Photoshop is logically equivalent to creating a layer mask. Both selections and layer masks are stored as grayscale information. If you have a selection, you can convert it to a layer mask (I’ll explain how in the course of this review); going the other way, it’s easy to convert a layer mask to a selection (by applying the layer mask). For the real technophiles among my readers (I was almost going to say “alpha geeks” but restrained myself), a layer mask is the same thing as an alpha channel. Hmmm! Selection = Layer Mask = Alpha Channel.
My preference is to work with layers and layer masks because this is a more flexible option than working with a selection cut out on a single layer. But to get the layer mask I need, I often have to start with a complex and time consuming selection.
With this background in mind, I tried out Fluid Mask, a Photoshop plugin (it also runs in standalone mode) from Vertus that is supposed to ease the pain of selecting. Read on for an overview of how the software works, and for my evaluation.

View this image larger.
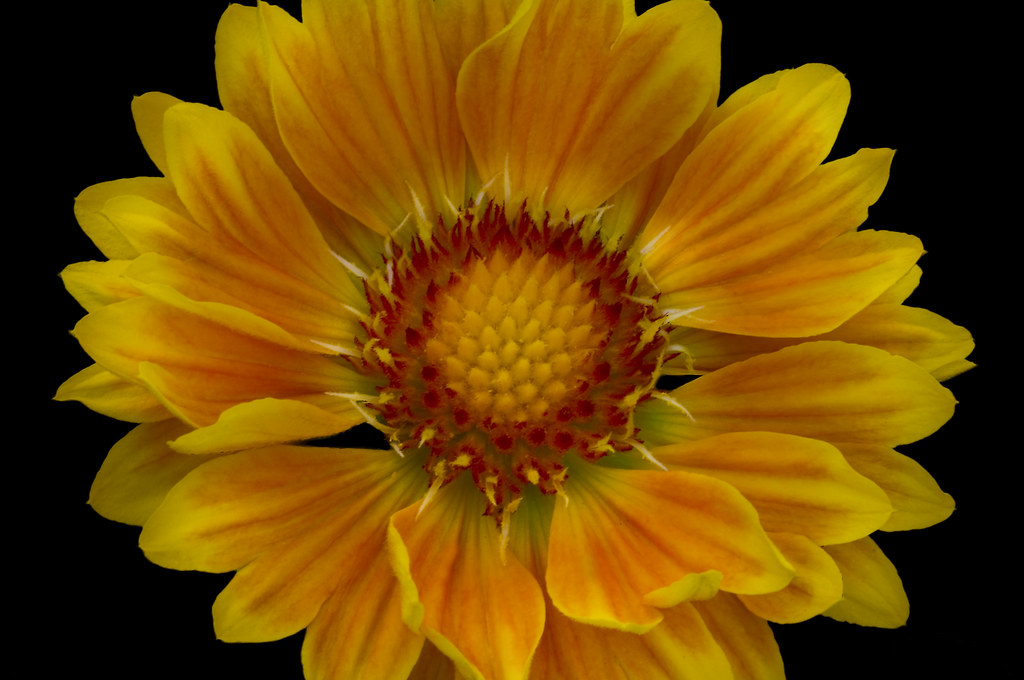
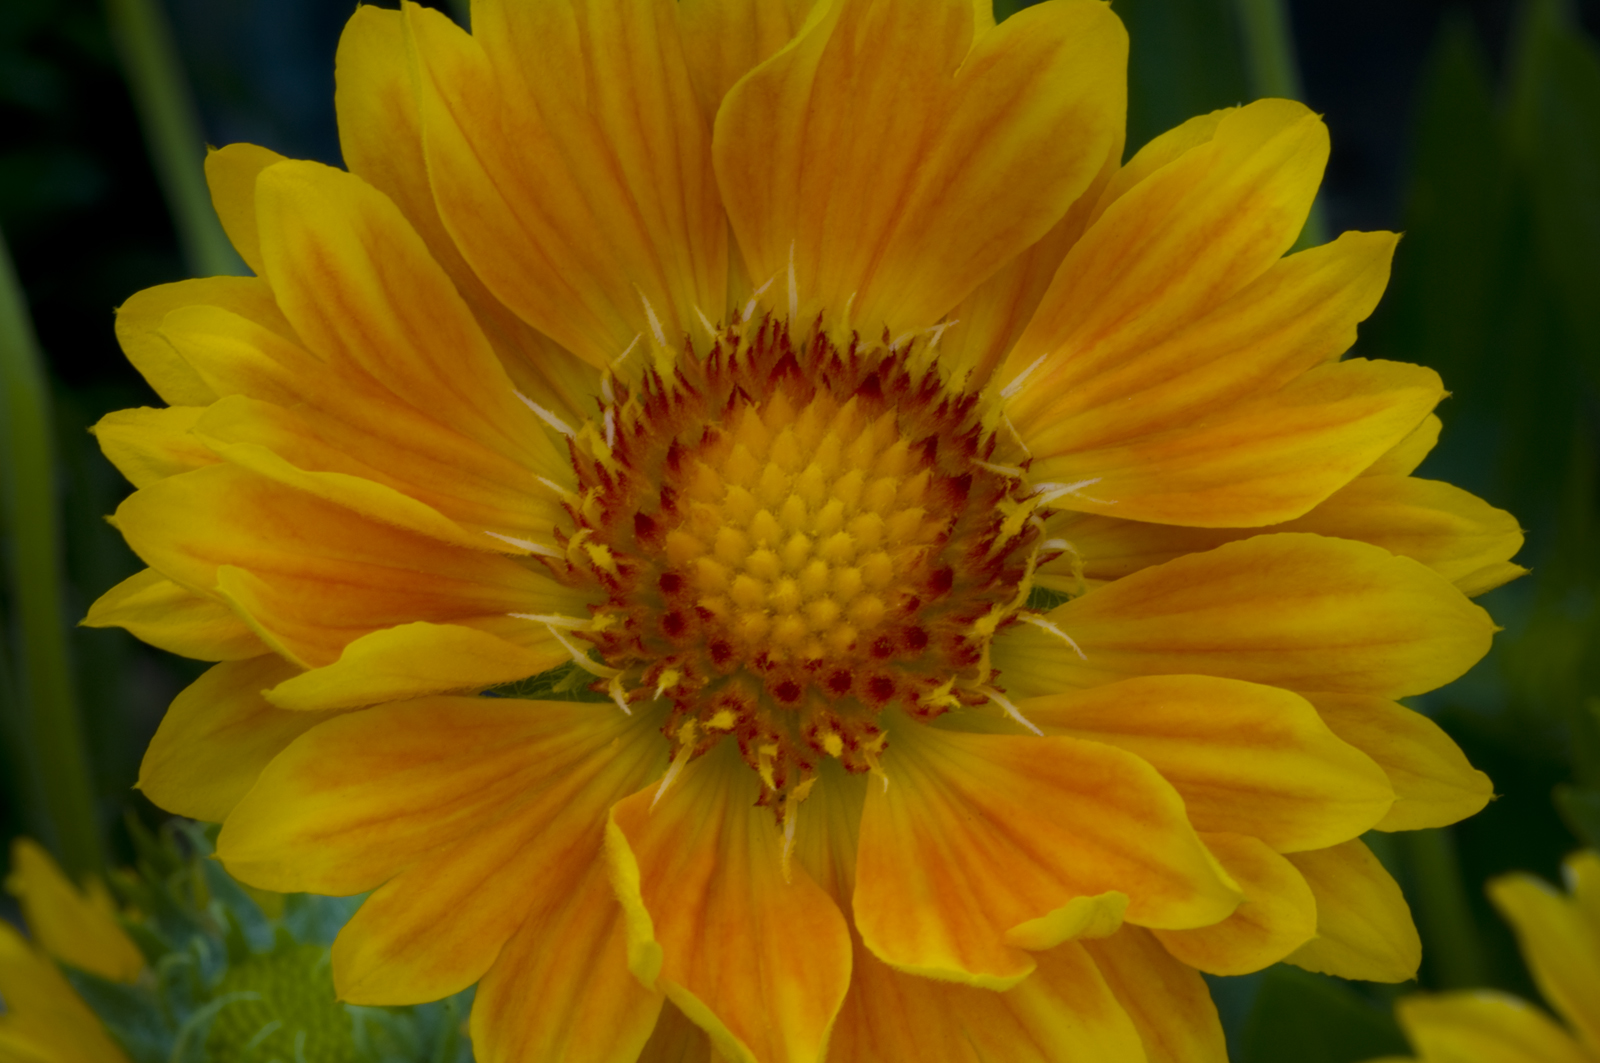
The flower you see above on black, a Gaillardia, was originally on a busy green background (because I photographed it in my cramped side garden). The original image following RAW processing is shown below with the background I wanted to replace.
As a first try with Fluid Mask, I decided to try selecting the flower to cut it out and put it on a black background. But before I show you how this worked, I need to make a disclosure. Disclosure: Vertus provided me with the Fluid Mask software for free, as well as some complimentary individual training (but see the note below about the availablity of free online training for anyone).
Once Fluid Mask has been installed, you’ll find it as a menu item on the Photoshop Filters menu (at the bottom of the menu items, along with any other third-party plugins you may have installed). With an image open in Photoshop, when you fire up Fluid Mask, Photoshop temporarily closes (“to save resources”) and the Fluid Mask window shown below opens. Note: As a matter of general Photoshop practice I’d advise creating a duplicate layer before invoking Fluid Mask.
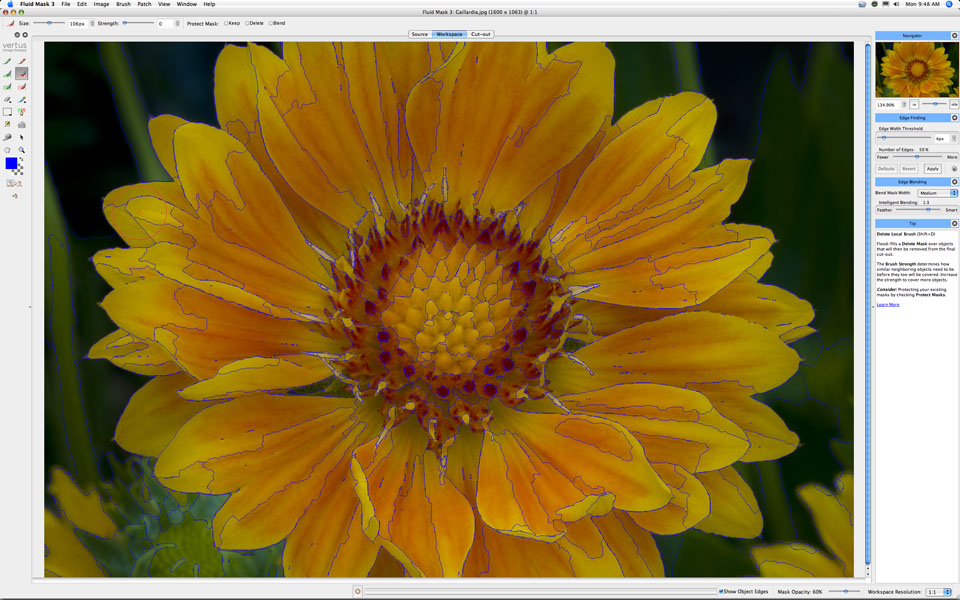
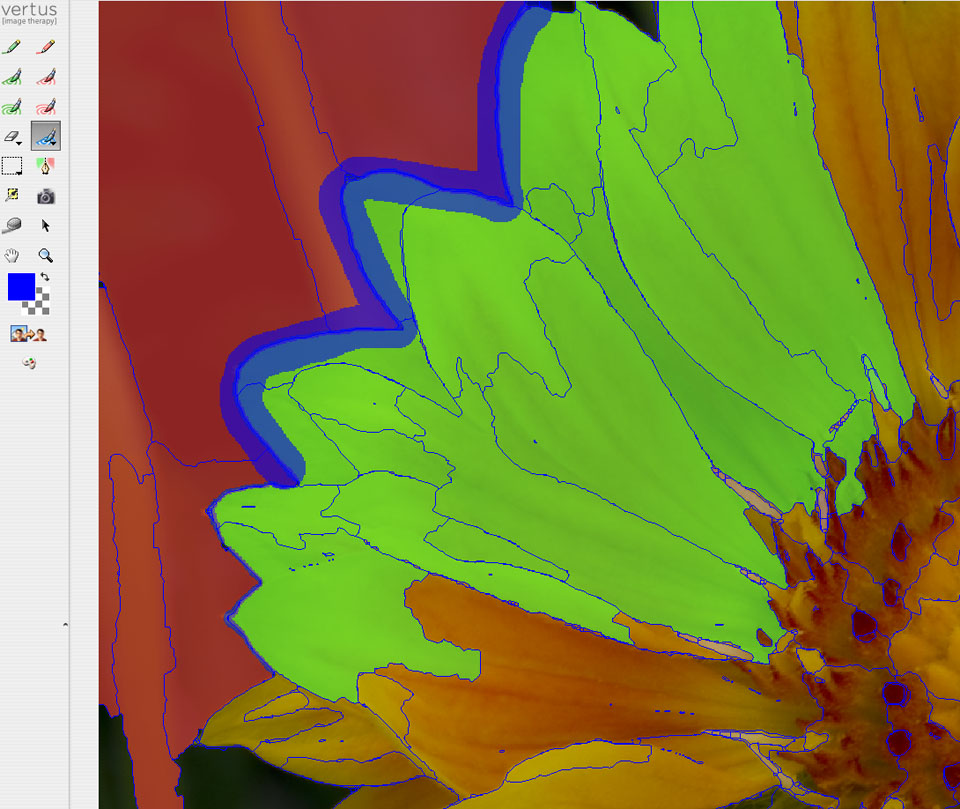
Fluid Mask drew blue lines on this image, indicating the edges that its automated analysis found. (You may need to look closely at the screen capture to see these lines.) The basic Fluid Mask idea is to draw on your image using three different colored brushes. Green means that you are keeping the area, red means that you are throwing the area away, and blue is used for an edge that needs to be treated specially. Here’s how this might look on a corner of the Gaillardia image:
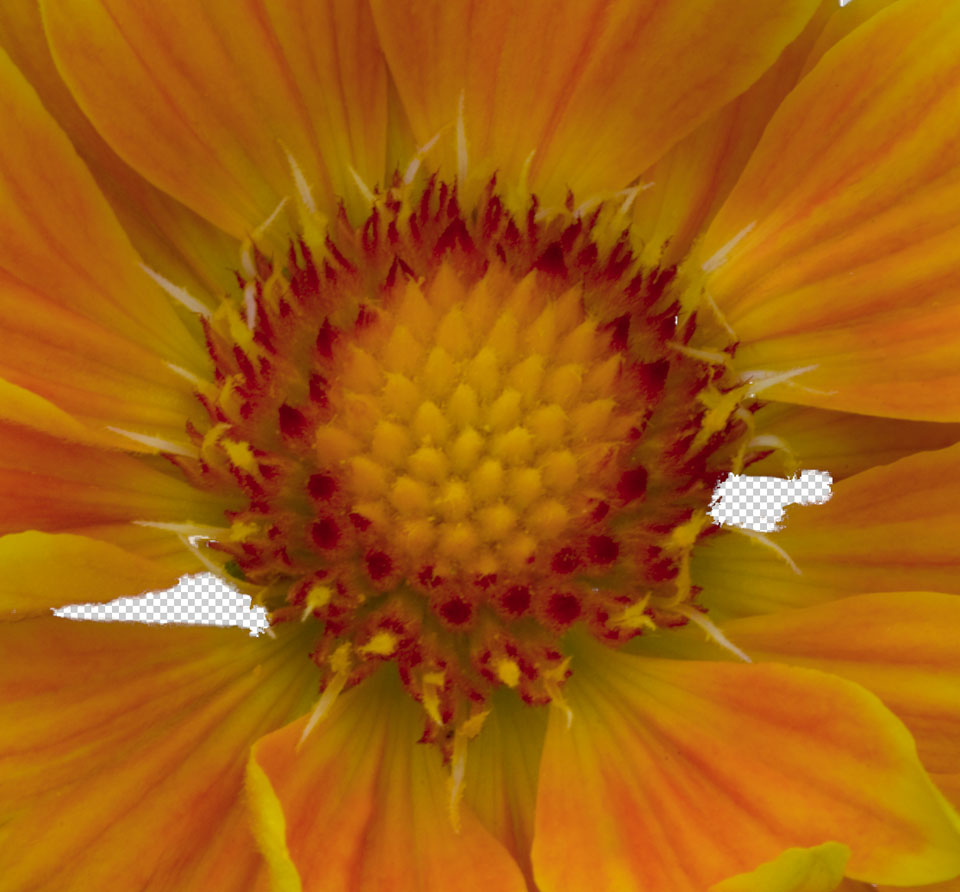
So, this was my first solo flight with Fluid Mask, and I didn’t get everything quite right. While the Gaillardia is really a pretty easy selection problem, to do a good job using the normal Photoshop tools would have taken me an hour or two. In Fluid Mask, it was about five minutes. But I did cut too much out of the flower interior by mistake, as you can see by comparing this cut out with the original or final versions:
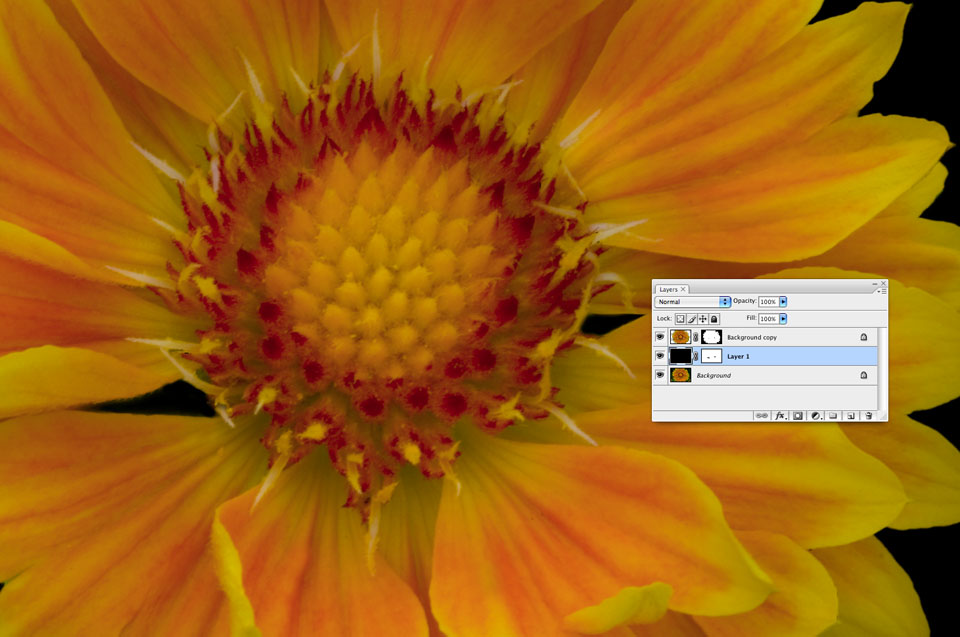
When I applied and saved my work, Photoshop opened back up, and I was able to quickly fix my botch. I converted my selection to an alpha channel (layer mask) by clicking in the thumbnail in the Layers palette with the Apple key held down (Option key in Windows), and then clicking the little alpha channel icon on the bottom of the pallette (third from left, you can see this in the capture below). Then I added a black layer between my original flower and its masked duplicate. A reveal-all layer mask on the black layer allowed me to “paint-in” the few small areas from my original that I had missed in Fluid Mask. All this took about two minutes.
Bottom Line
I recommend this product. I expect to use it every time I have a reasonably complex masking or selection challenge, and I’m sure that I’ll become a more skilled user over time. For me, owning this product is a no-brainer. (o:
Pros: Greatly speeds selecting and leads to better quality selection.
Cons: Complicated to learn, without an adequate manual. The good news: online interactive tutorials are available free five days a week.
Product details: Downloads from Vertus cost $239 (in the US) for either Windows or the Mac.